How to connect Flutterwave as a payment system
You can add a payment button to your chatbots and landing pages and accept online payments from users using your Flutterwave account. To integrate Flutterwave with SendPulse, you'll need to create and activate a Flutterwave account, copy your keys, get them authorized by SendPulse, and create a webhook.
Create a Flutterwave account
Log in to your account, or create a new one on the Flutterwave website.
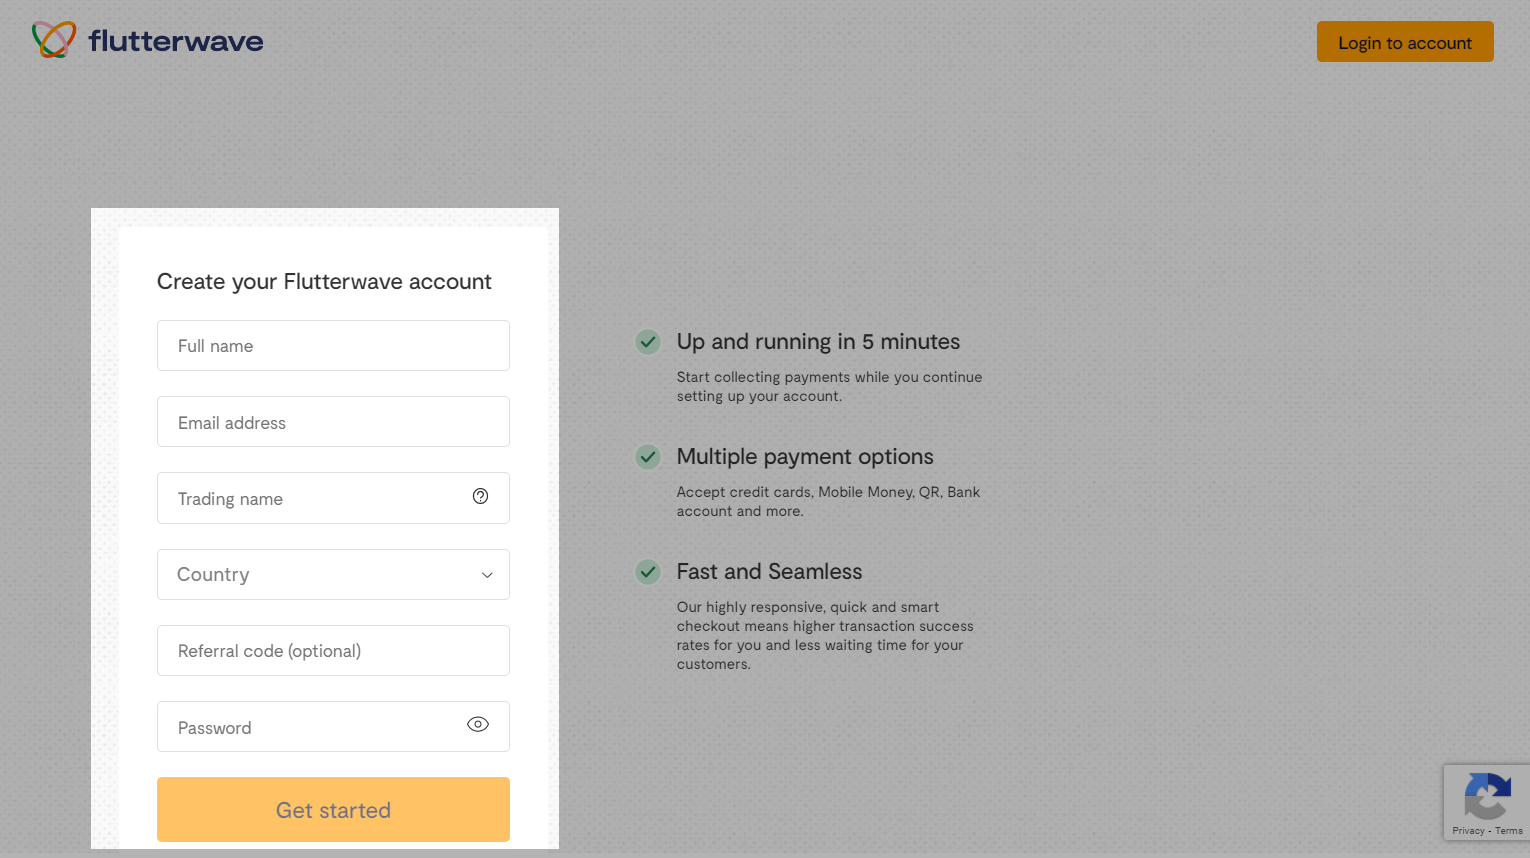
Then you need to provide the requested information to fully verify your account.
You can check what business details you need to add to verify your account in various countries by referring to the Flutterwave's onboarding requirements documents.
You can only use the store in test mode before activating it — that is, you can make and receive payments using your account.
Copy your Flutterwave key
Go to the Settings section > API keys, and copy the values from the Secret Key field.

Connect Flutterwave to SendPulse
Log in to your SendPulse account, and go to the Account Settings > Accept payments tab.
Next to Flutterwave, click Connect.

Enter your Secret key value in the corresponding field.

Copy your SendPulse webhook data
Copy your webhook URL — you will need it to connect a webhook in Flutterwave so that you can send messages to customers who have paid for your products or services using your chatbot.

Create a secret hash, and then enter and copy it — you will need it to authorize your webhook.

Create a webhook in Flutterwave
Go to the Settings > Webhooks > Live webhooks tab. Paste the webhook URL and your secret hash copied from the SendPulse payment settings.

Scroll down, and enable the Enable Webhook retries and Enable webhook for failed transactions options.

Click Save.
Finish the setup, and specify your currency
Go back to your SendPulse account, and choose the currency of your payment page.

Click Save.
If the values are correct, you will receive a notification, and your connection status will change to Connected.
To connect addition merchant of the same payment system, click the three dots icon next to a payment system, and select Add one more merchant. Follow the same procedure you used when adding a merchant.
Enter a name for your additional merchant so that you can identify it. This name will only be displayed in your account — customers will not see it.

Now you can choose this payment option when creating chatbot, landing page, and email template payment buttons, as well as connect to CRM and EDU services.
You can view your payment history in the same tab. Mark the list of successful transactions or payment errors in order to quickly respond to them.
Last Updated: 12.02.2024
or