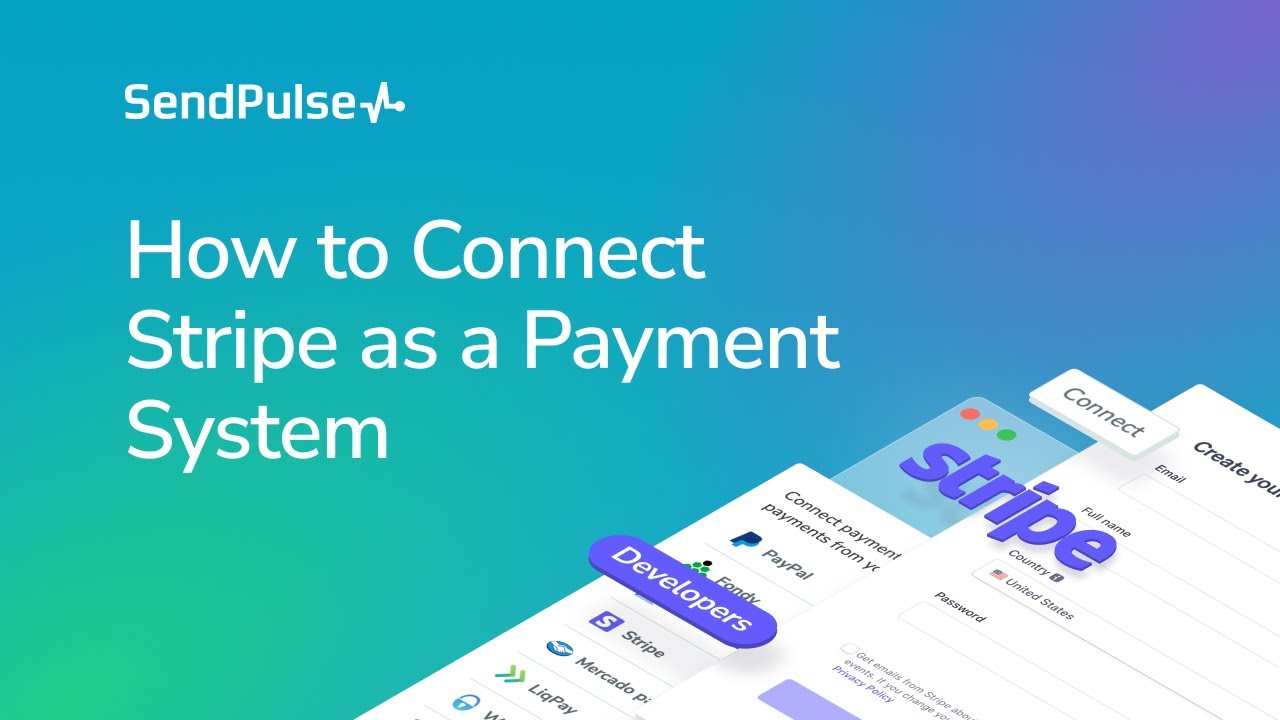
How to connect Stripe as a payment system
You can add a payment button to chatbots and landing pages to accept online payments from users to your Stripe account. To integrate Stripe with SendPulse, you'll need to create and activate a Stripe account, copy the secret key, and paste it into SendPulse for authorization.
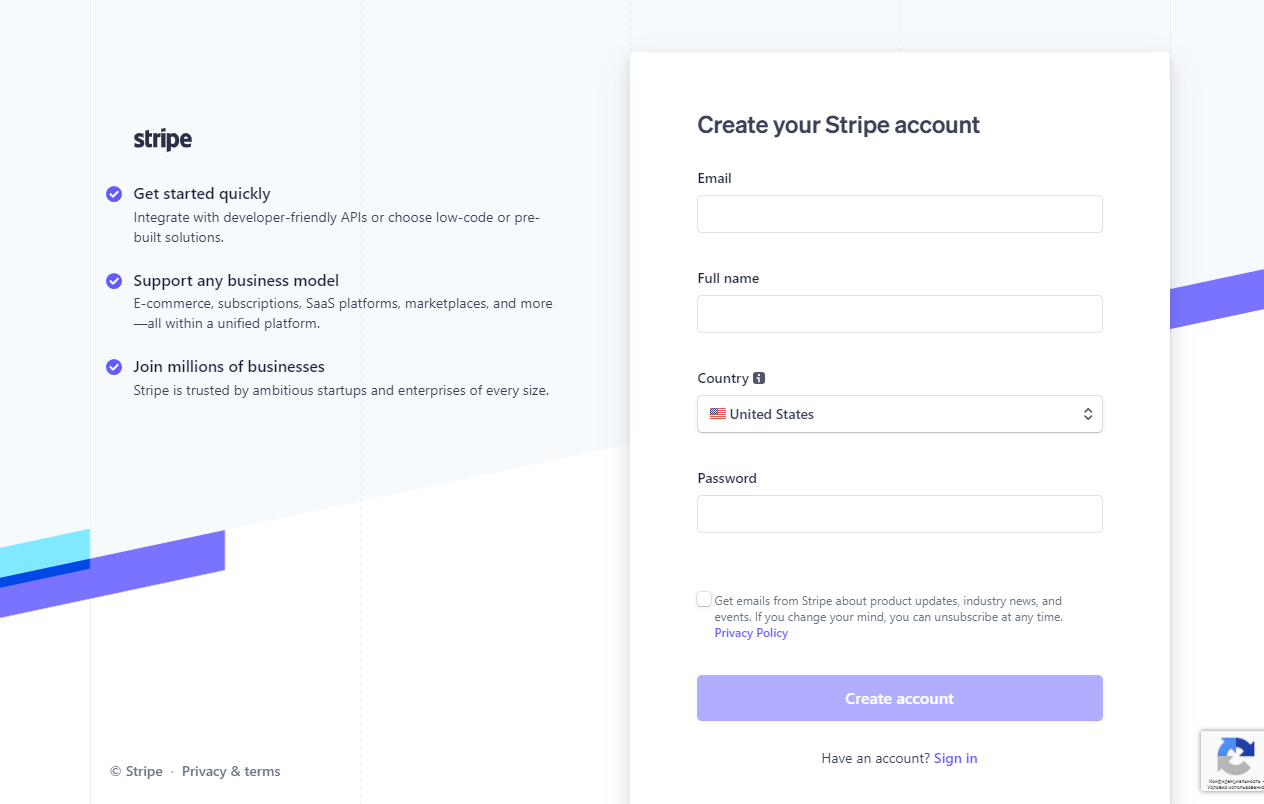
Create a Stripe account
Log in to your personal account or register a new account with Stripe.
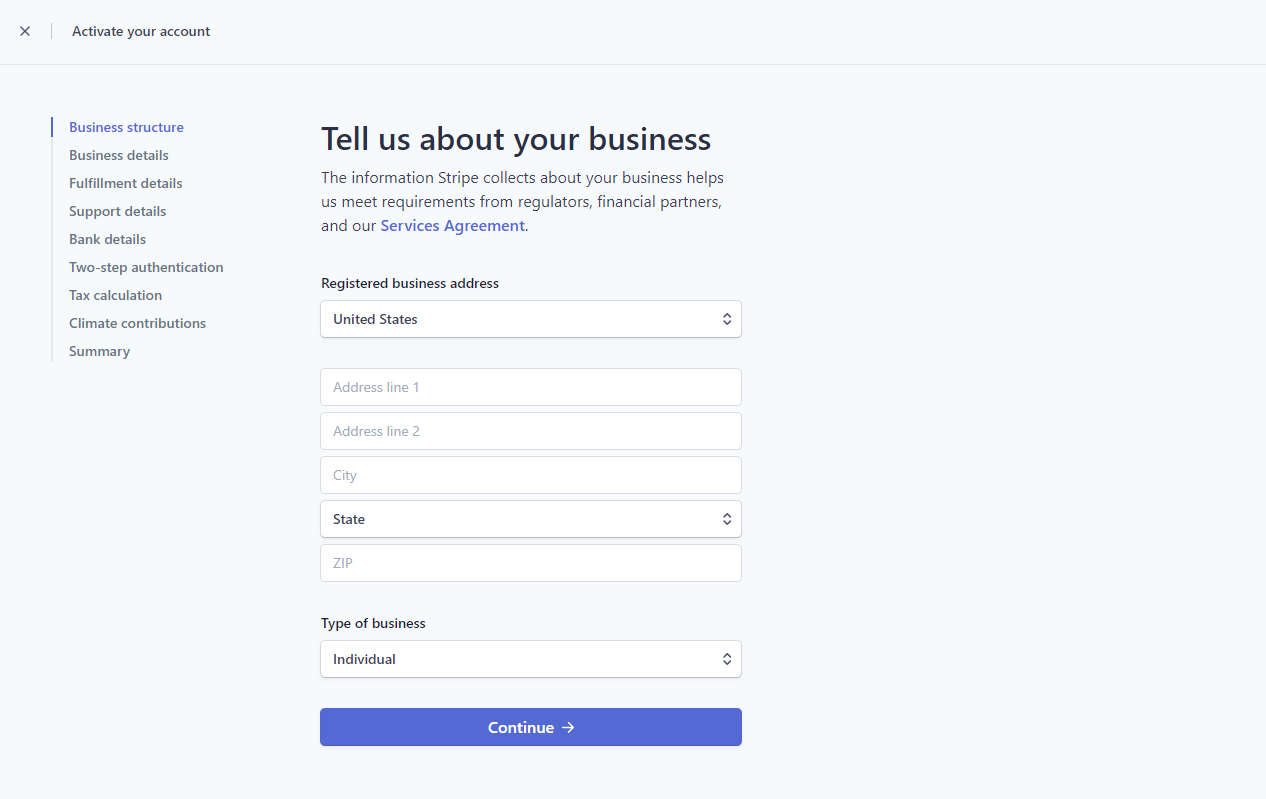
After creating your account, you will receive a registration confirmation by email. Return to your account, click Activate your account, and enter your registered business details.
Please note that Stripe is not available in all countries. Eligibility is determined by the country your business is registered in. Check the list of countries the payment system connection is available for.
For more details on how to register with Stripe, create a store and provide all the necessary documents, please refer to Stripe documentation Learn how to activate your Stripe account and keep it safe and Stripe Services Agreement for your chosen country.
Copy the secret key from Stripe
After creating a store, go to Developers section and API keys tab.

Next to the Secret key field, click Reveal live key.

Click on the key to copy it.

Connect Stripe to SendPulse
Log in to your SendPulse account and go to Account Settings > Accept payments tab.
Next to Stripe, click Connect.

Enter the secret key in the corresponding field.

Select the currency you accept.

Click Save.
If the values are correct, you will receive a notification and the connection status will change to Connected.
To connect an addition merchant of the same payment system, click the three dots icon next to a payment system, and select Add one more merchant. Follow the same procedure you used when adding a merchant.
Enter a name for your additional merchant so that you can identify it. This name will only be displayed in your account — customers will not see it.

Now you can choose this payment system for payment buttons in chatbots, landing pages, and email templates, as well as connect it to CRM and EDU services.
You can view the payment history in the same tab. Mark the list of successful transactions or payment errors in order to quickly respond to them.
Last Updated: 12.02.2024
or