Create a section
Group lessons into sections to organize your content and help students navigate through your course program. A section is an introduction to your lessons that helps you arrange them by topic or module.
In this article, we'll take a look at how to add a section and description to it and set up the estimated time for completing the section and access to it.
Add a section
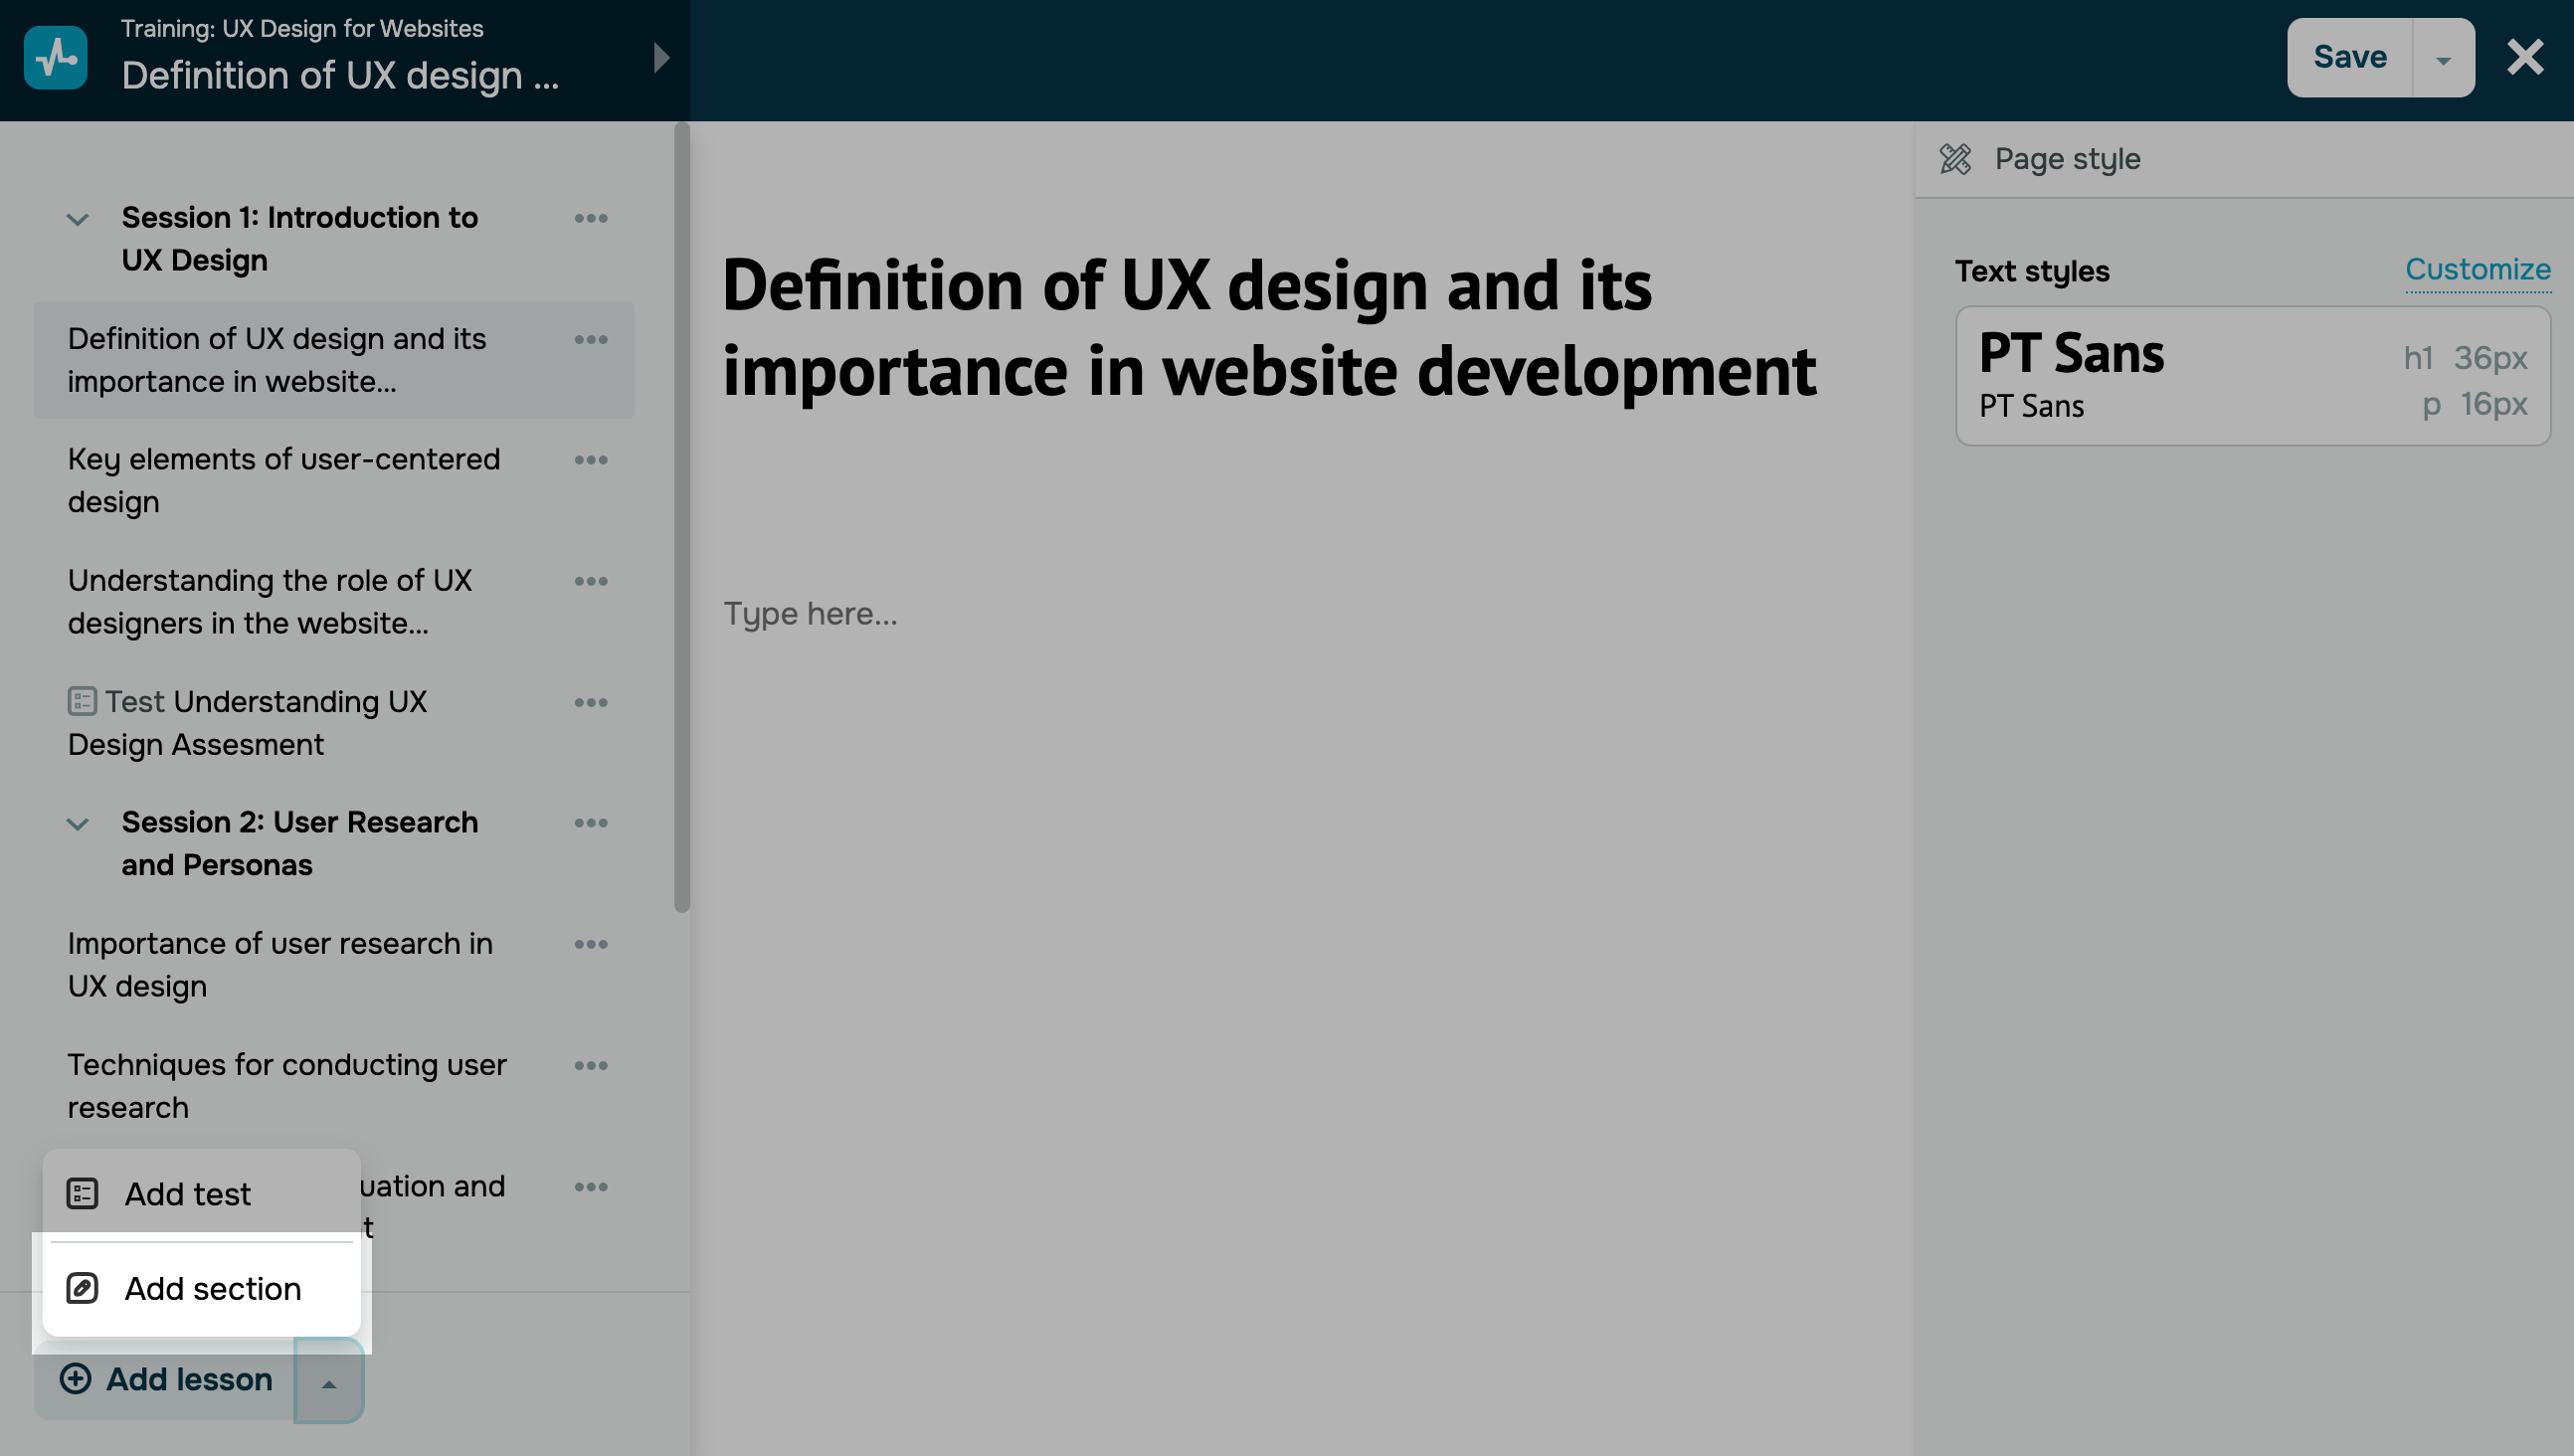
Go to your course page. Click on the arrow next to the Add Lesson button, and select Add Section.

You can also create a test using the lesson builder. Click on the top left menu, then click on the arrow below the lesson list, and select Add Section.
By default, your course includes one section with two lessons.
Enter a title.
We recommend keeping lesson names short so that they are fully visible in your course program. You can also include emojis if you'd like.
Below the title, you can include a section description to give students an overview of the topics covered. You can customize your description text.

Add a preview
You can add an image to your section preview that will be visible in student account course programs, the Lessons section of your SendPulse-powered course, and the Education by SendPulse app. This will help instructors and students quickly find the lessons they need in different sections.
To add a preview, turn on the Section preview toggle, click Choose an image, and select an image from the file manager.

Set your section
To open section settings, click your course name in the upper-left corner of the top toolbar. Next to the name of your section, click the three dots and select Section settings.
Read also: Set section access та Copy a section.
Save your section
Once you finish creating and configuring your lessons, click Save and exit in the upper right corner of the builder.
Last Updated: 03.01.2025
or