Create an automated flow using AI
Use AI in Automation to create a flow layout based on your prompt. This approach is helpful when you need to quickly generate a ready-to-use flow with a specific set of elements.
You can also ask the AI assistant questions about any existing elements to enhance your current flows.
In this article, we will talk about how to use AI in the automated flow builder.
SendPulse offers up to 200 free AI requests across all tools. To track your remaining requests or use your own AI account, add your API keys in account settings.
Learn more: Integrate ChatGPT with SendPulse tools, Integrate Claude with SendPulse tools, and Integrate Google Gemini with SendPulse tools.
Generate a flow
Go to Automation and click Create flow, or open an existing flow.
In the flow builder, add a trigger and click the AI pop-up in the lower right corner. A chat window will appear.
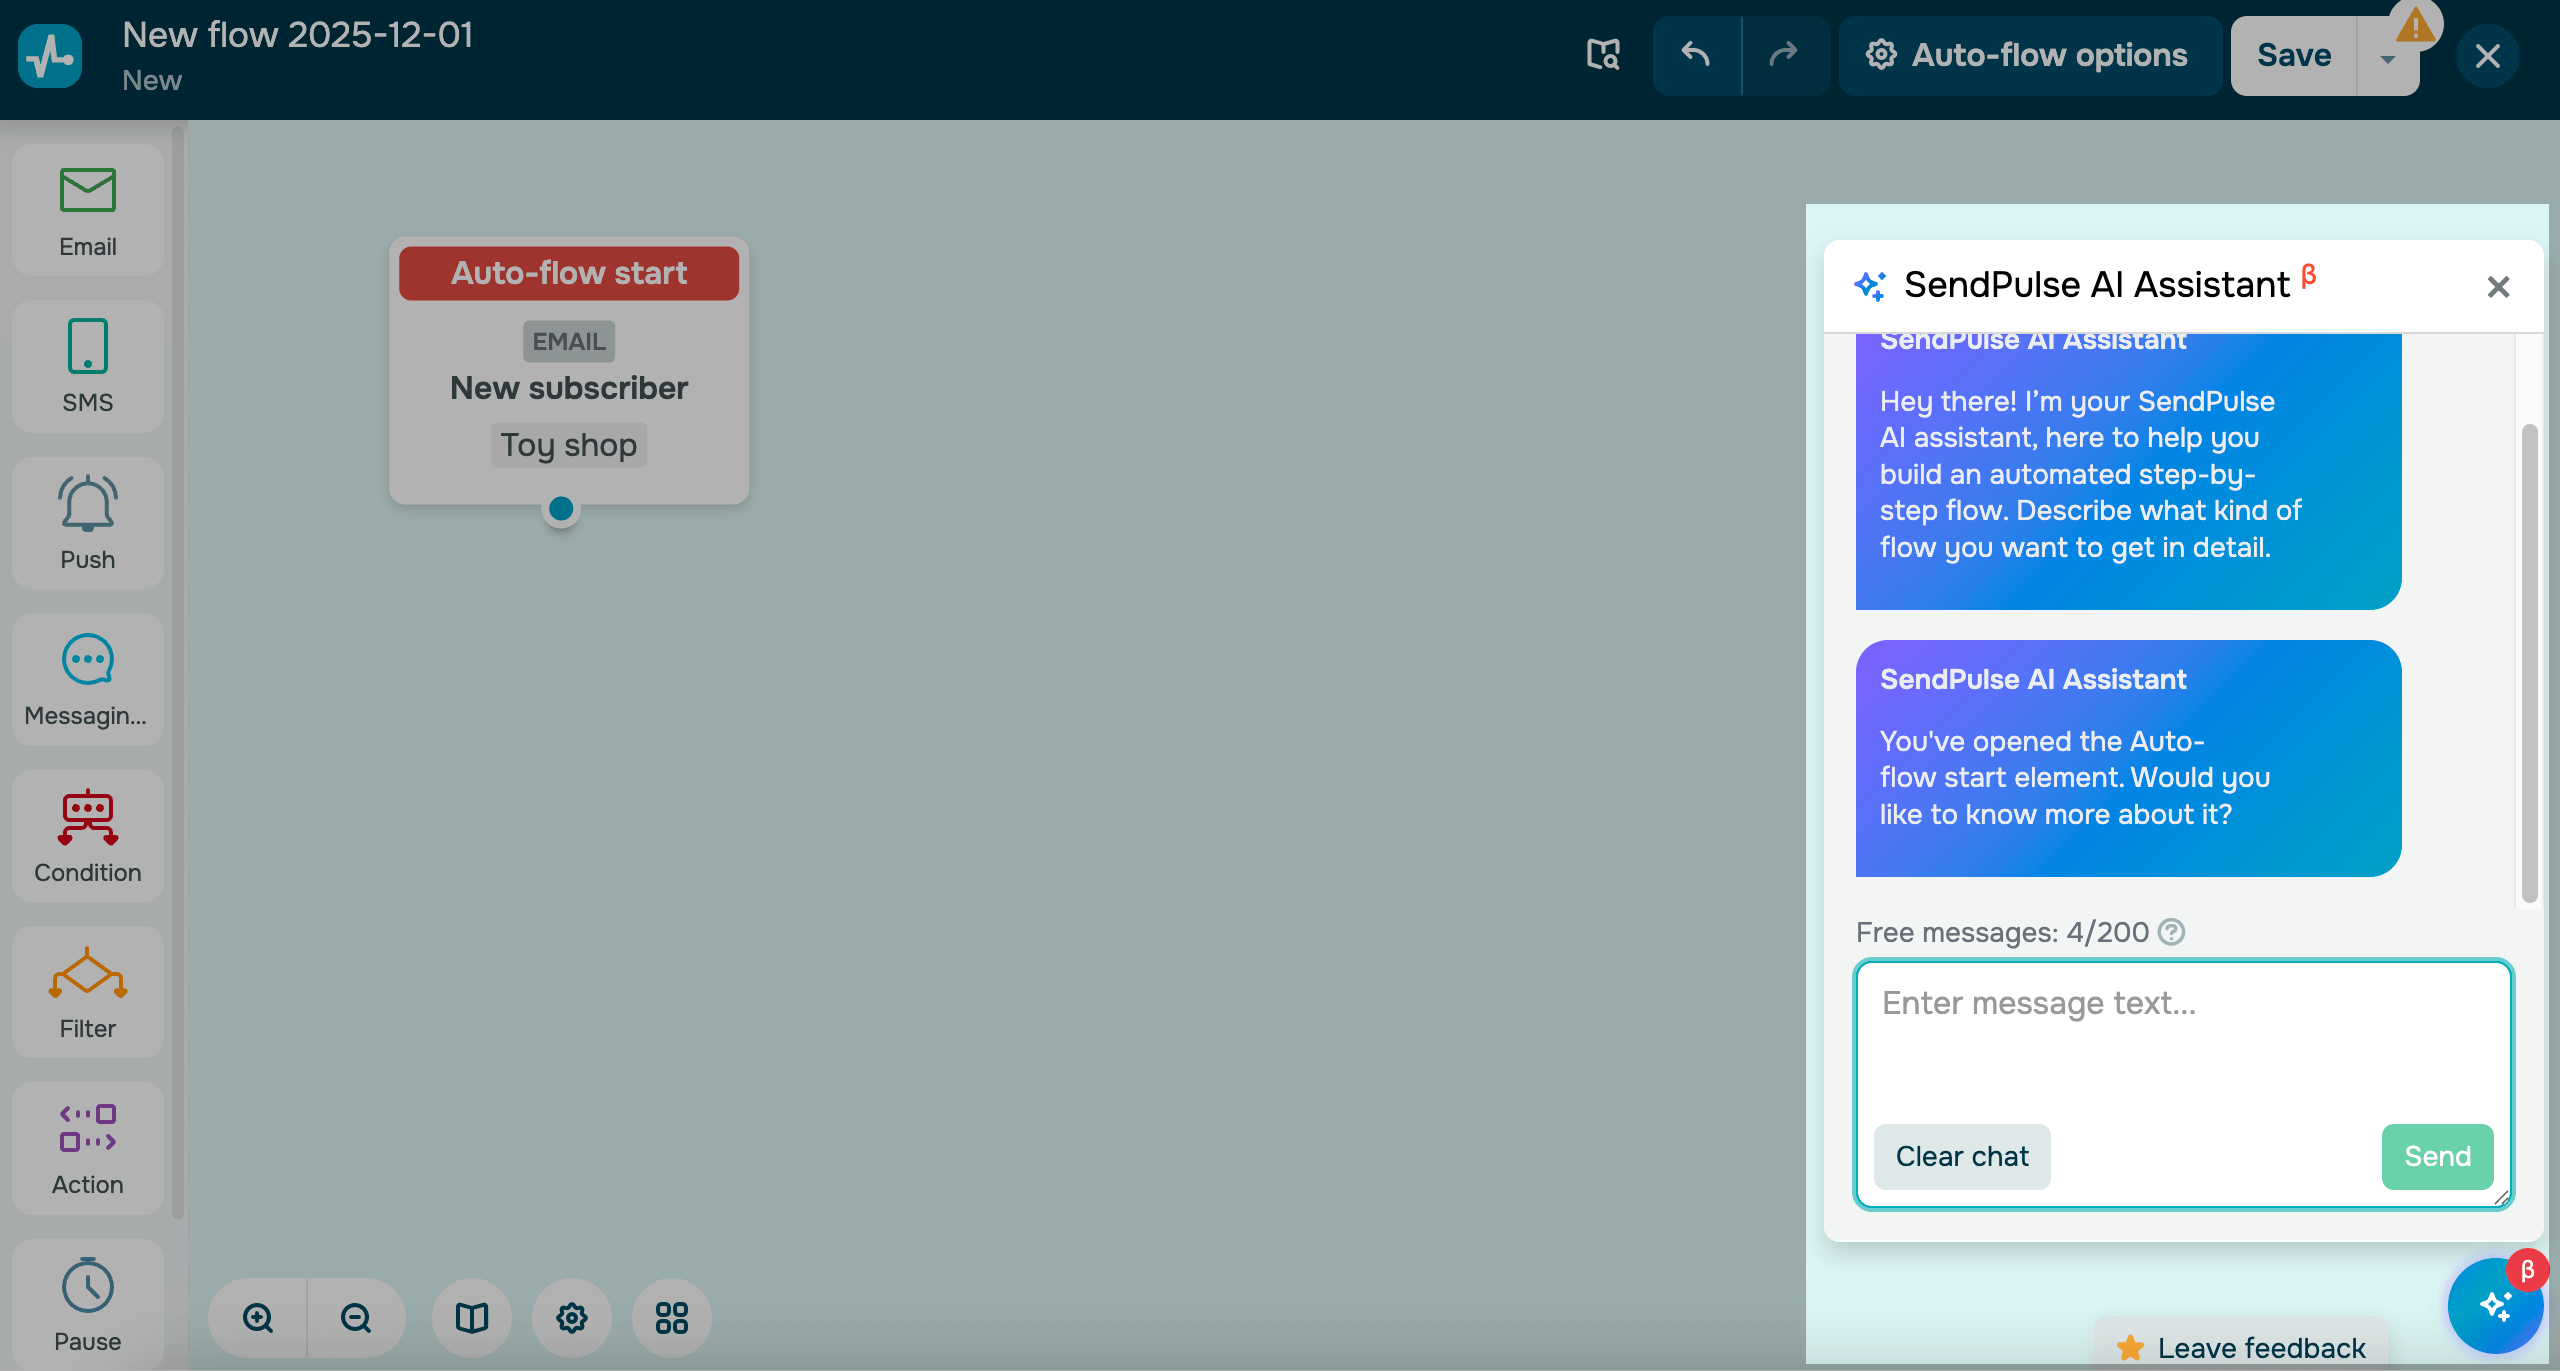
Enter your prompt in the chat. Describe what you want the flow to do, along with any specific requirements.
Here’s what your prompt can include:
- Business type. Describe what your company does and the industry you work in.
- Flow goal. Explain what you want this flow to achieve, such as encouraging subscriptions, completing a purchase, or increasing sales during a promo campaign.
- Target audience. Describe who your customers are and who will receive your flow.
- Triggers. Mention the event that will run this flow. You can also set up a trigger manually in the flow start element.
- Elements. List the tools you want to use in your scenario, such as email, SMS, push notifications, WhatsApp, and more.
- Requirements. Add any required elements or details such as offers, product categories, or time delays.
- Tone. Describe the communication style you want to use to interact with your audience.
The maximum prompt length is 1,000 characters.
If you use AI in an existing flow that already includes elements, the flow will be overwritten based on your prompt. The previous version will not factor into your new flow.
If you want the AI assistant to use a specific email template, enter its ID or category name.
Once you finish with your prompt, click Send, and the builder will generate your flow. Don’t close the page until this process is complete.
Your last 15 requests stay in the chat history.
Generated elements follow your account language, and the AI responds in the language you use when you message it.
Ask the AI for tips
You can use the AI to understand how elements work in your flow. For example, when you notice an unfamiliar element or setting, enter its name in the chat and ask the AI to explain it.
Review and save elements
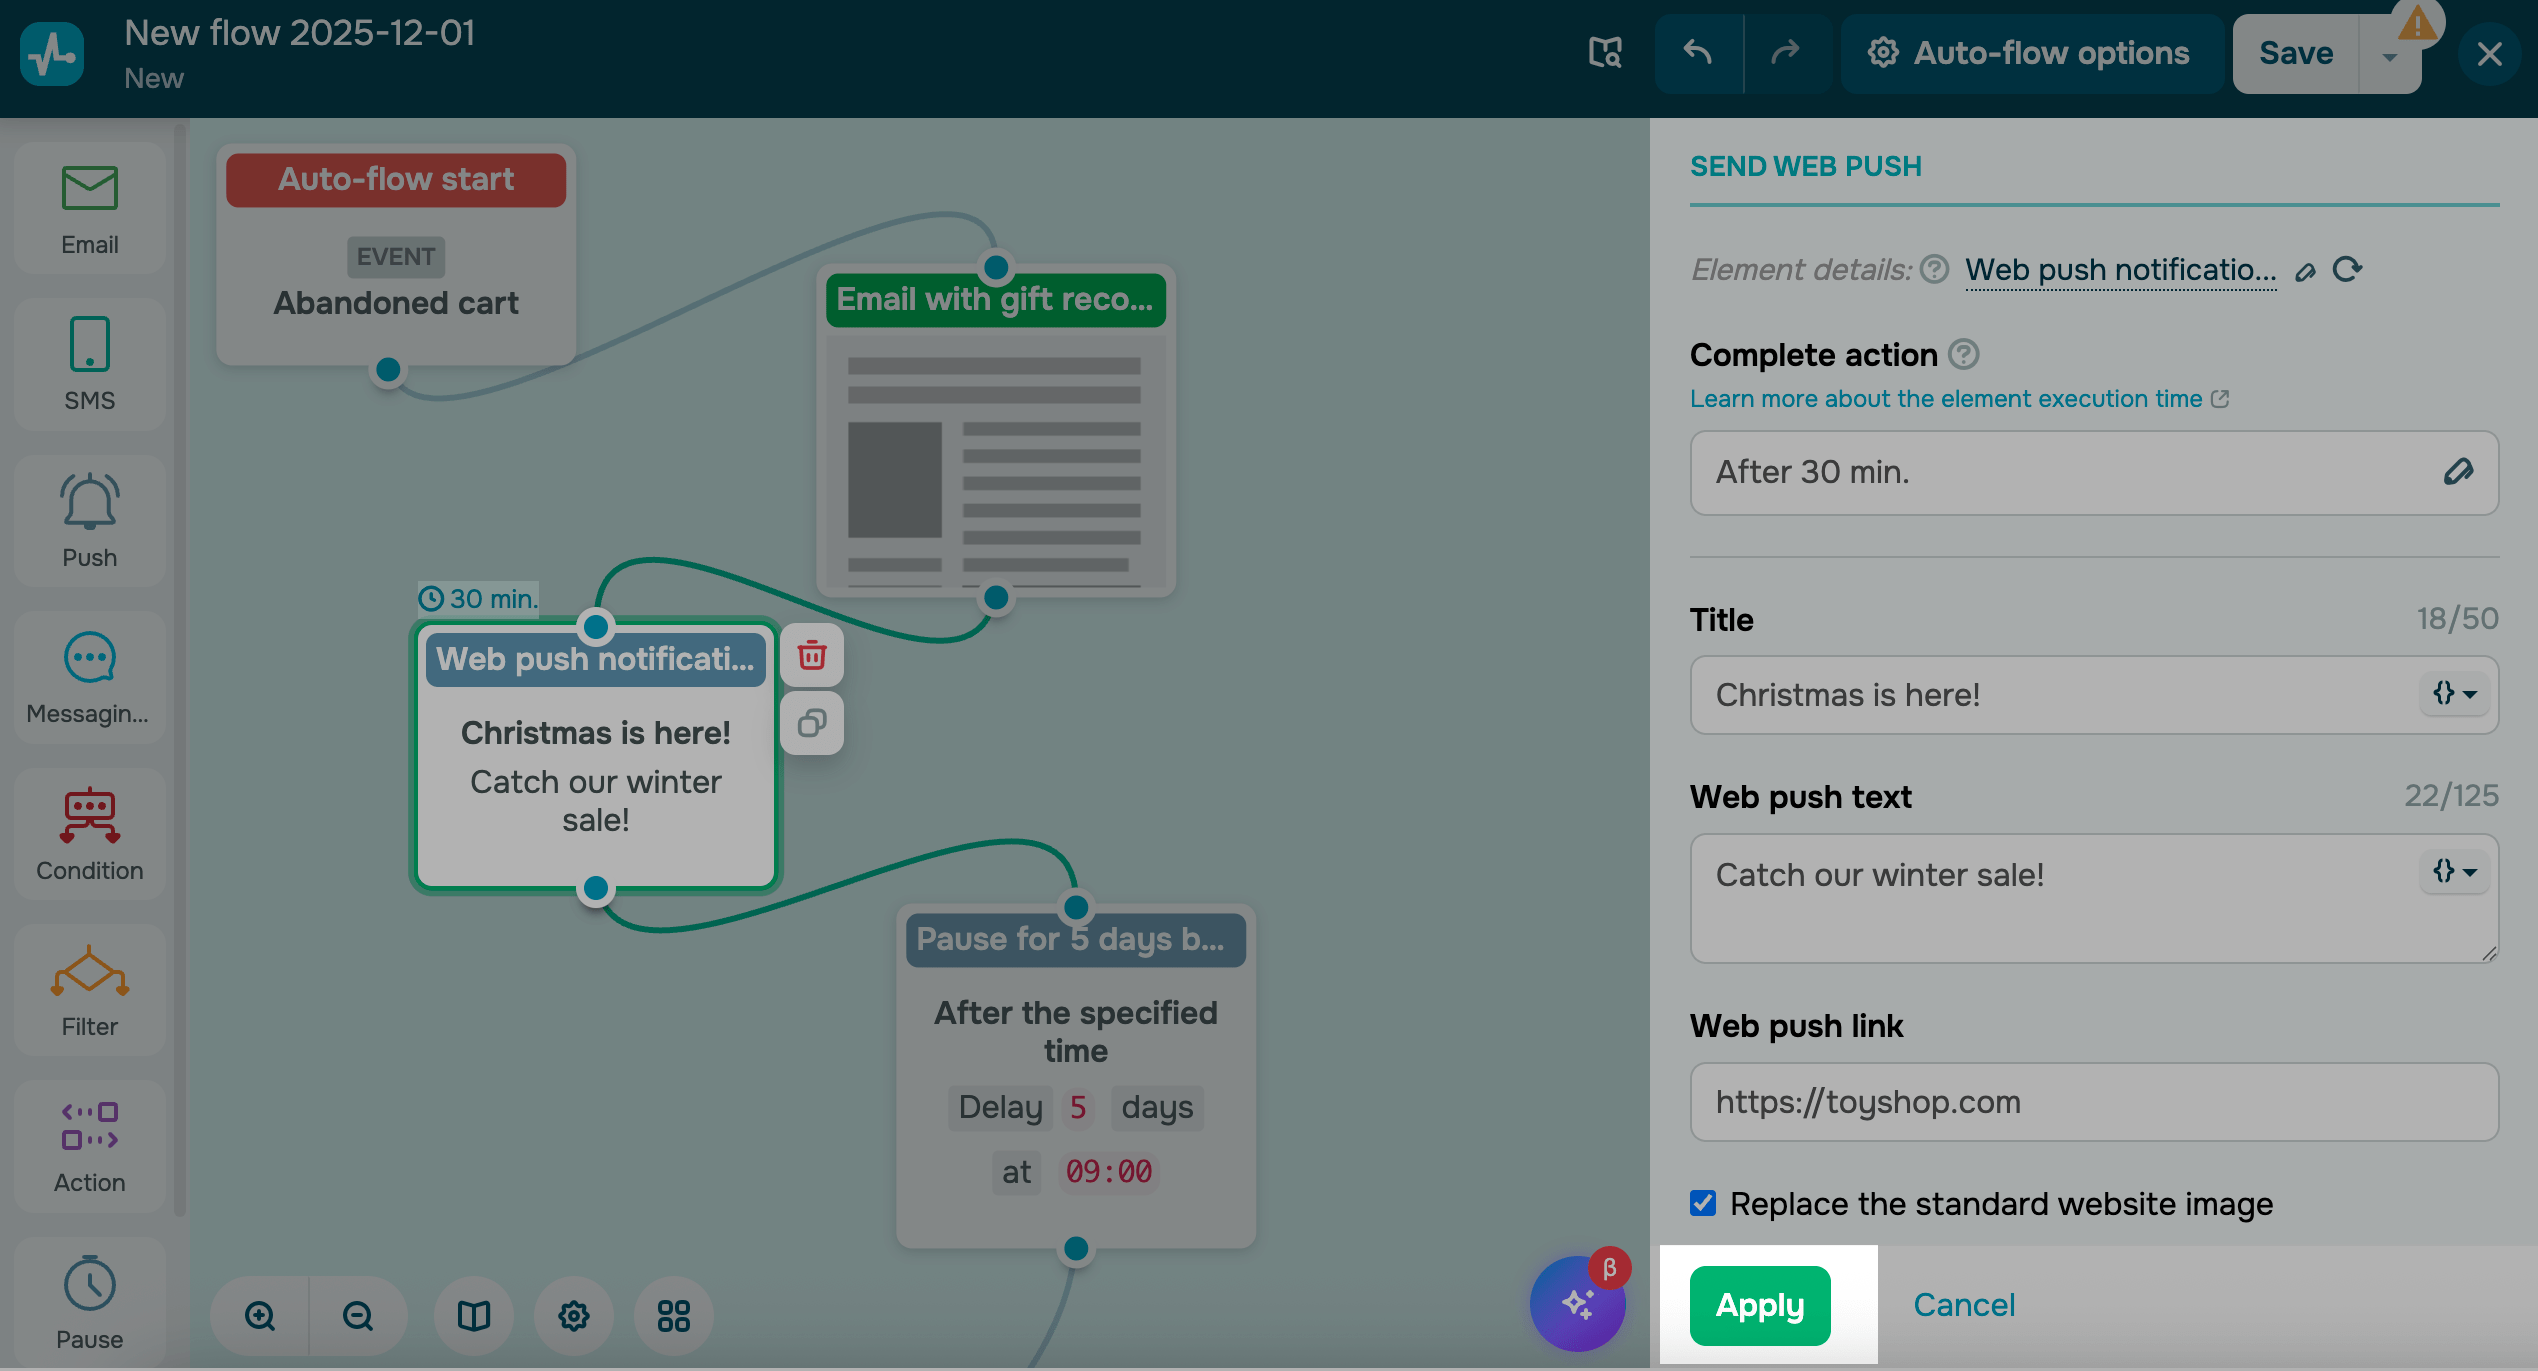
Click each added element and review its settings. If they fit your flow, click Apply.
The AI cannot edit existing elements — it can only add new ones. If you need to make changes to your flow, remove the previous flow and send a new prompt, or adjust relevant elements manually.
We also recommend checking AI-generated elements with the following in mind:
|
AI can access email template automatically or use a specific one if you enter its ID or category name. However, it cannot add links to emails. |
|
| SMS |
AI can generate message text, but it does not have access to SMS settings. |
| Condition |
AI can add a condition to your flow, but it may not always recognize it in your prompt as a separate element. |
| Action |
AI supports only some of the available actions. |
| Goal |
AI can generate goal text, but the text may be inaccurate. |
| Pause |
AI can add a pause, but the duration may be inaccurate. |
If you ask the AI to add the Push, Messaging app, Viber, or Filter elements, they will appear in the flow builder, but you’ll still need to configure them manually to match your flow.
```
Last Updated: 08.12.2025
or