Element Video in course builder
Use the Gallery element with the Video type to add videos to your lessons and make them easy for students to access later.
This works well for lectures, demonstrations, overview lessons, or recordings of practice activities that need a clear visual walkthrough.
Let’s talk about how to add a video to your lesson and adjust how it appears.
Add the Gallery element
Drag the Gallery element to the workspace. On the right, select the Video type.
You can upload your own file to the file manager or paste a link to an external resource.
Upload a file
Use this option to upload a file to SendPulse’s file manager.
Add a file
Click Download and choose a file from the file manager, or upload your own file.
By default, the preview uses the first frame of your video. To add your own image, turn on the Poster image toggle and choose a file.
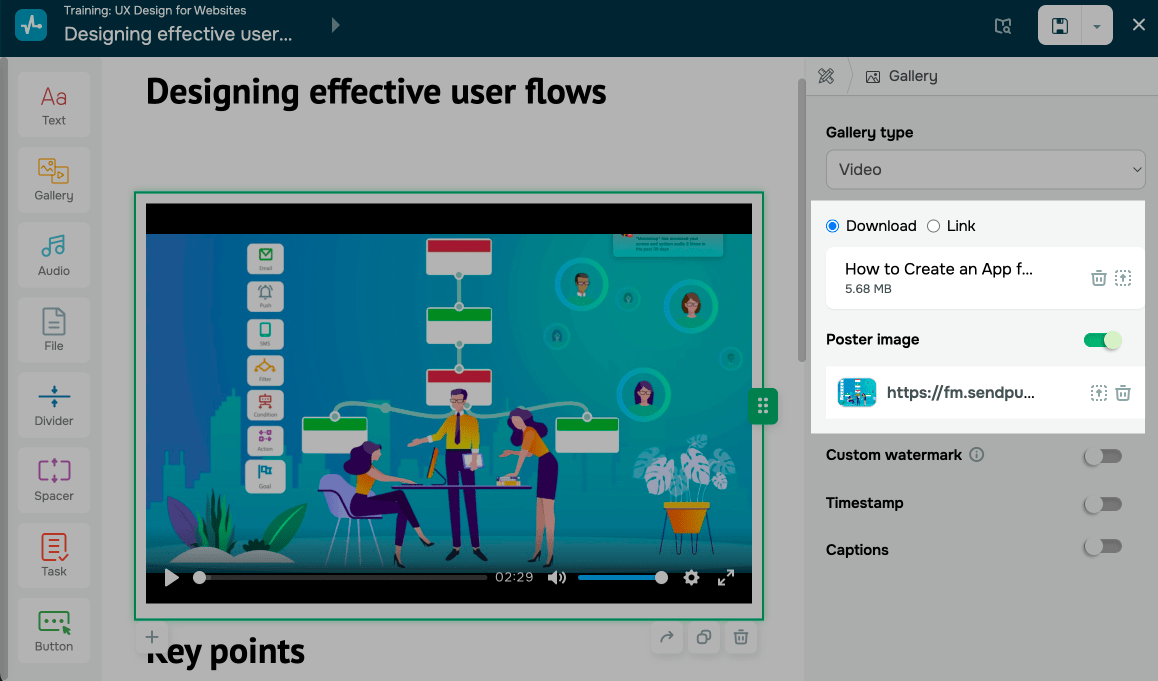
To replace an uploaded file, click the upload icon. To delete it, click the trashcan icon.
Add a watermark
You can also add and customize your watermark for uploaded videos. This helps protect your videos from unauthorized distribution and boosts brand awareness. Your watermark will be visible only in the web version of your course.
You can add a watermark as text or an image. Turn on the Custom watermark toggle and adjust your watermark:
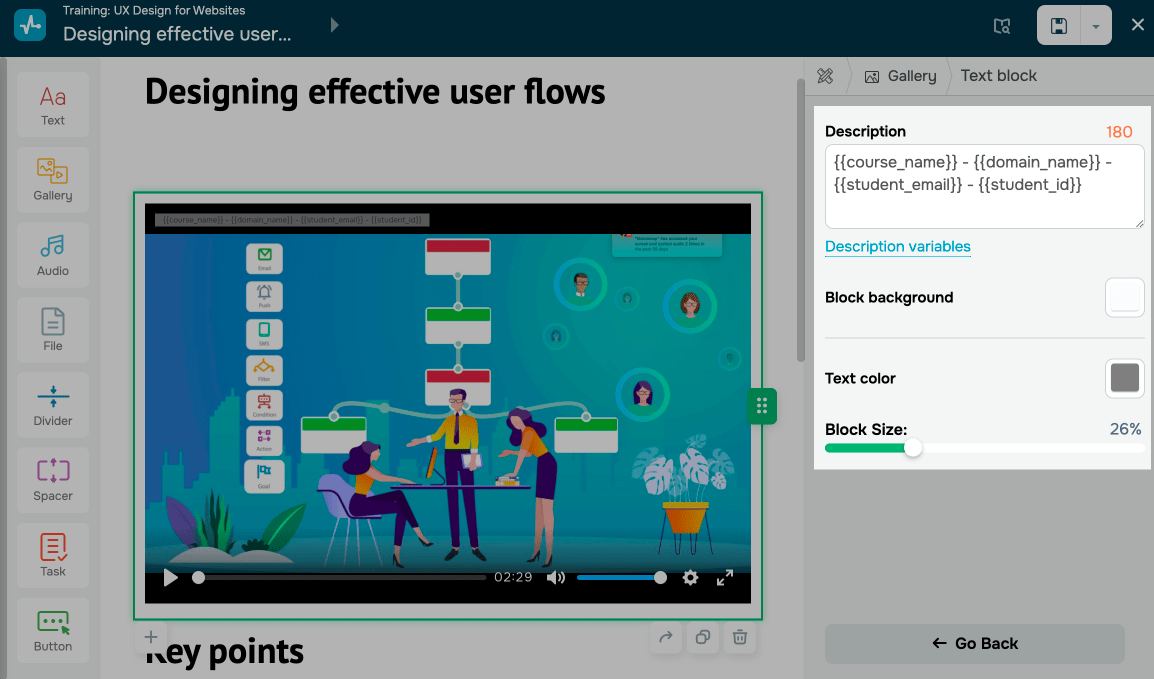
| Text block | Click Configure. In the Description field, enter up to 250 characters of text. You can use variables that will automatically retrieve data from this course. For example, you can add your academy’s website using the {{domain_name}} variable.To view all variables and copy the ones you need, click Description variables. To customize your text, choose background and text colors from the palette and adjust the text size using the slider. To remove or skip the text, turn on the Image toggle and add an image. Afterward, turn off the Text block toggle. Your watermark must include at least one element.
|
| Image | Turn on the Image toggle, then upload an image or select it from the file manager. Click Configure, then adjust the transparency and image size relative to your video. |
Once you add a text or image, adjust how your watermark appears on the video in the following fields:
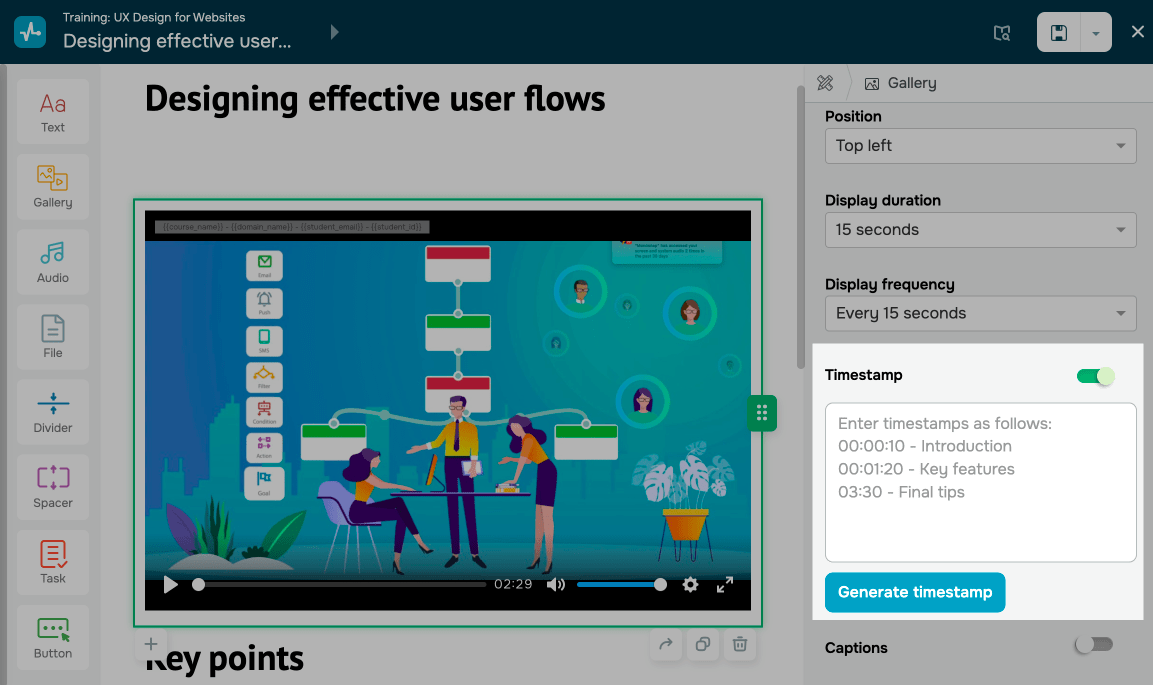
| Position | Decide where to show your watermark. |
| Display duration | Decide how long your watermark should stay visible (all the time or during a specific timeframe). |
| Display frequency | Decide how often to show your watermark (all the time or once during a specific timeframe). |
You can check how your watermark looks in the builder’s workspace.
Add timestamps
Timestamps help students quickly find the information they need in a video.
Turn on the Timestamp toggle and enter your timestamps as 00:00:03 - Title, where 00:00:03 is the point on the video timeline when your timestamp appears. Click Generate timestamp.
Add as many timestamps as you need.
To make changes to your timestamps, edit the data in the input field and click Generate timestamp.
Once you save your lesson, the timestamps will appear in the student dashboard under your video and as markers on the timeline.
Add captions
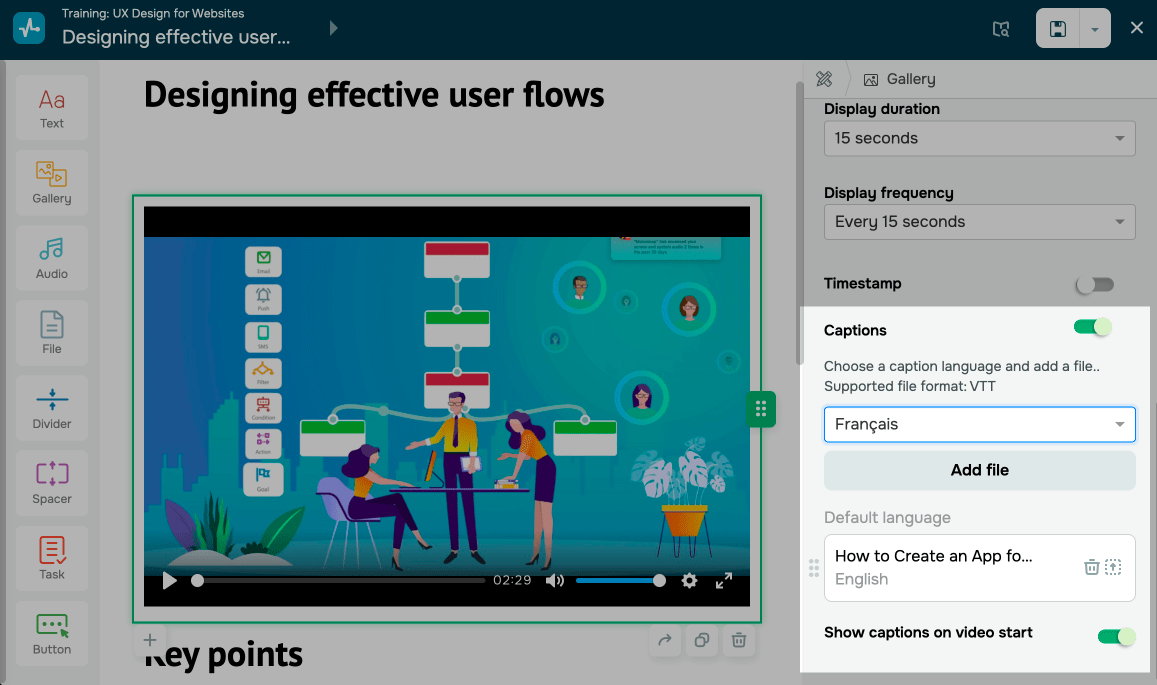
Use captions to support multiple languages and help students understand your videos.
Select a caption language and add a file. The recommended file format is VTT.
You can also enable captions during video playback.
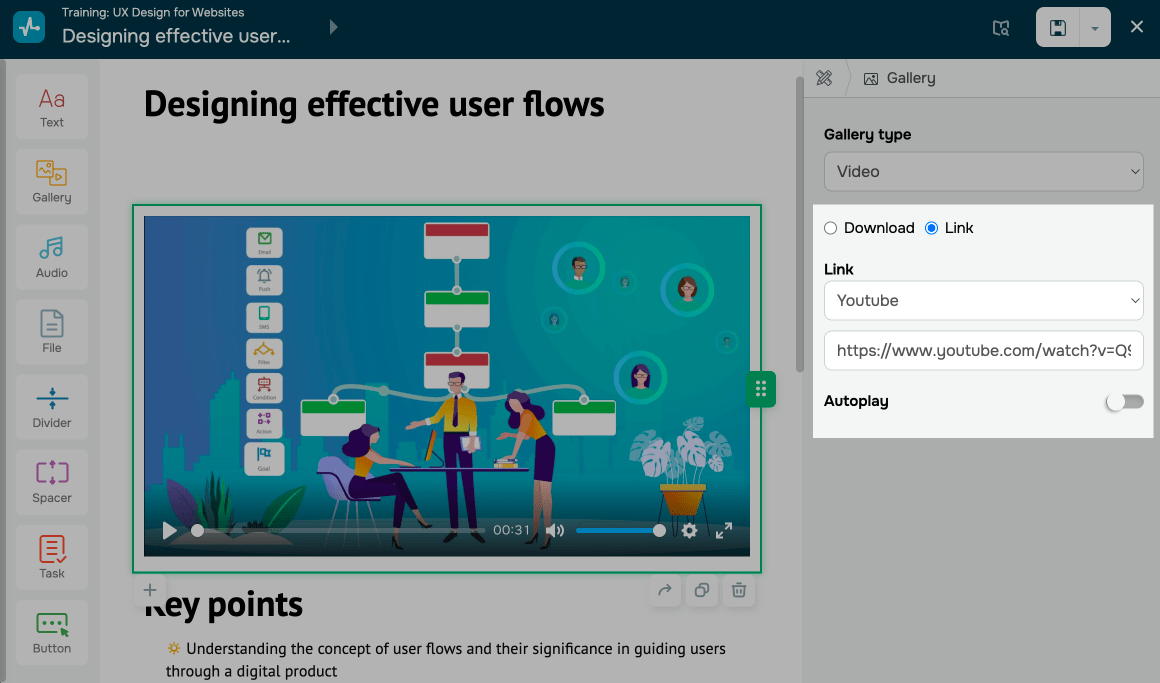
Paste a link
Use this option to add videos hosted on other platforms.
Select a platform and add a link.
You can also enable autoplay when your lesson opens.
Last Updated: 26.05.2025
or