How to Integrate SendPulse with Justuno
This guide covers the necessary steps to start collecting email addresses and other clients' data with SendPulse form integration for Justuno.
The requirements for integration
- Justuno Account
- SendPulse Account
Start with SendPulse API keys
Log in to your SendPulse account. Then navigate to settings --> API tab. Activate the REST API and copy your API Secret and API ID.

Log in to Justuno
Navigate to Justuno.com and log in using your account credentials.
Edit Promotion Design
- Click the Promotion tab at the top of the page
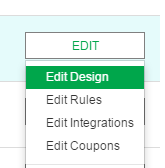
- Click "Edit Design" next to the desired Promotion

- Add Email Form
To add a new email form, select "Email Form" under the "Add Layer" option on the left side and drag it onto the Promotion Canvas.

Click the "SendPulse" title and authenticate it.
Edit Email Form
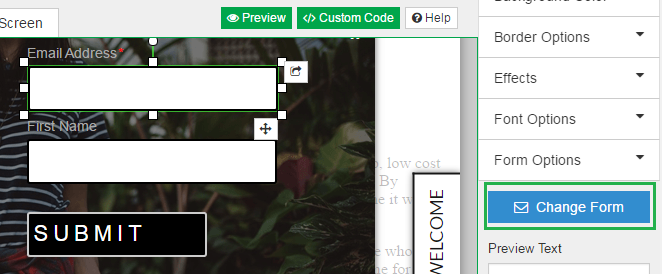
To EDIT an existing Email Form, highlight a field on the form and click “Change Form” under “Form Options” on the right.

Click the “SendPulse” tile and authenticate it.
SendPulse Authentication
Enter the API Secret and API ID you copied earlier into the screen that appears.

SendPulse Mailing List Selection
Once authenticated, you will see your current SendPulse Mailing Lists appear. Select a list that you would like contacts to be added to or create a new one. The new mailing list will be added to your SendPulse account and will be available for immediate selection.

SendPulse Field Definition
SendPulse uses the form fields that Justuno provides as Variables that are added to each new contact collected through Justuno. Use the provided fields or click “Additional Fields” to create new fields.
Create Form
Once you have finalized the fields to use, click “Create Form,” then arrange the fields are as desired.
Read more about integration with Justuno in this article.
Last Updated: 19.04.2024

or