Create a bio link page
You can create a single page or multi-page bio link with a well-thought-out user-friendly design using a bio link page builder. Choose premade templates that suit your business to customize them or create your own from scratch without any coding skills.
With our bio link page builder, you only need to select an element from the panel, drag it to the work area, and customize its style for your business tasks. In addition to text and visual content, you can connect payment options, add subscription forms to email campaigns or chatbots, add an image gallery, and include links to your social media profiles or blog to attract and convert visitors into customers.
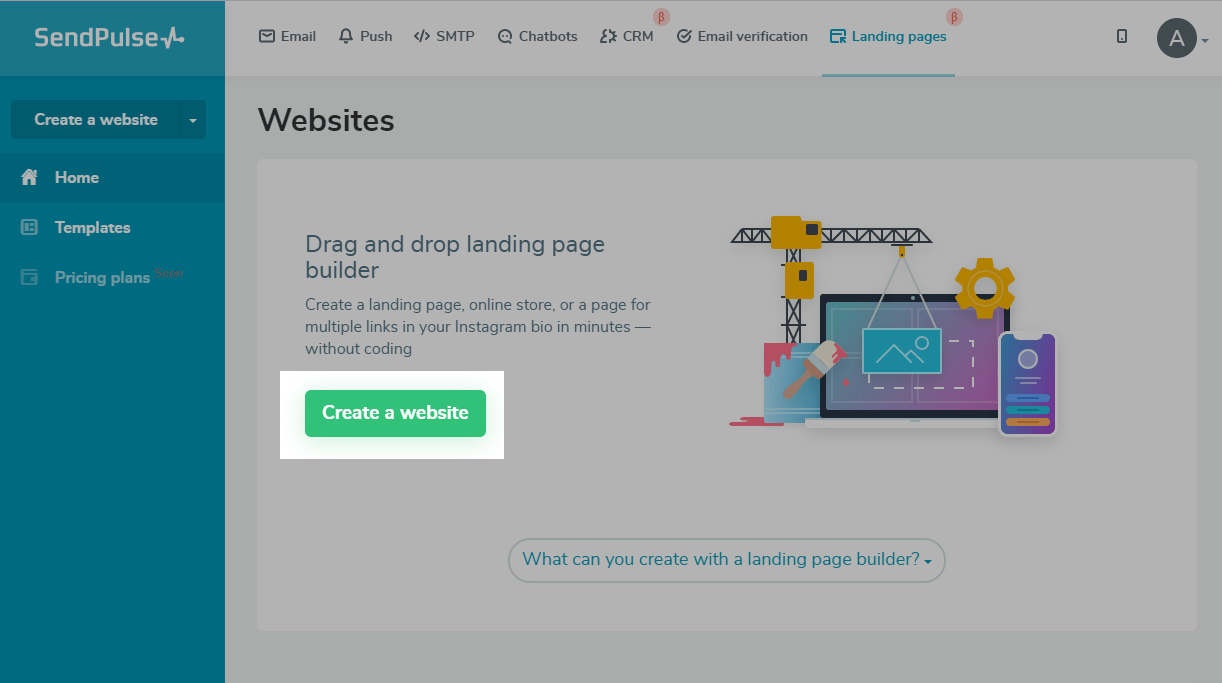
To create a page, go to the Bio link pages tab and click Create Bio link page.
Then, click +New bio link page.
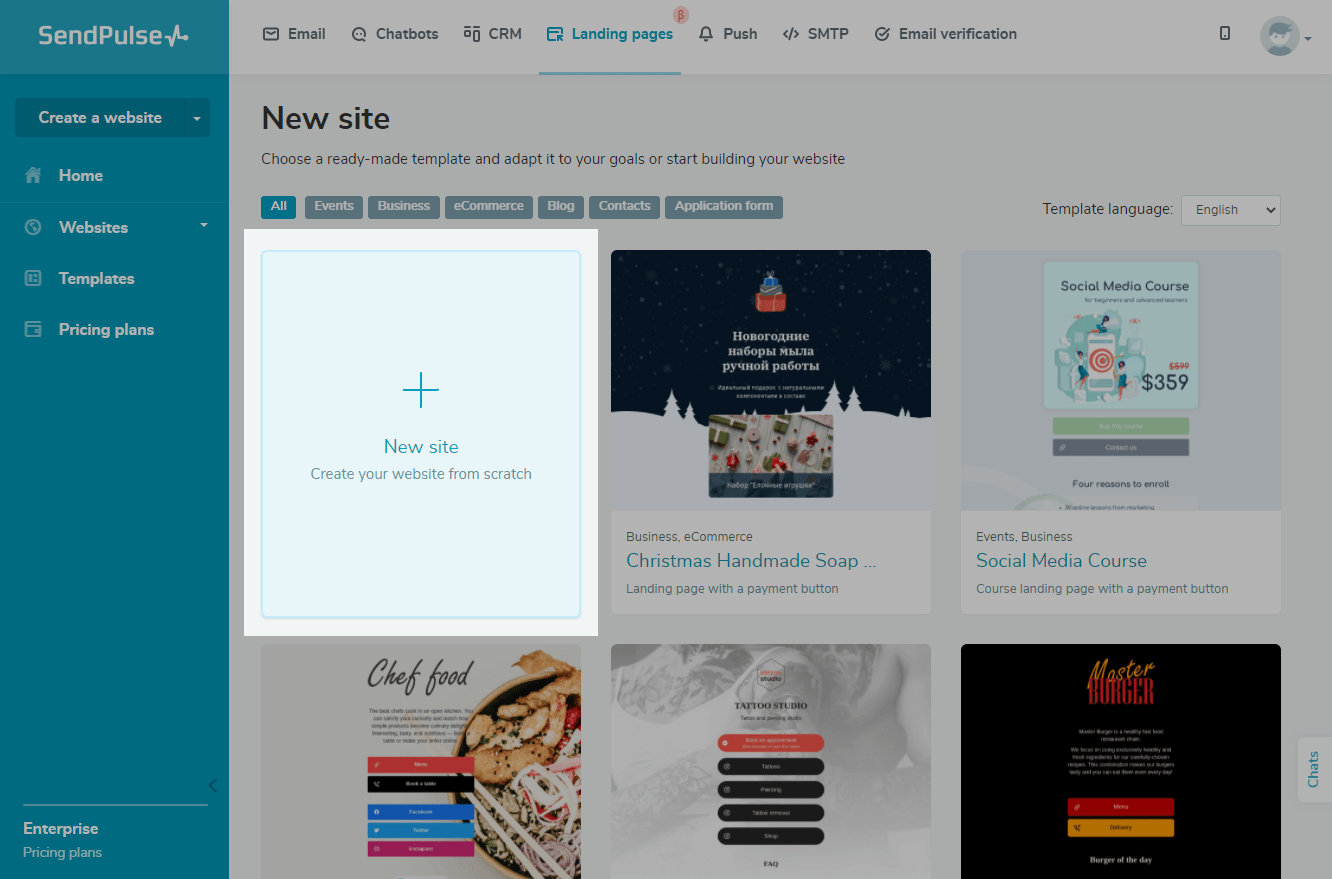
You can also go to the Templates tab, select a premade template, and then click on Edit in the drop-down list.
General Bio link page style
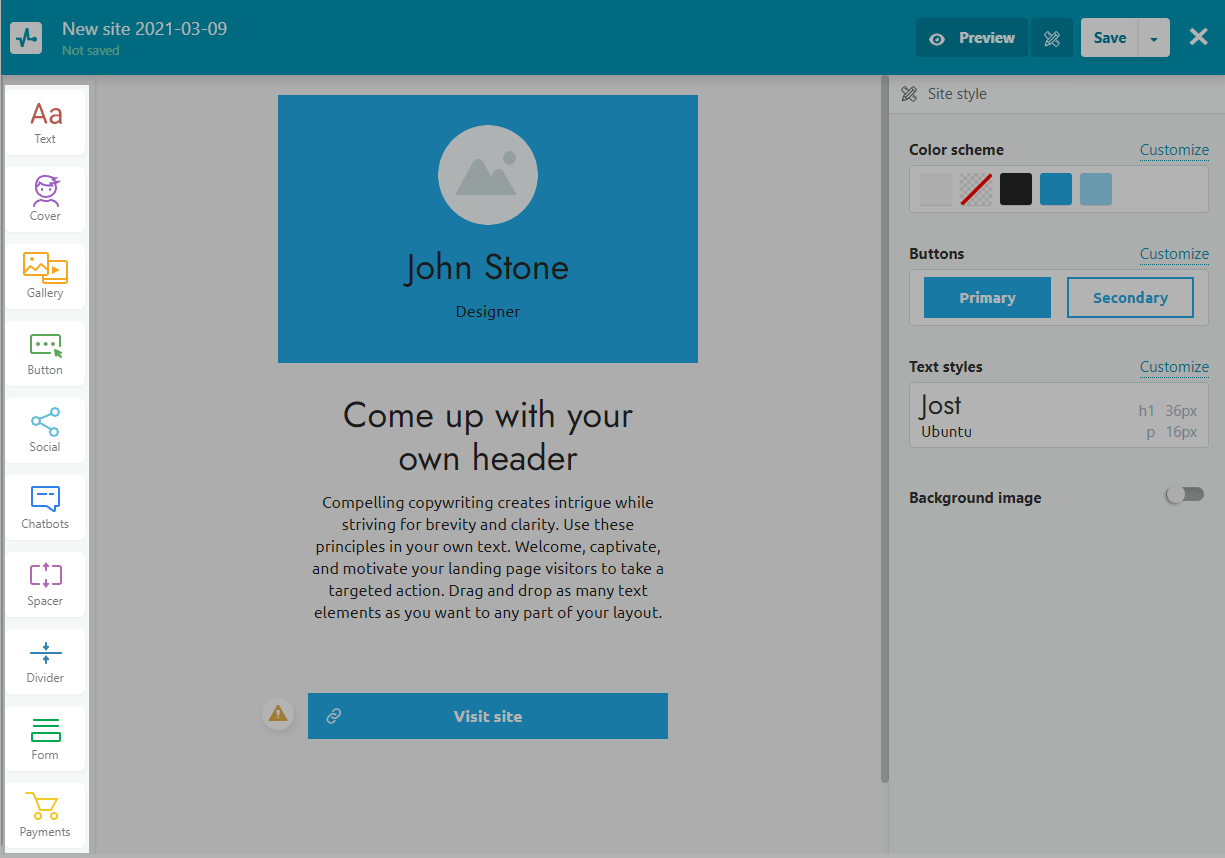
Before you start adding elements, create the bio link page style you want. By default, the color scheme and text style you select will be applied to all of the elements you use. You can also set or change the general style of your site after it is created.
Please note that general bio link page style settings will apply to all bio link page pages.
You can find the bio link page style palette icon in the upper left corner of the top bar.
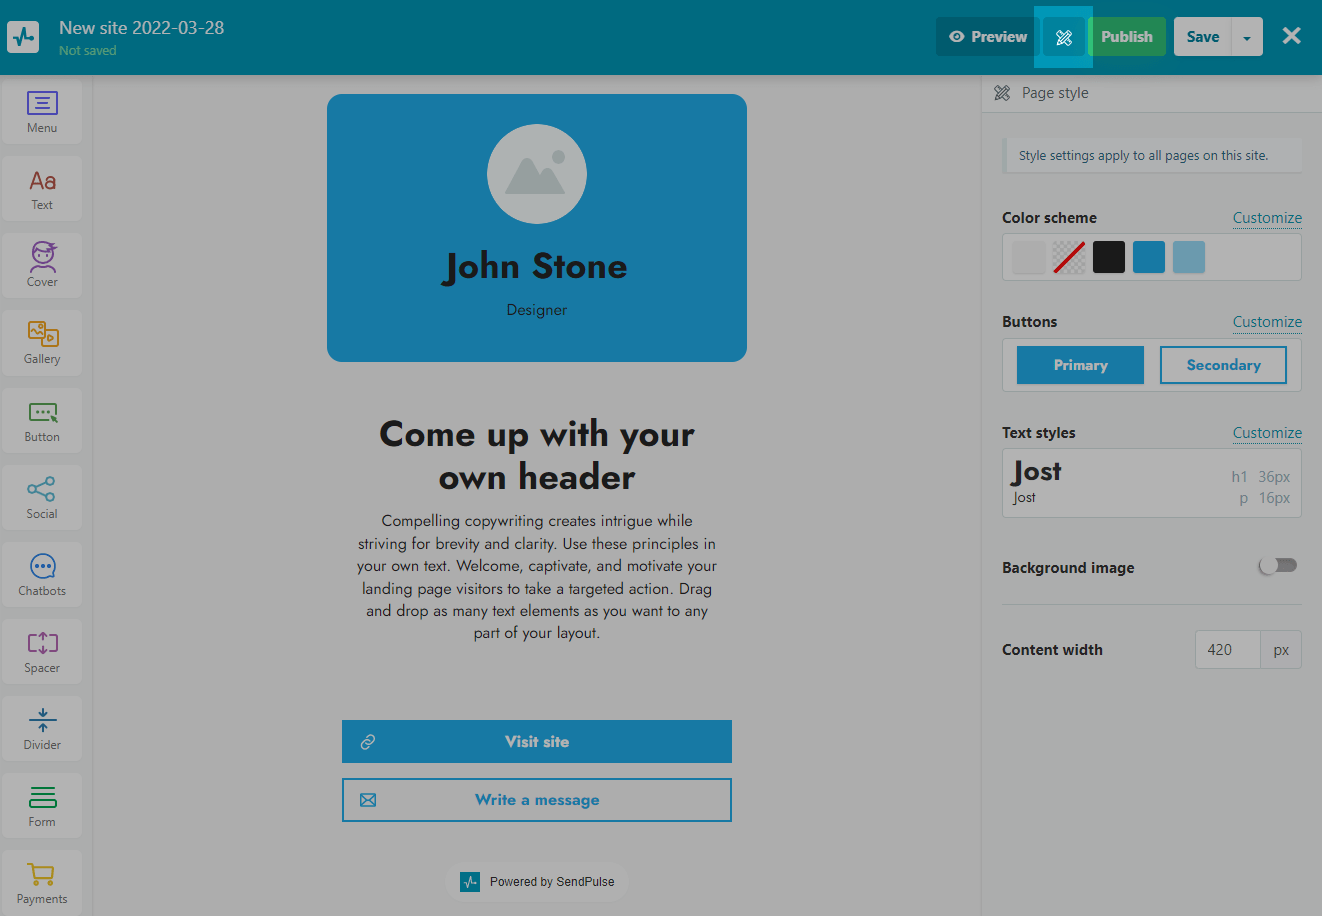
Click on the palette icon and select Customize next to the desired item.
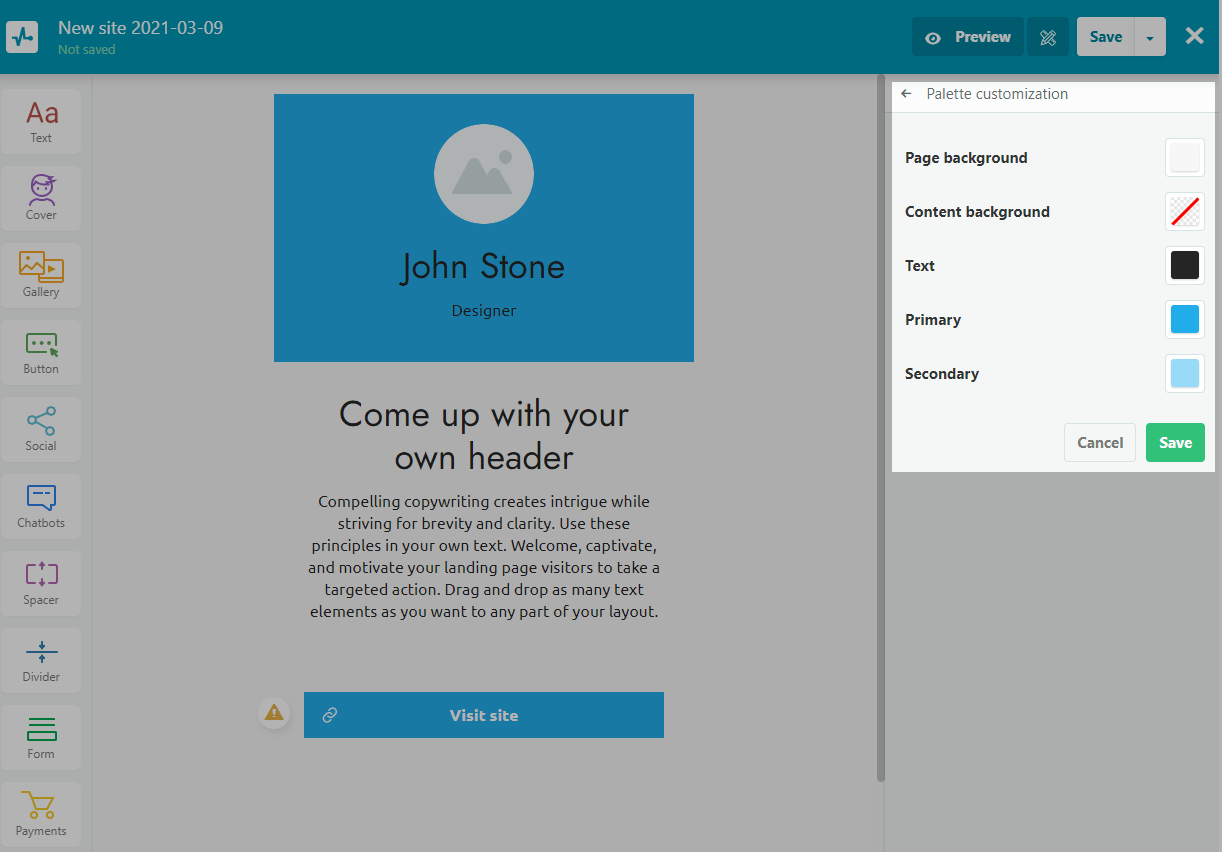
Color palette
You can choose a preset color scheme.
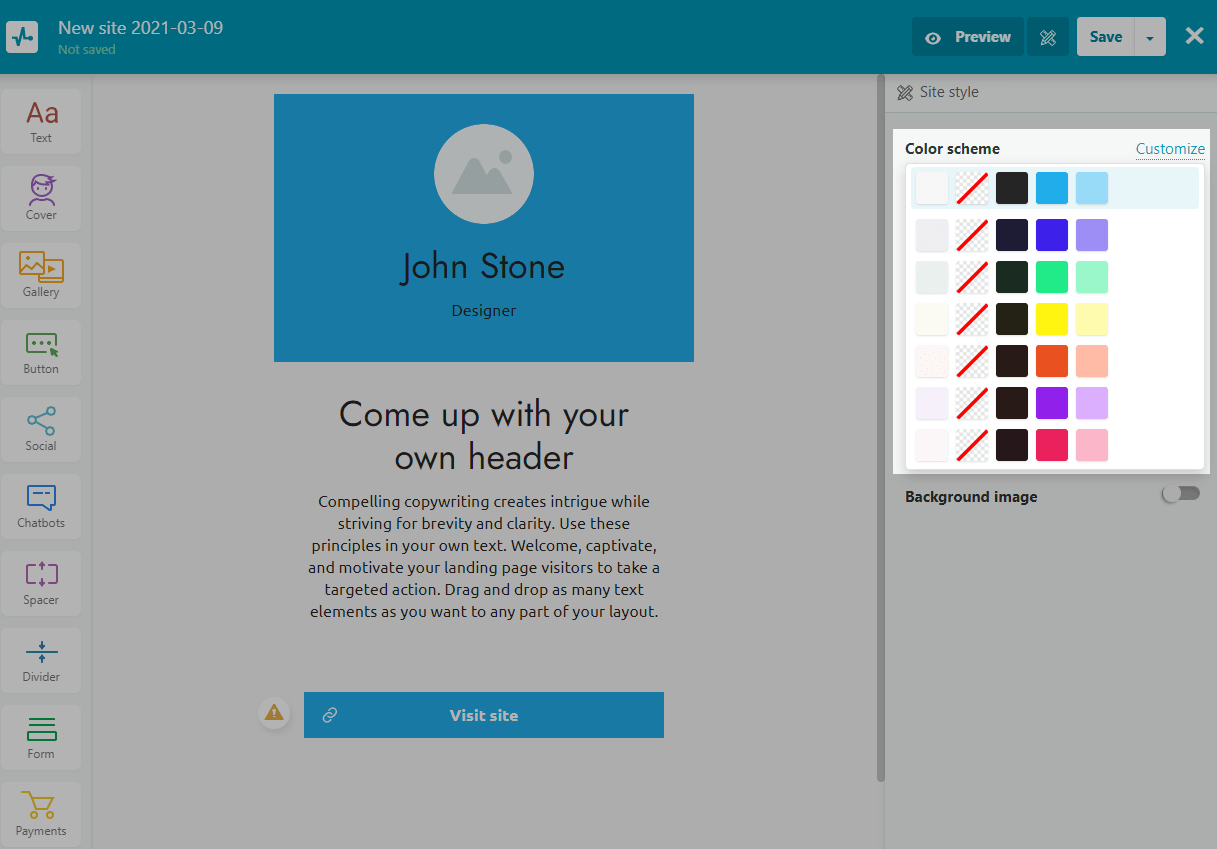
Or customize the color scheme of each element individually.
| Content background | The default color for all elements except the Cover element. |
| Page background | The color of the page space outside of all elements. |
| Text | The color of the text for the Text element and other elements containing text (labels, radio buttons, checkboxes) in the Subscription form. |
| Primary color | The background color in the Cover element, the background color of the button with the Primary style, and the color for the line of the button with the Secondary style. |
| Secondary color | The color of the Line element and the background color of the button with the Secondary style. |
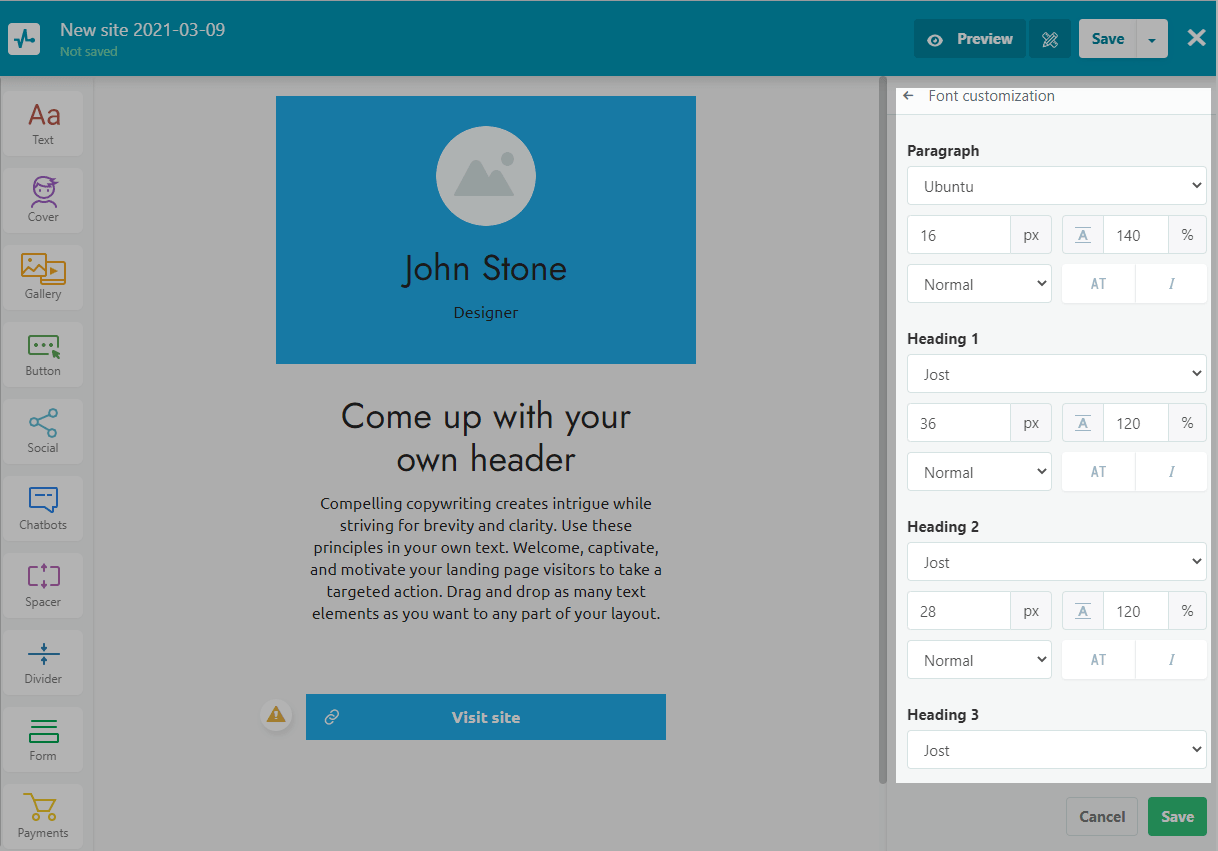
Text Styles
You can choose from preset font pairs or customize fonts for paragraphs and headings to match the style of your bio link page and maintain design integrity.

To customize fonts for paragraphs and headings separately, go to settings.
Button styles
You can select one of the styles from the preset list of button styles.
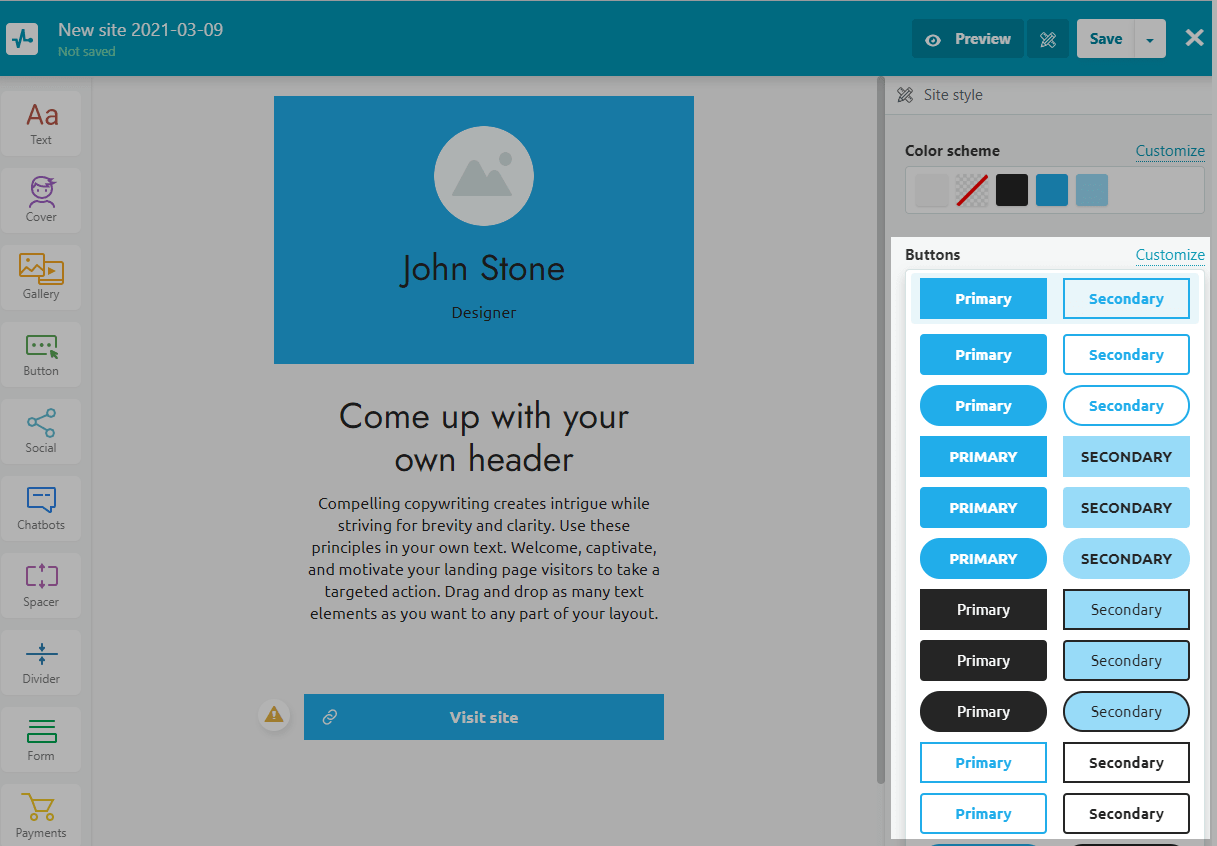
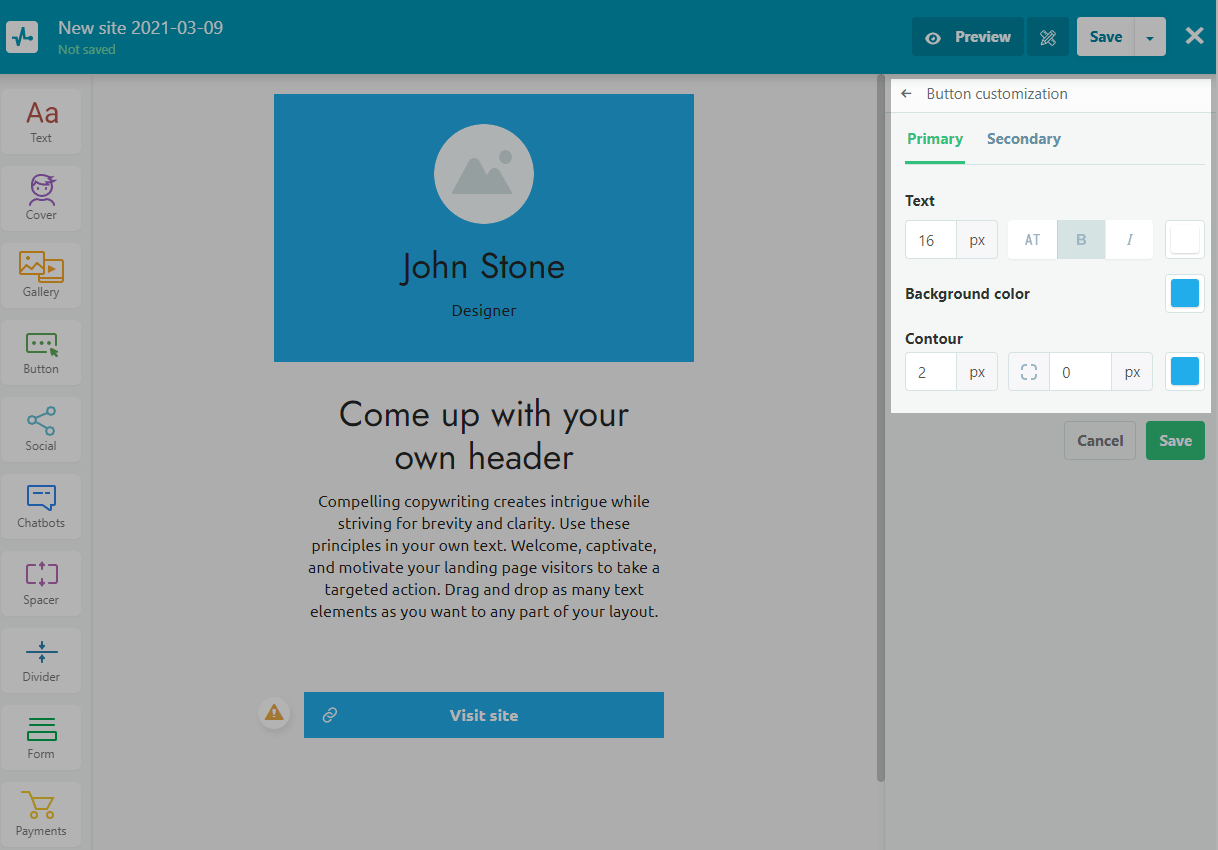
You can also customize your style for both kinds of buttons:
| Primary | Used for priority call-to-action buttons that need more attention |
| Secondary | Used for less important buttons; the default color of this button is paler |
Page background
In general settings, you can set a background image or an MP4 video for the entire page. To do this, turn on the Background image or Background video toggle, and upload a file or select it from the file manager.
You can set either a video or an image as page background. Turn off one of these toggles before turning on another.
Once you upload your image, you can customize it:
| Position | Set an image placement within the block. |
| Repeat |
Repeat an image within the block. This setting is applicable only if you have selected Default or Fit for the Size option. Options available: Do not repeat, Horizontally, Vertically, and Both. |
| Size |
Adjust your image size and placement within the block. The following options are available:
|

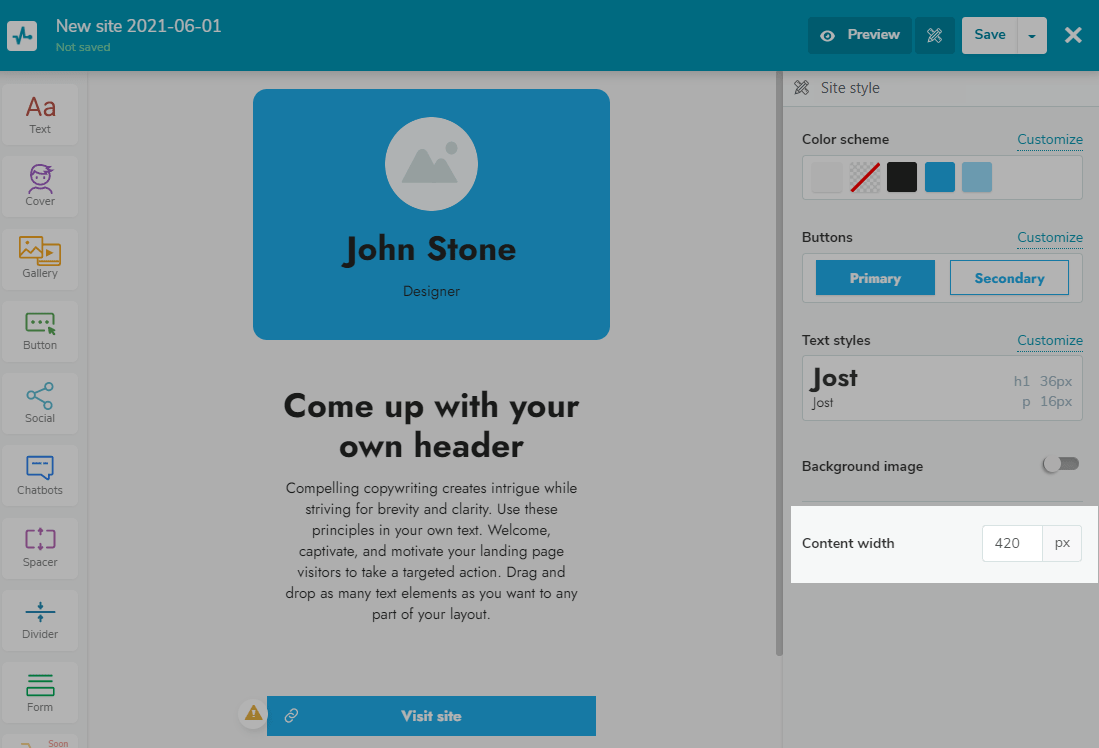
Content width
You can set the size of the bio link page width. The minimum value is 420 px, the maximum is 780 px. When you set up the maximum width for the desktop version of your bio link page, it also adapts for mobile devices.
Adding elements
Choose an element in the left pane and drag it into the work area for further customization.
To return to setting a specific element, click on it, and the item settings will appear on the right.
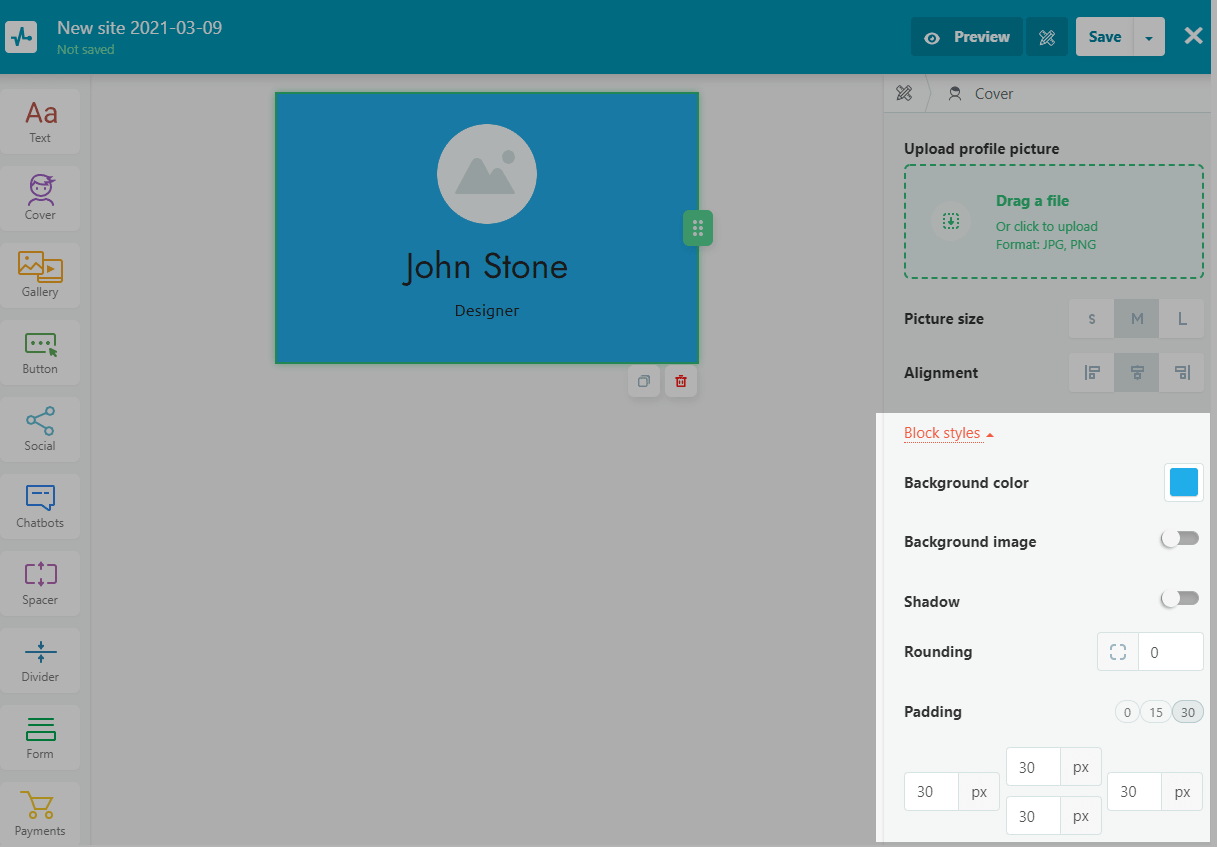
Cover
Use the cover as a top block or header on your bio link page to display a company logo or a profile avatar.
By default, the cover consists of an avatar, short text, and a background.
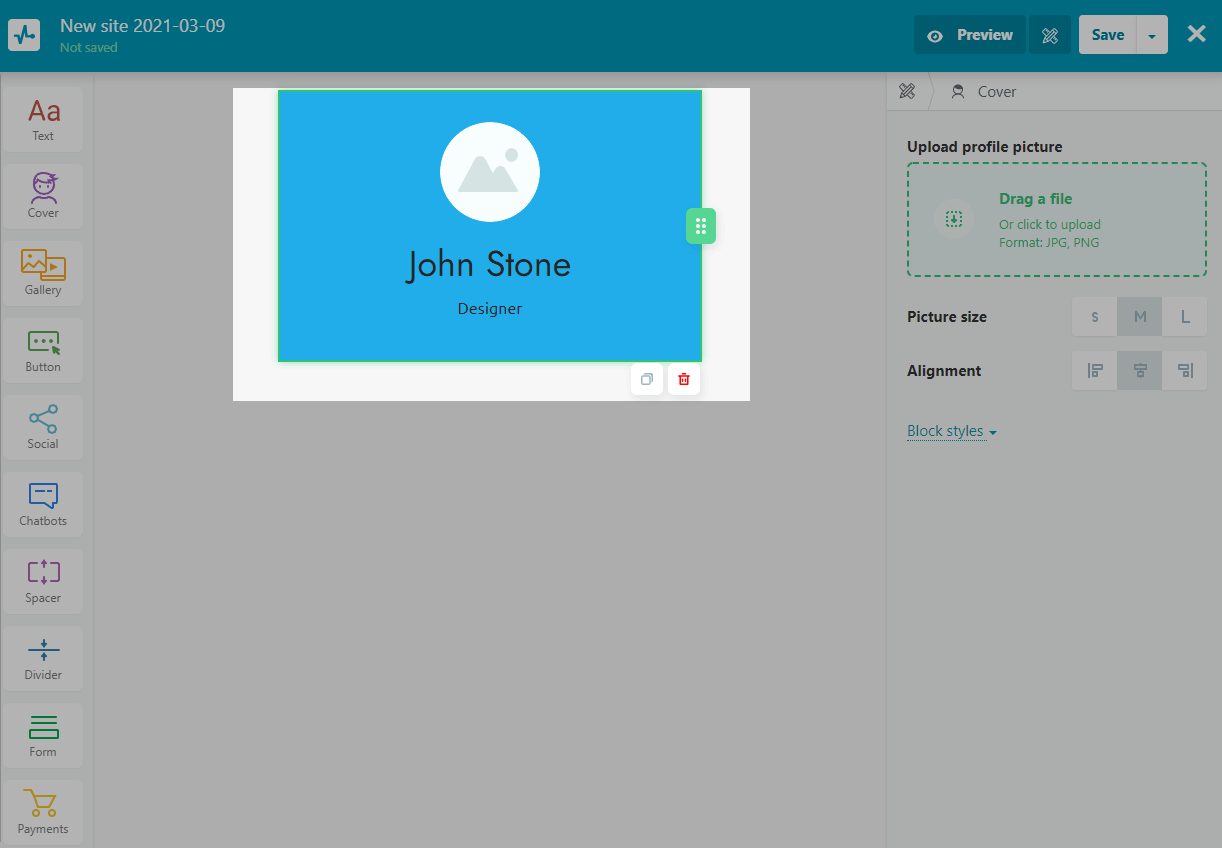
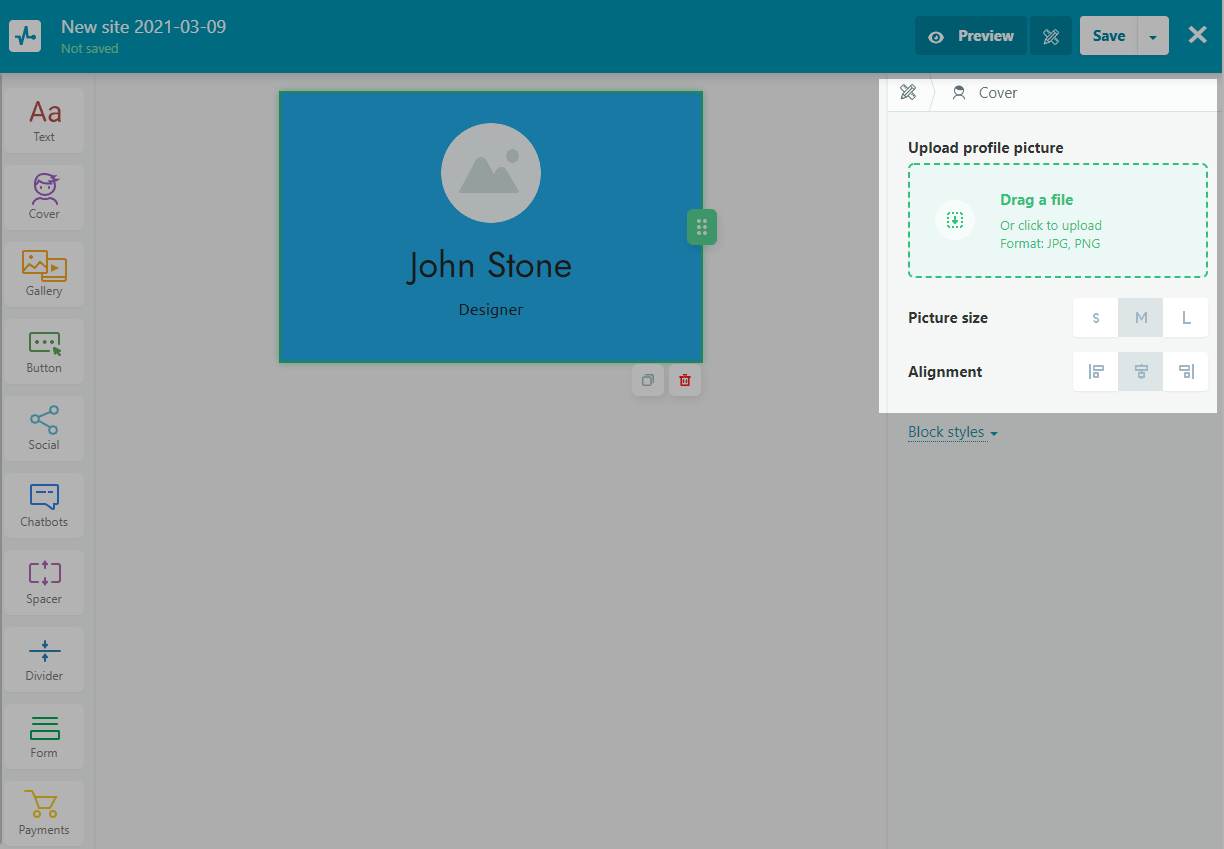
For the cover, you can pull up an avatar image from a social network or upload an image yourself.
Then proceed to customize the display of the avatar — select the alignment and specify the size.
To edit the text, click on it, and the text editing panel will open.
Within each element, you can customize the background, padding from the element to the page border, shadow, and round the corners of a given element.
Menu
You can add a menu to help the user navigate to the desired page of your bio link page.
Drag the Menu element to the top of the page. On the right, you will see some examples of what you can add to your bio link page menu.
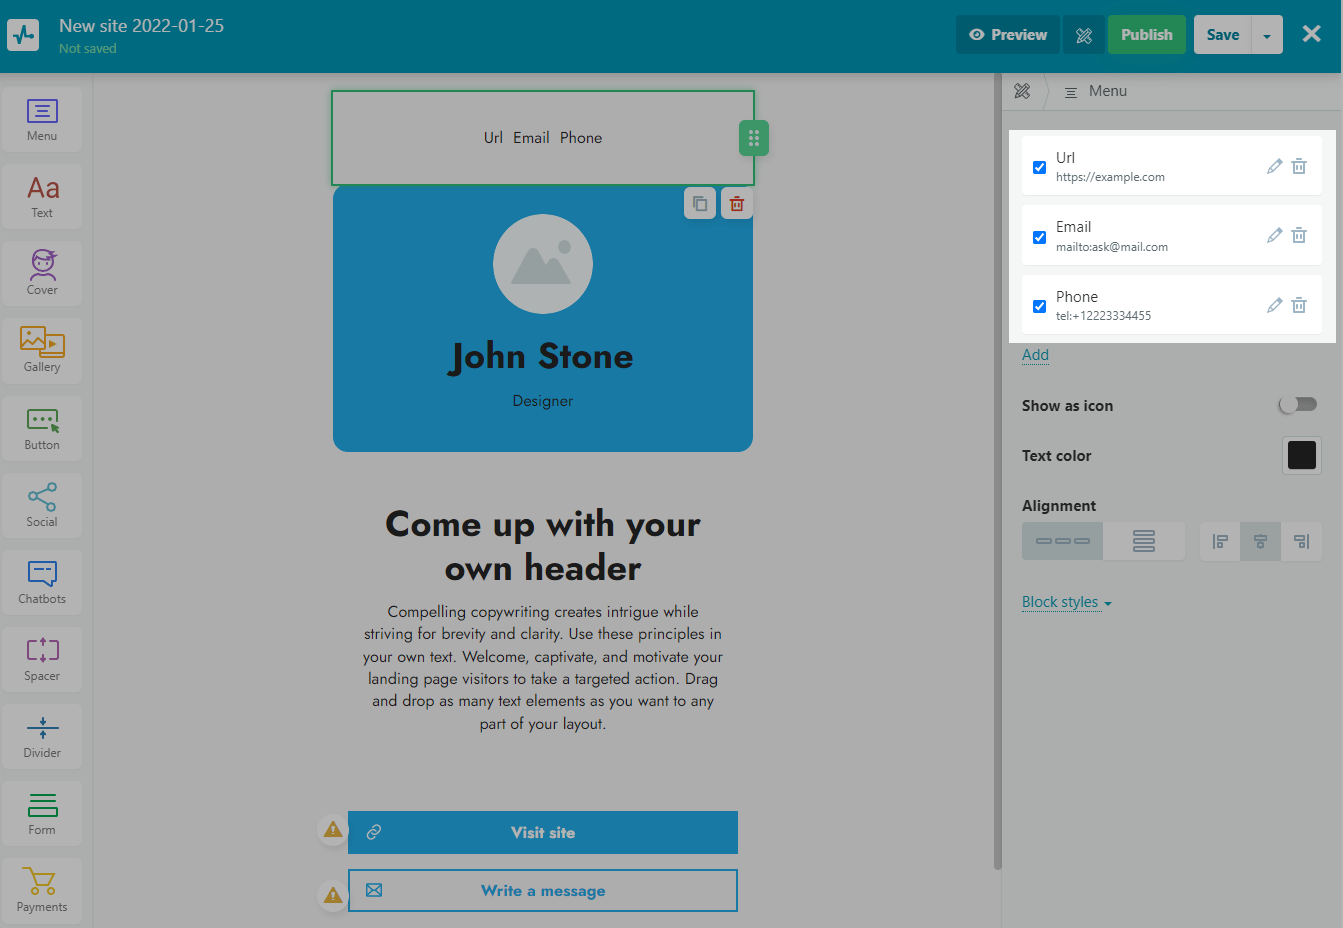
To add a new item to the menu, click Add. Then, click on the pencil icon, and enter a new name for the item. Choose your bio link page page, or specify a link to a third-party resource, email address, or phone number.
Choose whether to open the link in a new window or in the same one.
Text
Used to add a text element to the page.
To change the formatting, click on the text itself, and the text editing panel will open. Change the color and font for a specific part of your text to highlight keywords and headings.
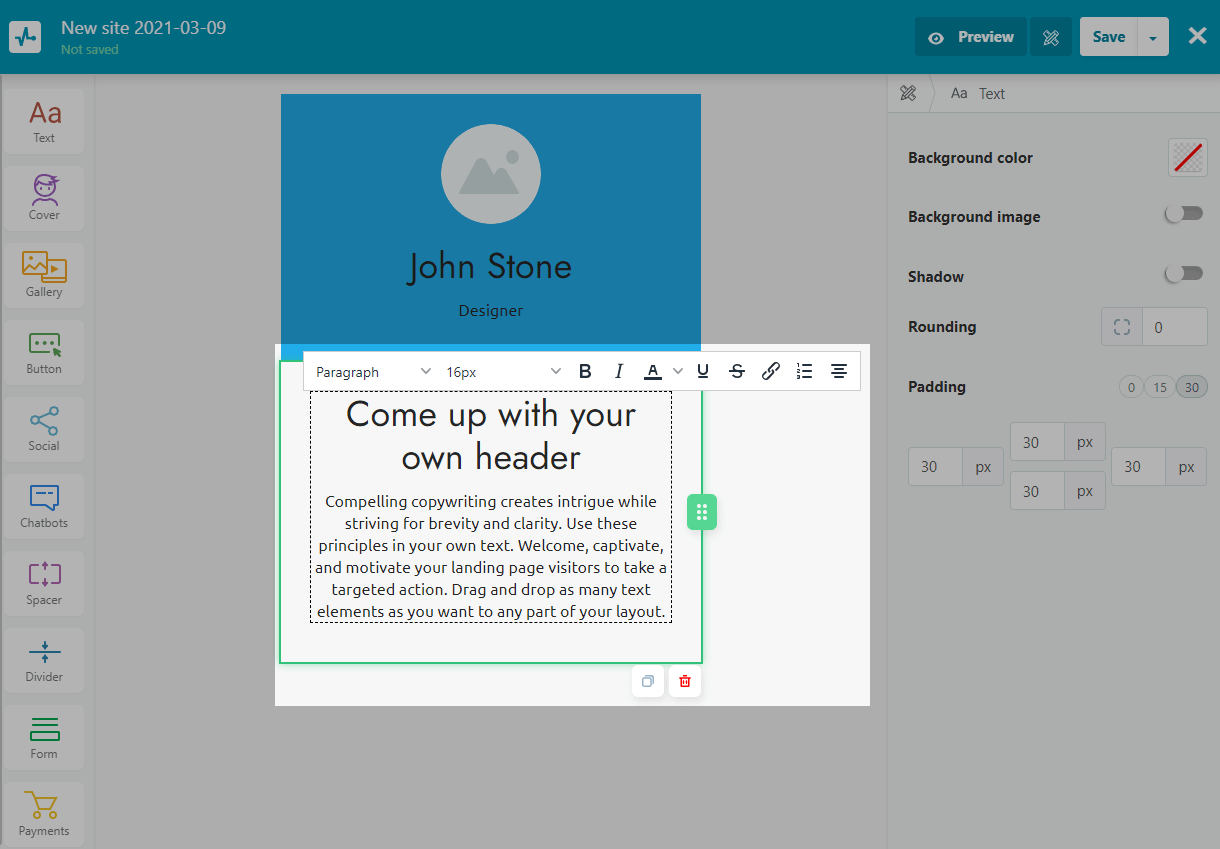
To change the location and add a background, click on the settings on the right.
Gallery: Images, Videos, and Carousels
With the Gallery element, you can add multimedia elements to your page: images, carousels of images, and video. Using additional media enhances the effect of your text.
If you want to add a video, you must first upload it to YouTube, and then insert a link to it into the editor.
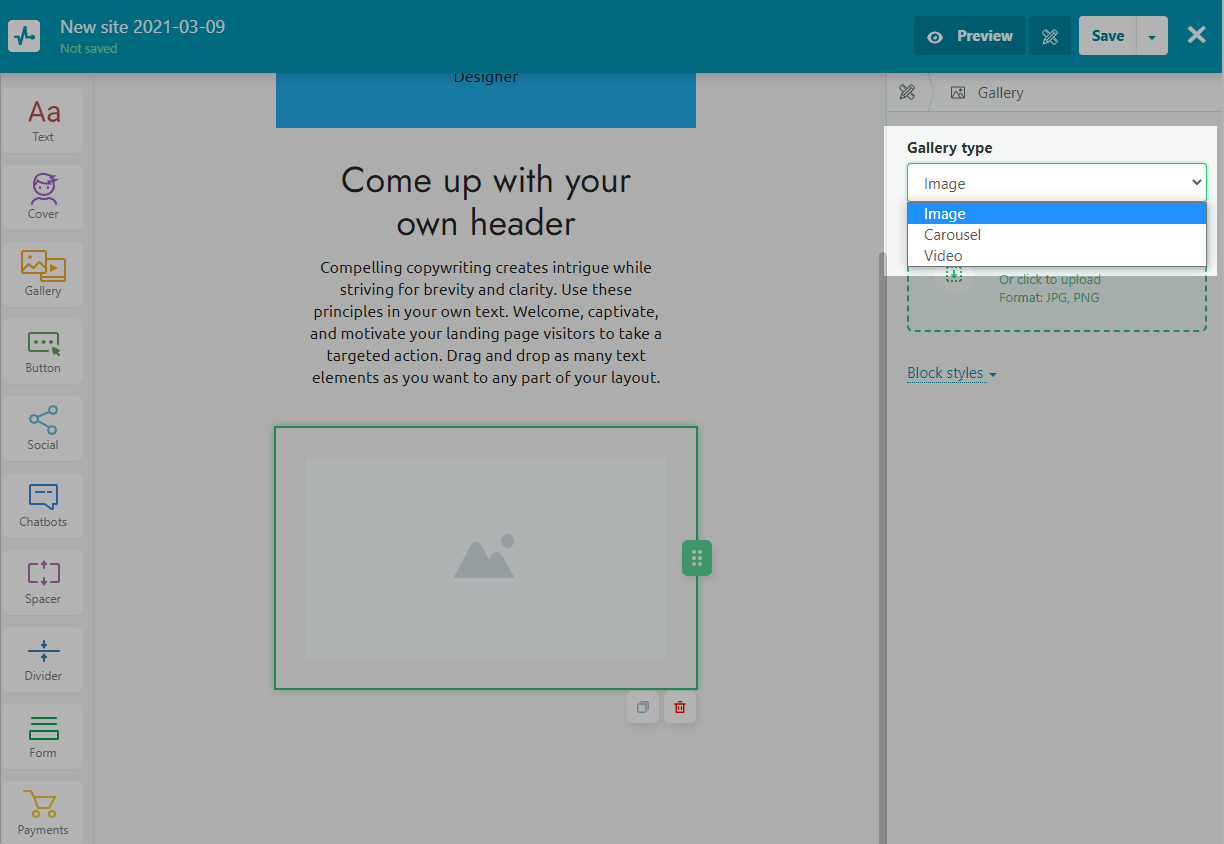
A carousel is suitable for displaying products in the form of cards with a description, image, and link.

You can set the carousel to auto-scroll and adjust the scrolling speed, or leave the option to manually scroll through the carousel.
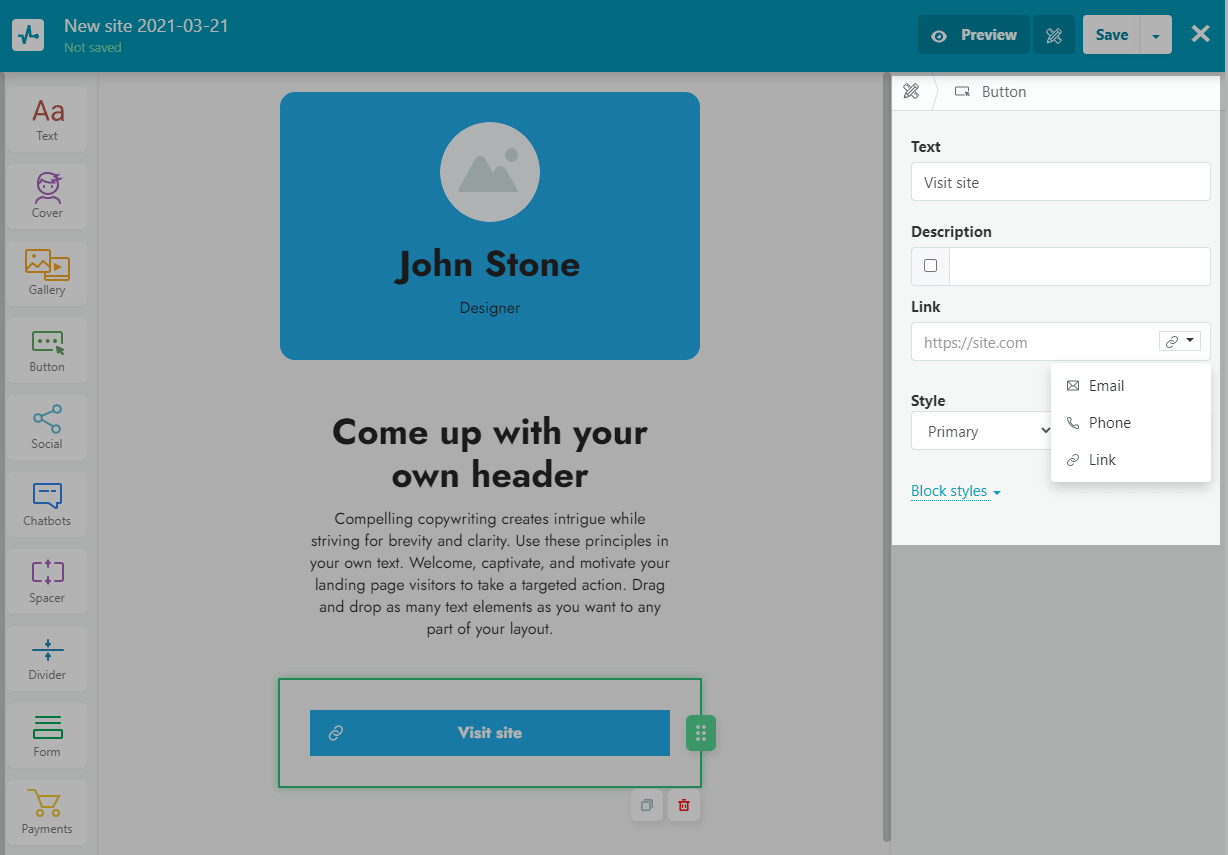
Buttons: Link, Phone, and Email
Enter a name for the button. Select its type: link to a bio link page, phone number, or email address, and then insert the data.
Choose a button style. By default, styles are pulled from the general page style. You can also create a unique style for each button separately — for this, select the Custom option.
If you want to give users a hint or provide additional information, add a description for your button.
Turn on the Additional effects toggle to add animations and hover effects.
In the Condition field, select a website visitor action that will trigger your button effect, and in the Effect field, select an animation available for this condition.
| Condition | Description | Effect |
| Hover | This effect is triggered when a website visitor hovers over your button. | Bounce (the button moves up and down).
Shake (the button moves in different directions). Decrease (the button becomes smaller). Increase (the button becomes larger). |
| Static | This effect is triggered when a visitor opens your page or stops scrolling, seeing your button in the visible area. | Shine (the button shimmers).
Twinkle (the button is translucent and smaller at first but then goes back to its regular size and color). |
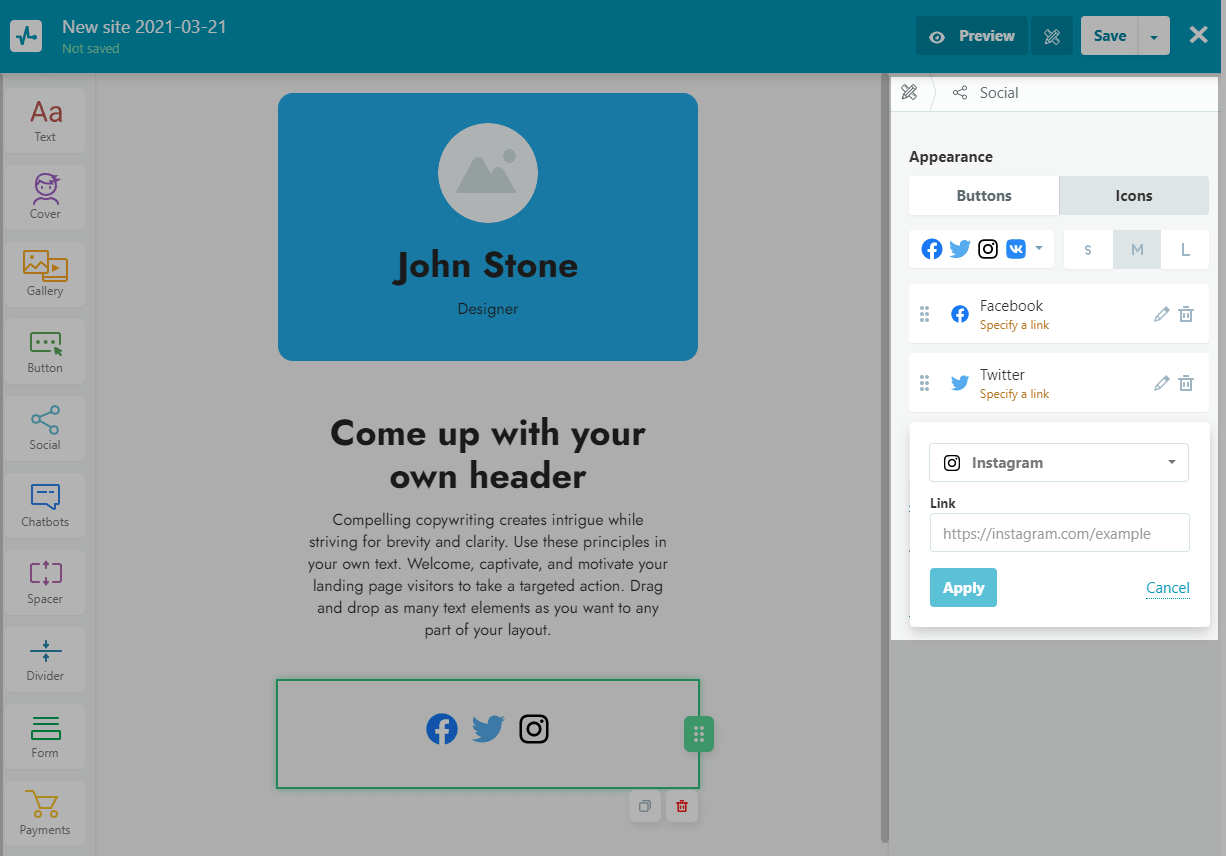
Socials
In Socials element you can add a social media link to invite a user to your page or your company page.
To add a new social network, click Add. Then, click on the edit icon, select a social network, and enter a link to it.
Customize the appearance of the element — display your link as a button or icon, and choose a size and style.
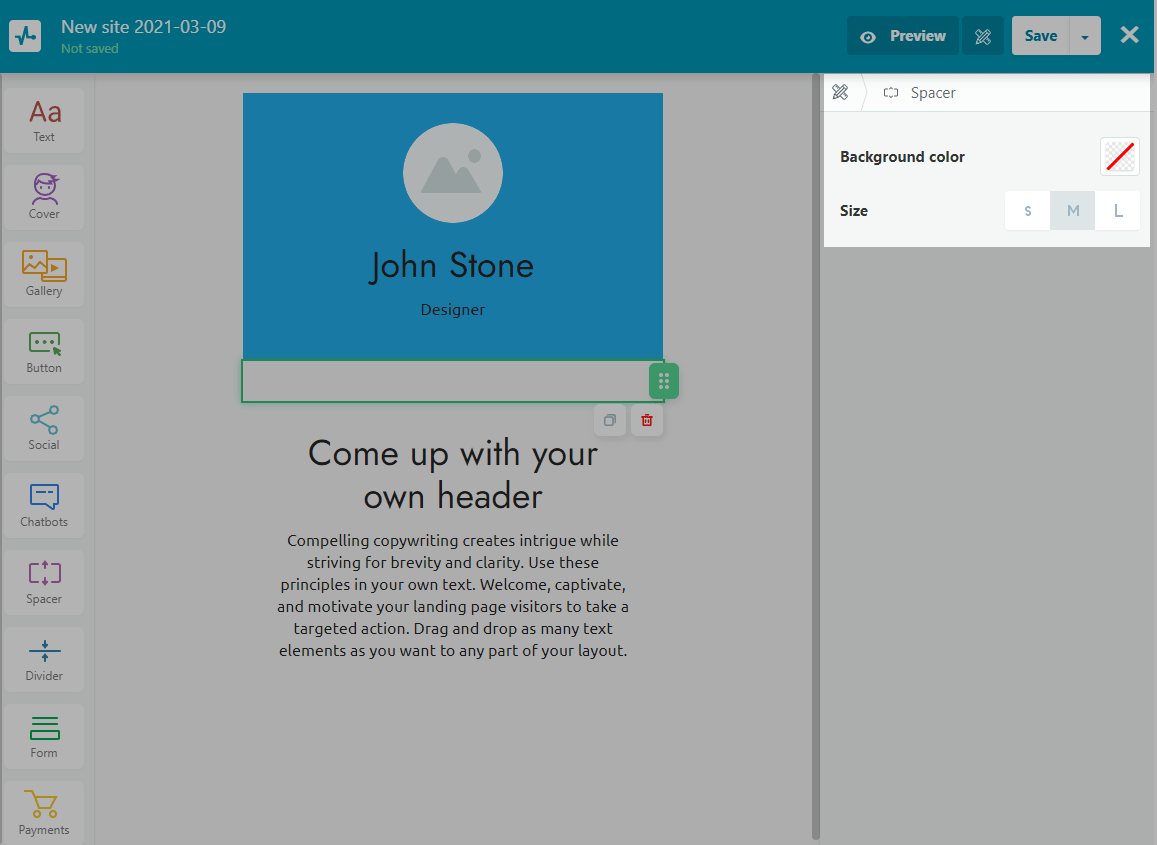
Separators: indents and lines
Use indentation and line to visually organize white space and meaningfully separate blocks on the page.
For the Divider element, you can select its color, thickness, shadow, and type.

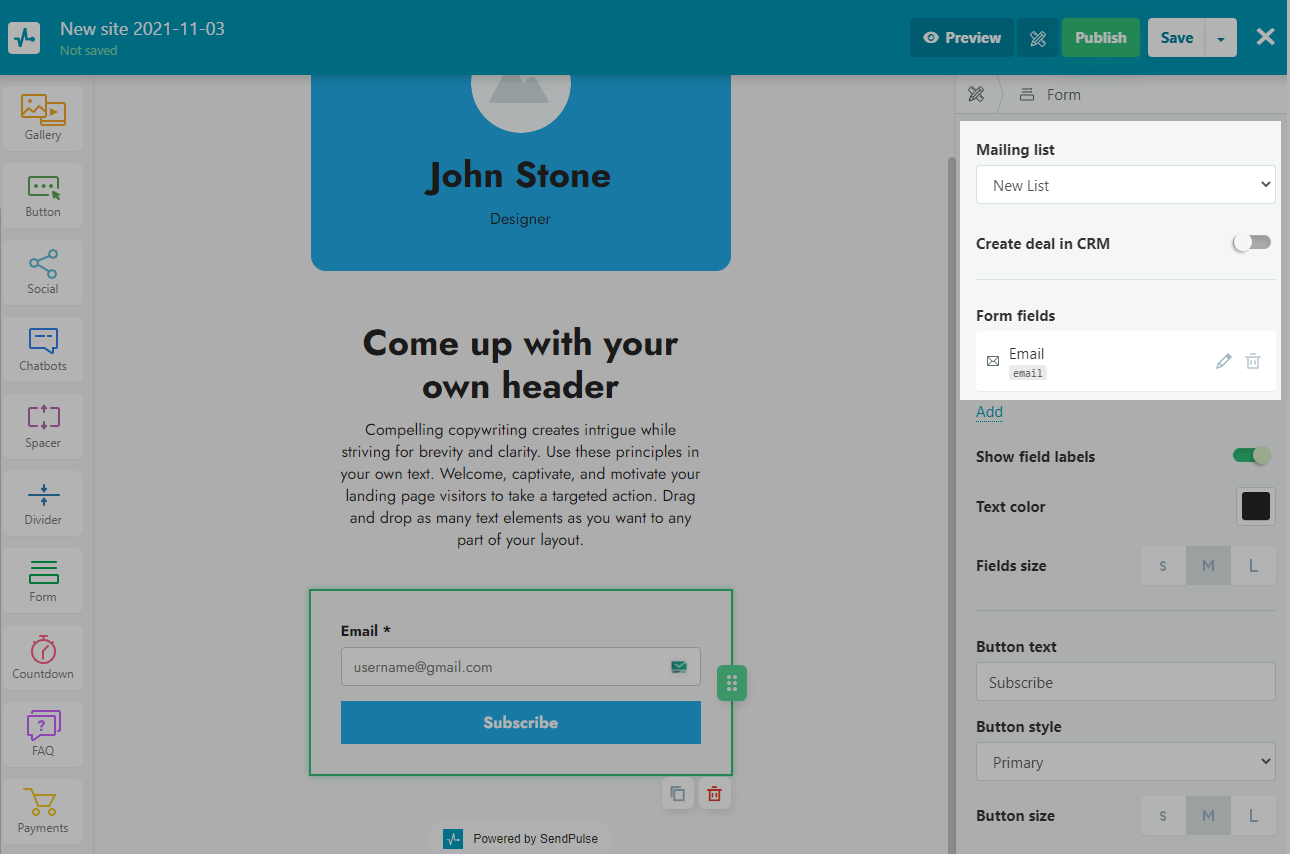
Form
With Form element, you can collect bio link page visitors’ data and let them subscribe to your campaigns using the subscription form.
Select the mailing list you want to transfer your subscribers to, and customize the form fields with style. You can also create a deal in CRM.
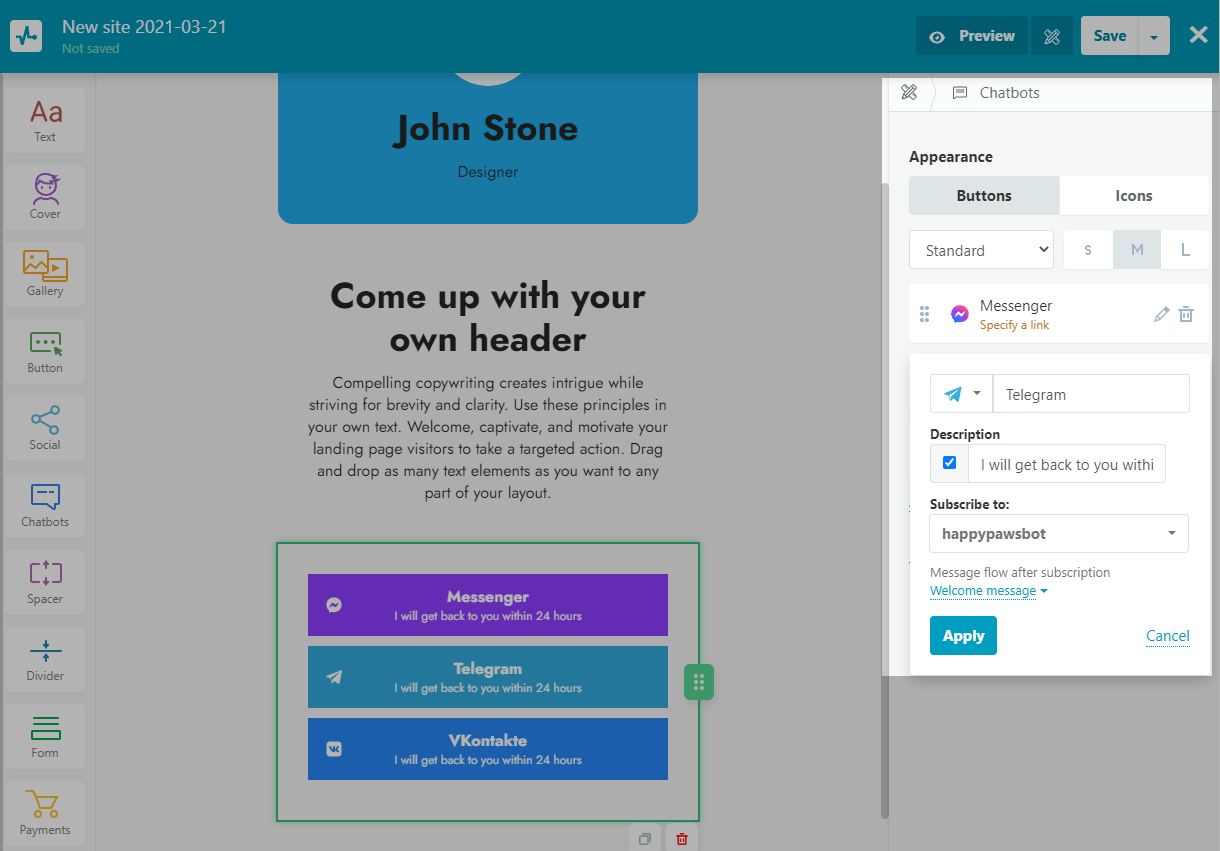
Chatbots
With Chatbots element you can add a button to a chatbot to subscribe a user for further chatbot communication and launch the desired flow — a welcome flow or your custom flow for a specific request.
Choose the appearance and the style of the button. Then add a new element or edit an existing one with a social network.
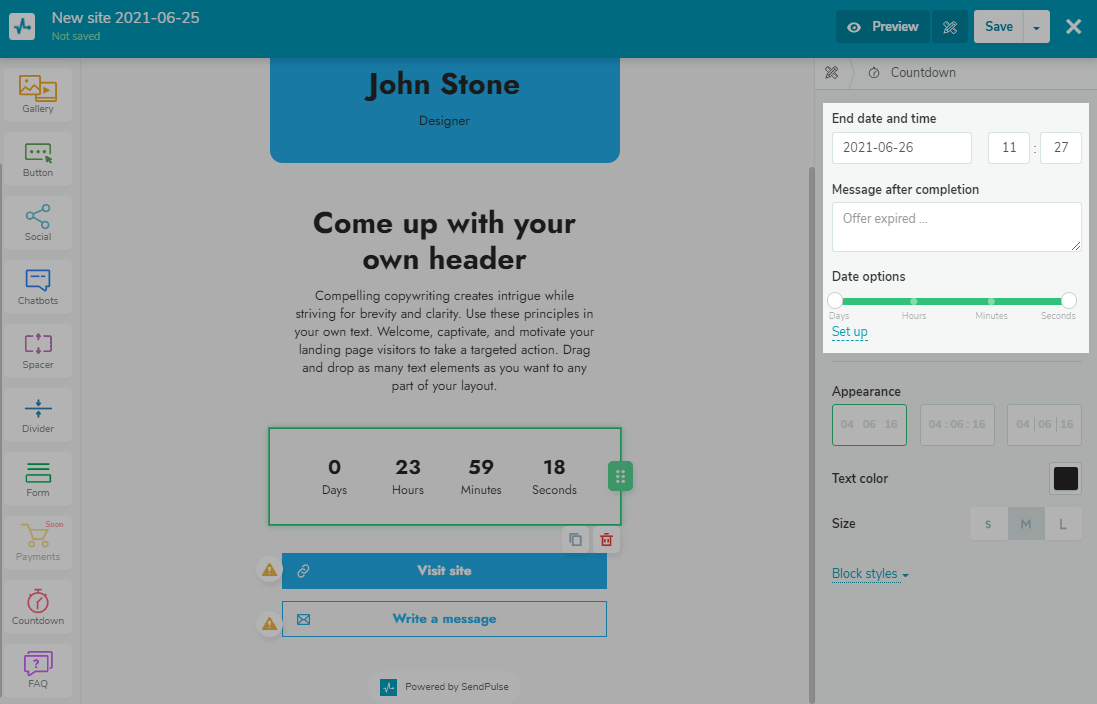
Countdown
You can add a Countdown element to set a countdown until the start of an event or the end of a promotion.
Pick up the end date and time and the message after completion, set the date options, and customize the countdown appearance.
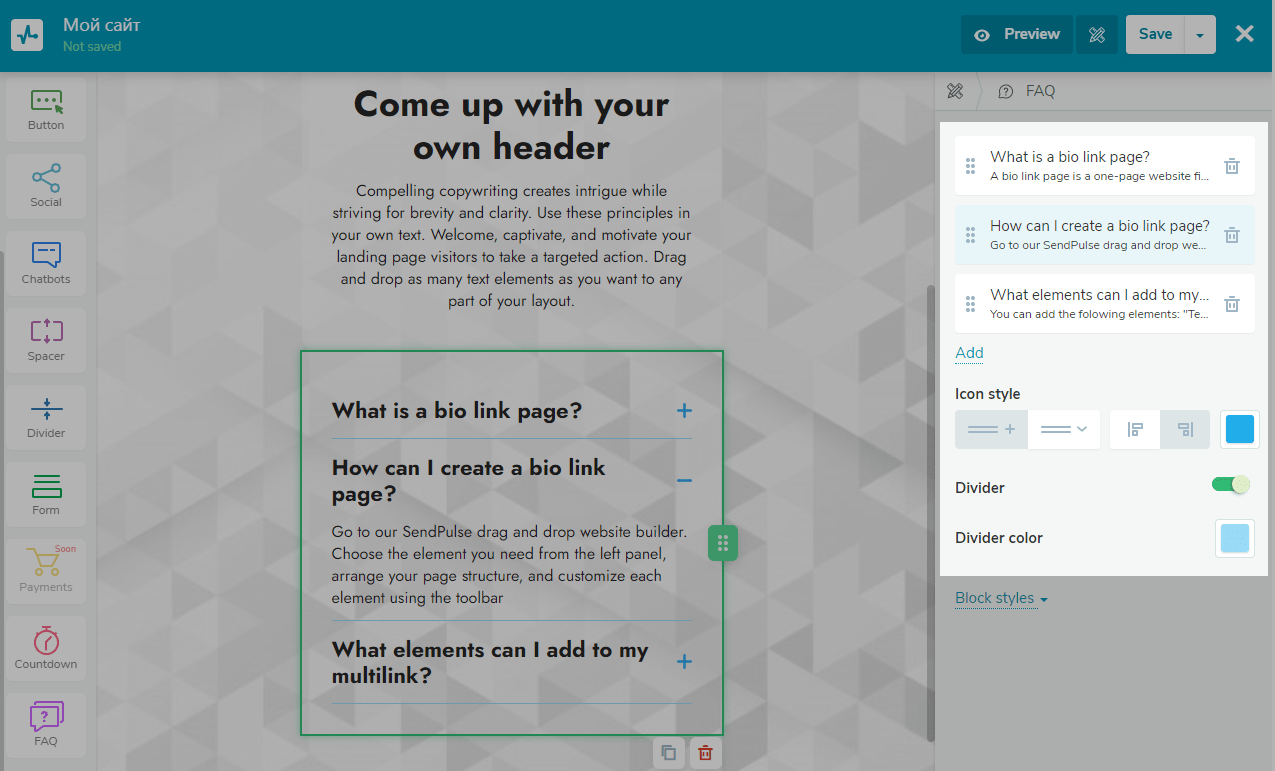
FAQ
Use an FAQ element to add detailed answers to frequently asked questions from your users in a structured way.
To change the text and formatting, click on the text or the heading, and the text editing panel will open.
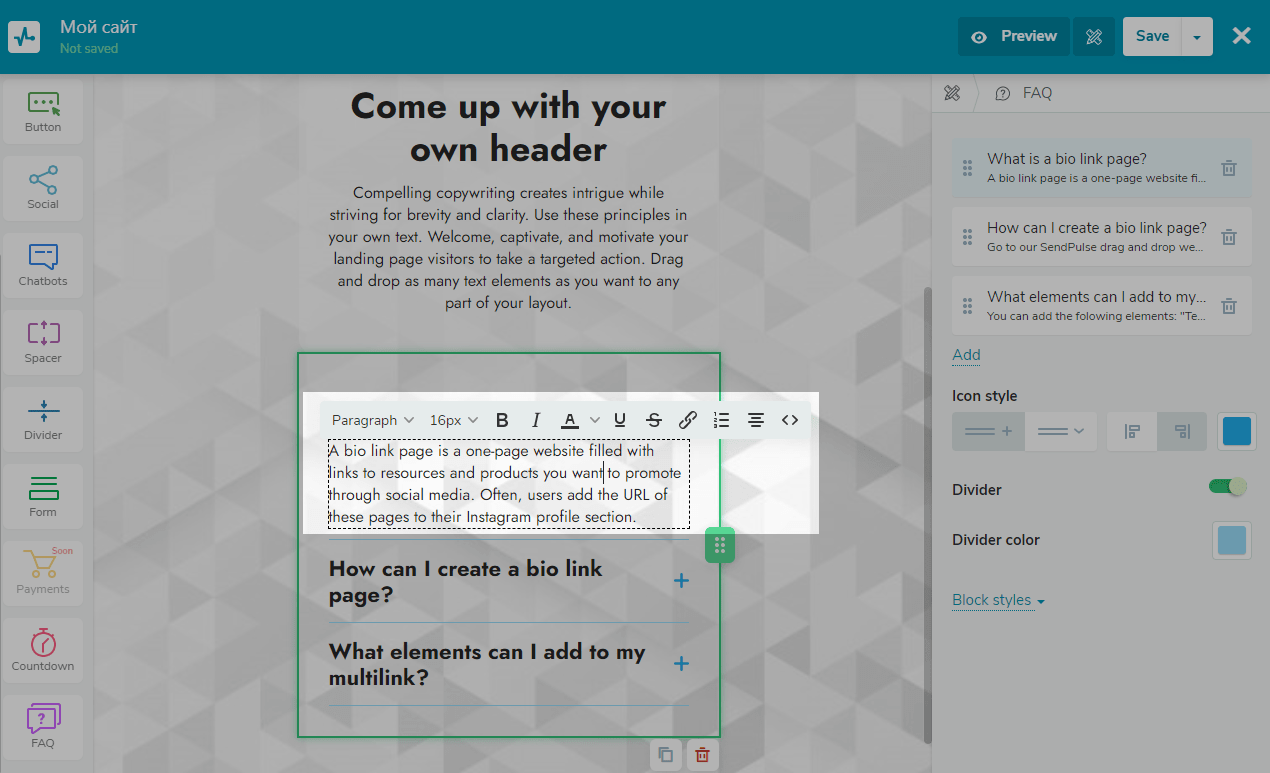
In the element editing panel, add a new question. You can change the style of the icon, add and remove the divider and choose its color.
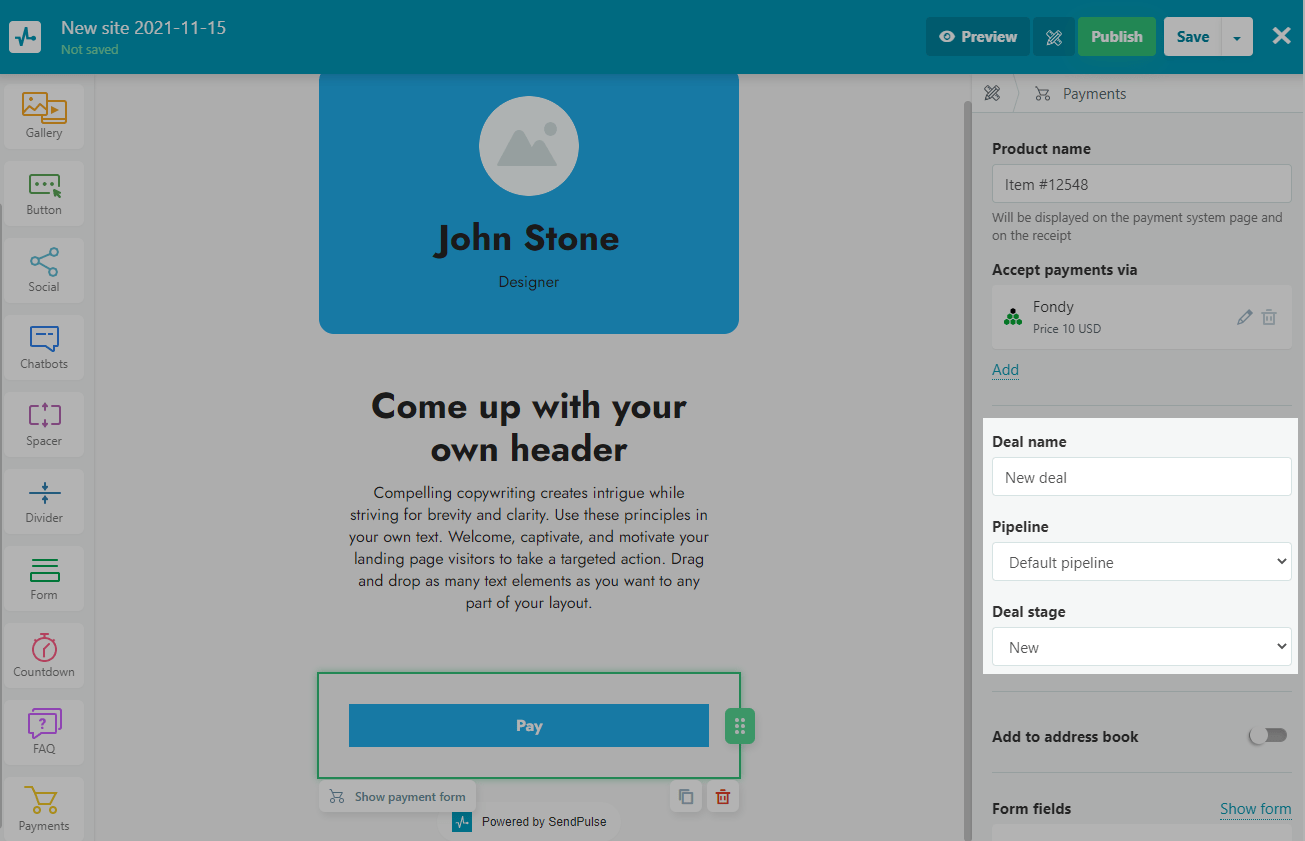
Payments
Use the Payments element to implement one-click payments for your products.
Enter the name of your product, its price, and select the pipeline where your deal will be saved. Select the mailing list to which your contact will go after the successful payment. You can also customize your form fields and their appearance.
Manage page versions
The website builder automatically saves changes every 5 seconds as a Draft. If you add elements and then close the page, all your actions will be saved the next time you open the builder. Draft changes are not visible to bio link page visitors.
The website builder starts saving changes when you create a page. If you exit a page without publishing it, it will remain unpublished along with its changes and the automatically generated URL.
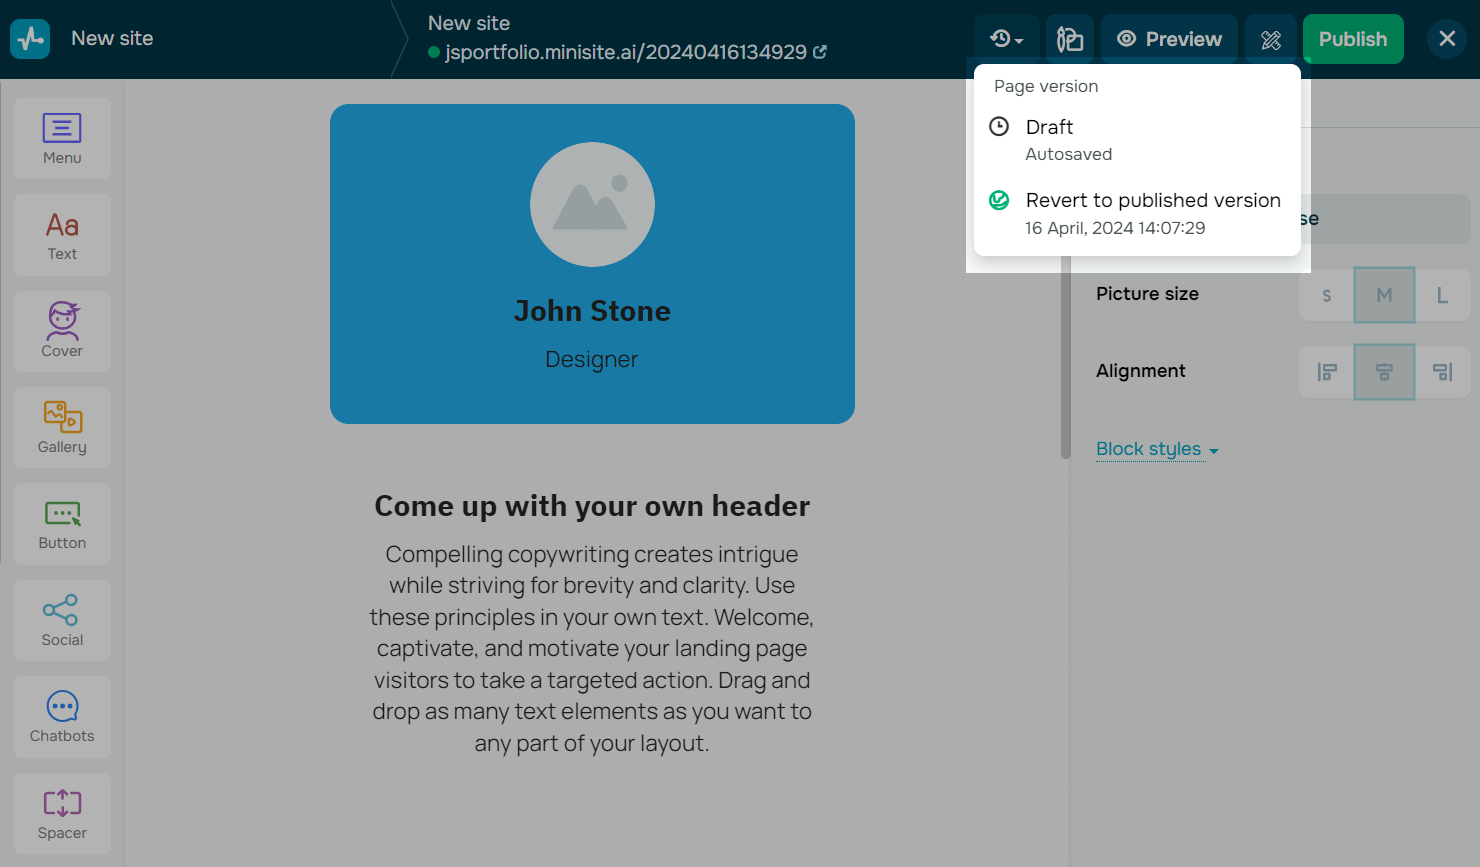
To restore a page version, click the clock icon in the upper panel, and select the version:
| Draft | This is your current page version and the autosaved changes you made since the last publication. Select this version to continue editing it. |
| Revert to published version |
This is your last published page version. To restore it, in the modal window that appears, click Confirm. This action will permanently delete all autosaved draft changes. |
Preview
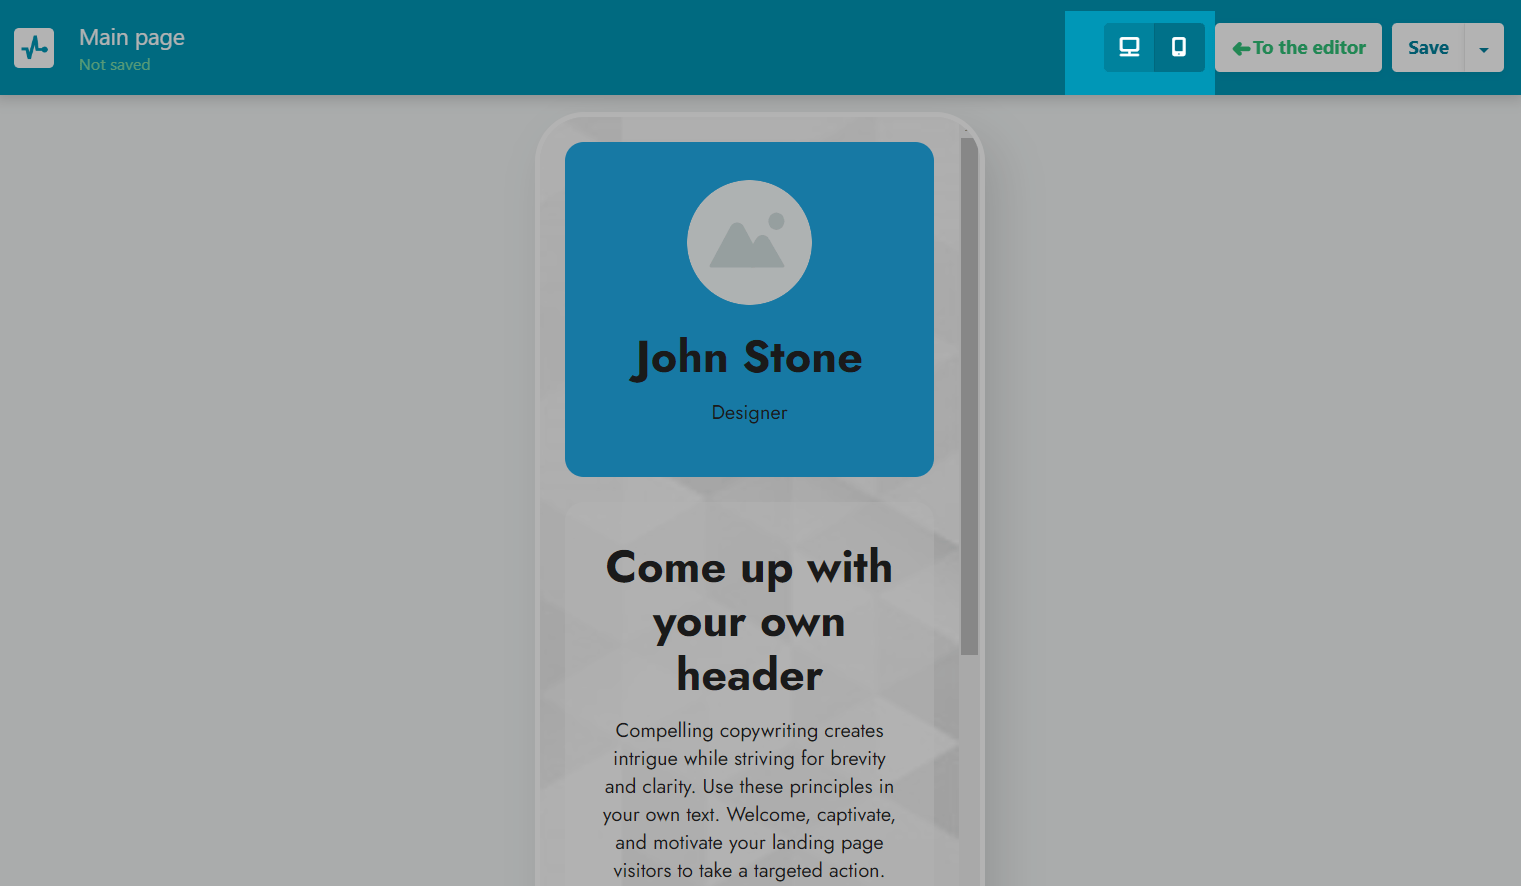
To see how the page will look on different devices, click Preview.
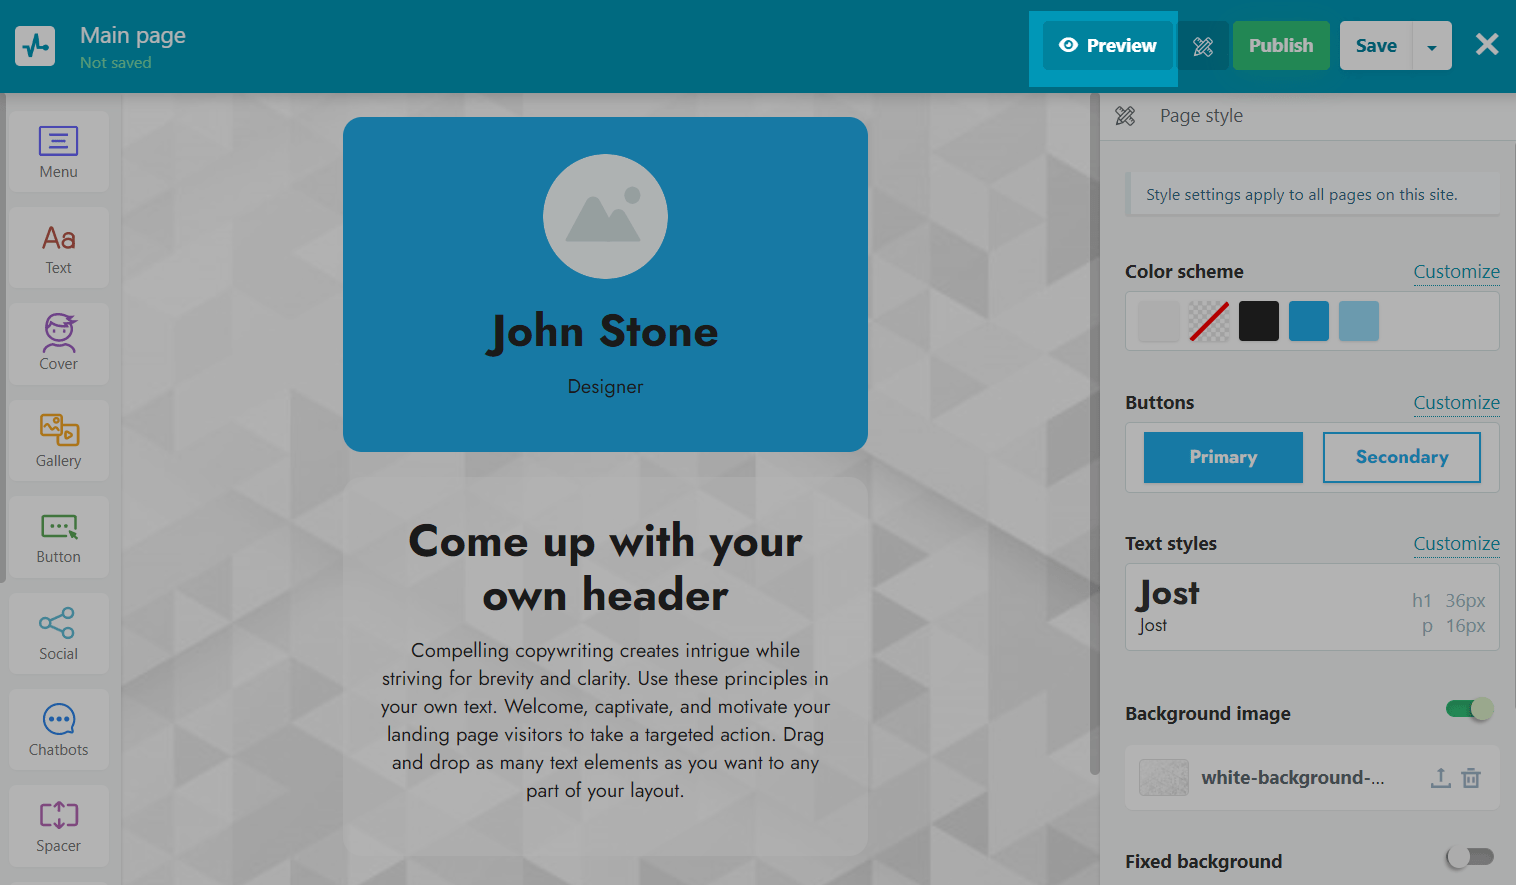
Select which device you want to see the preview on: desktop or mobile.
Save, and publish
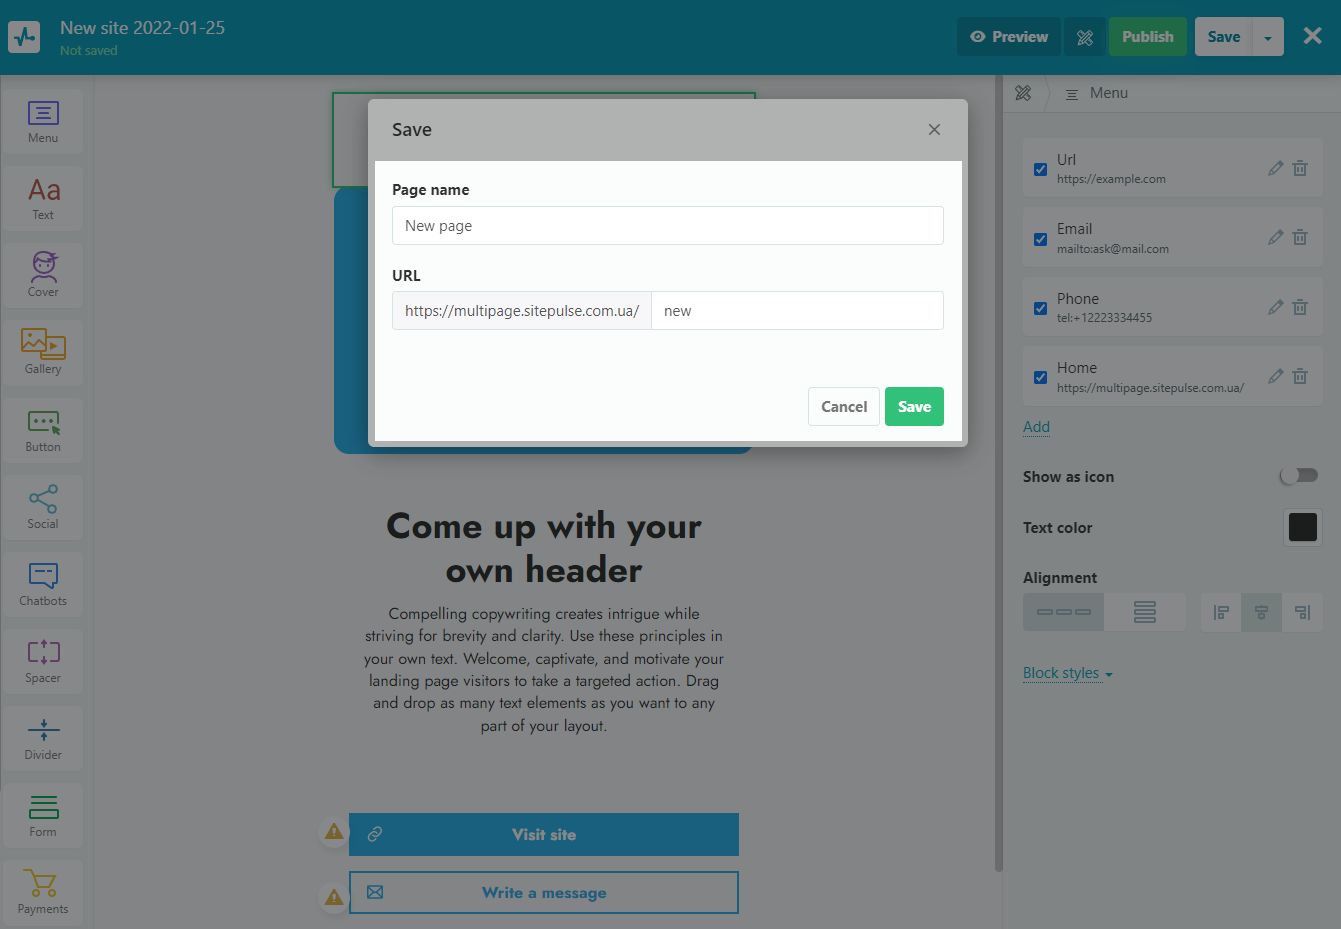
When you've finished creating your bio link page, click Publish. Enter the bio link page name and domain name. When adding a new page, enter an URL to the page.
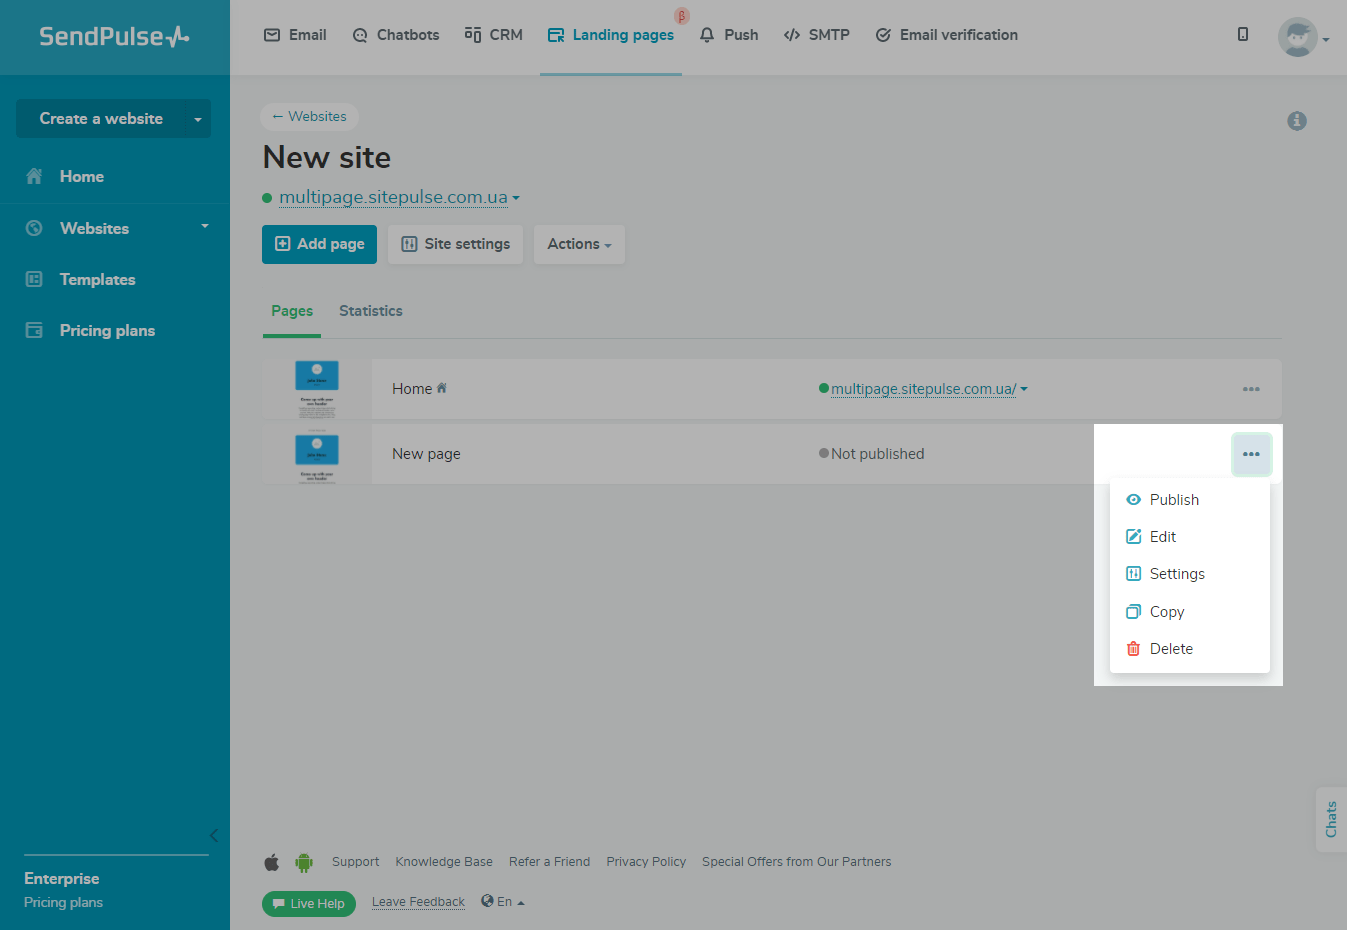
Afterward, you will be able to publish your new page as well as edit, customize, copy, or delete it.
Learn more: How to manage bio link page pages.
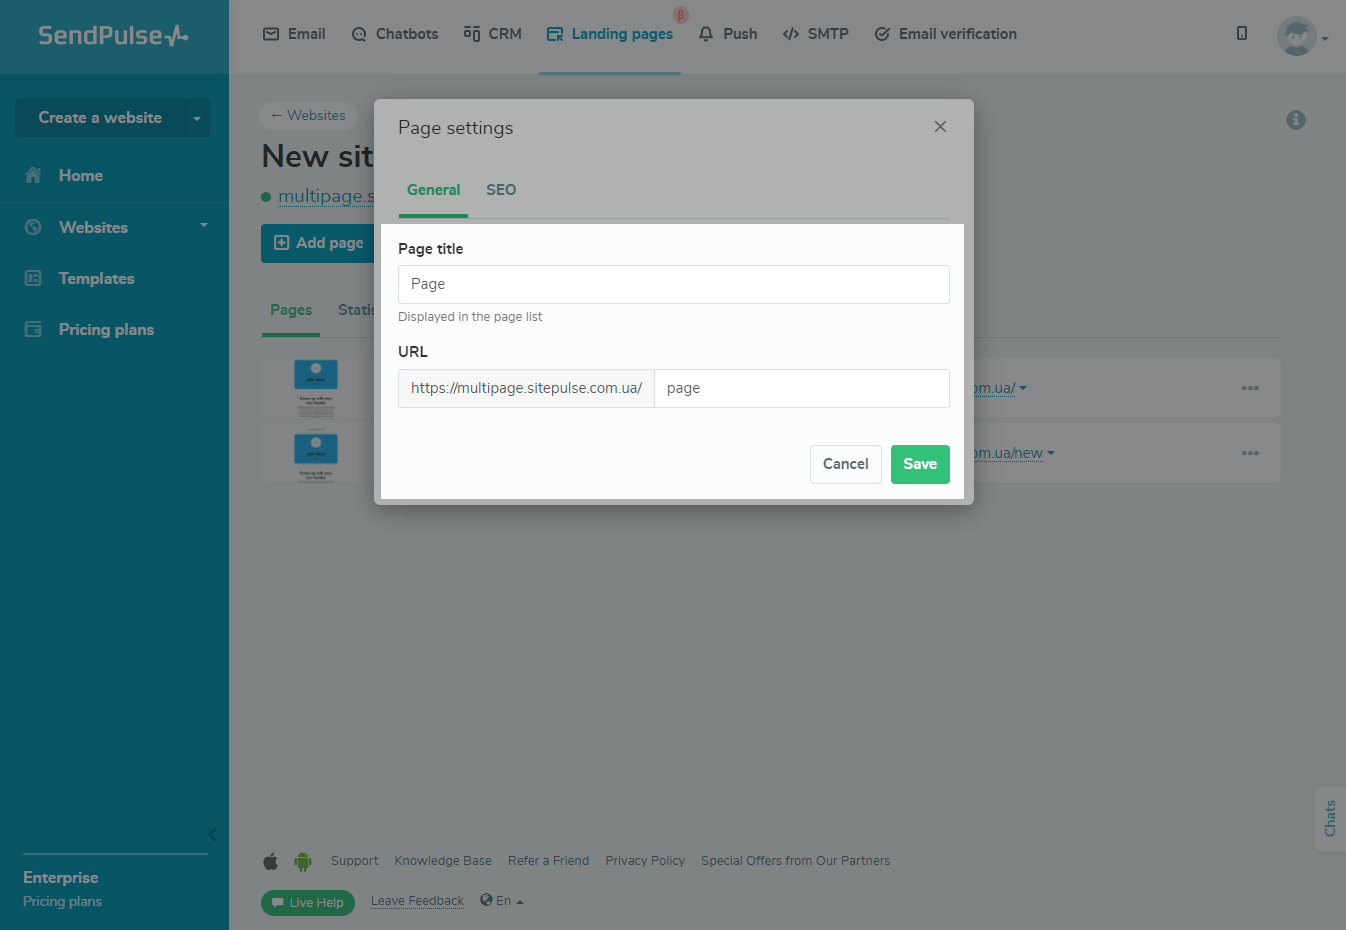
To change the page title and URL, go to Settings, enter your new title and URL address, and click Save.
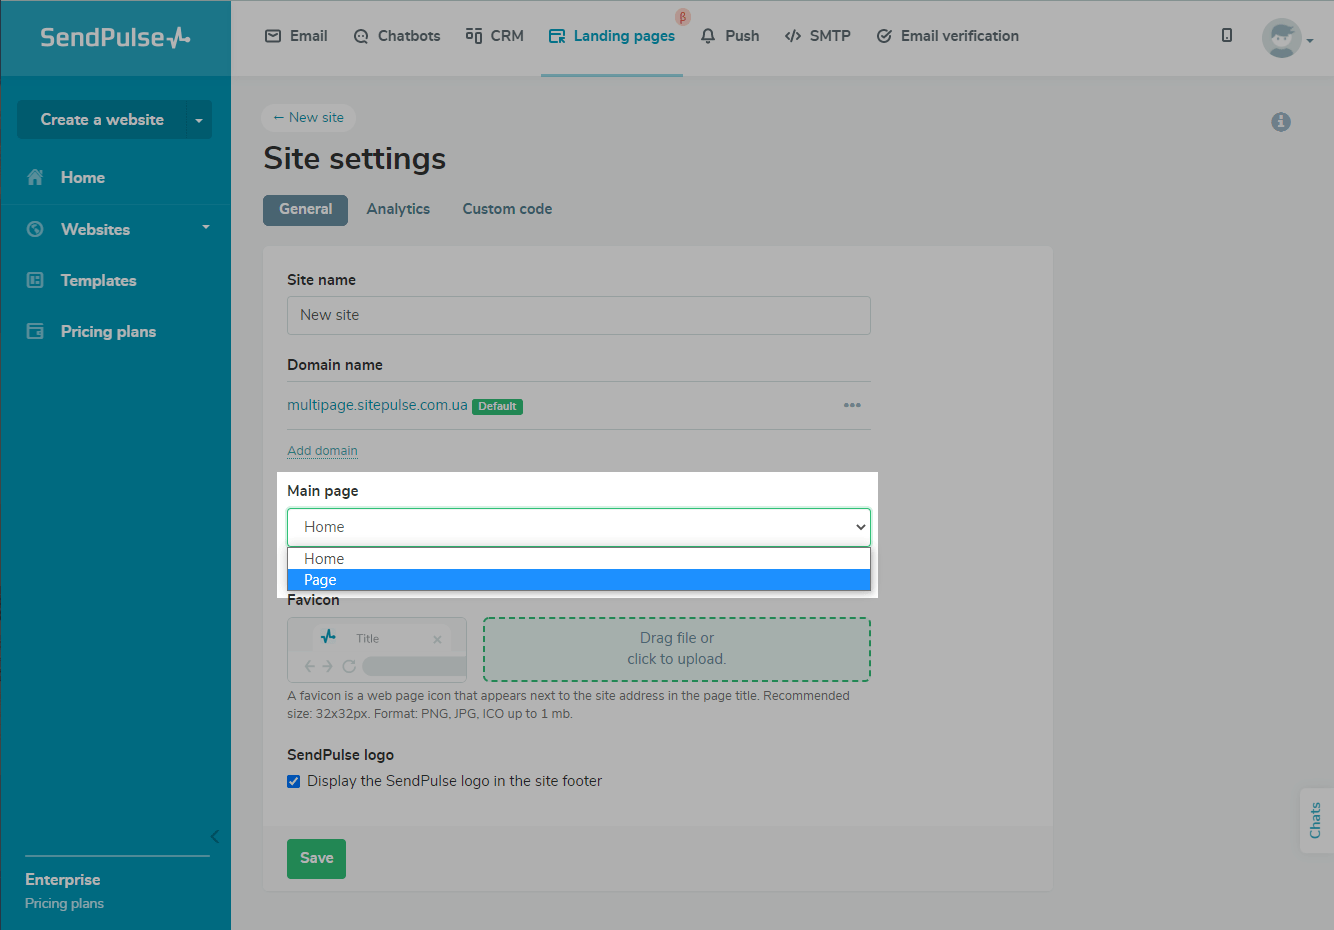
When creating a bio link page, remember that the first page you created is your main page. To change the main page, go to Site settings, and select it from the dropdown menu.
Please note that you can select the main page of your bio link page only if there are two or more pages. The new main page will have the URL of the bio link page itself, and the previous main page will have a system URL that you can change in the page settings.
To change the bio link page name, add your domain and custom code, and enable analytics, go to Site settings.
You can also monitor the statistics of visits on your bio link page. To do this, go to the Statistics tab, and select the type of statistics you want to track.
You can get inspired by examples of creating one-page bio link pages on our blog.
Last Updated: 04.03.2025
or