Set course options
In your course’s general settings, you can decide how students will move through the course and what they need to do to complete it.
Go to Settings > General and select your options.
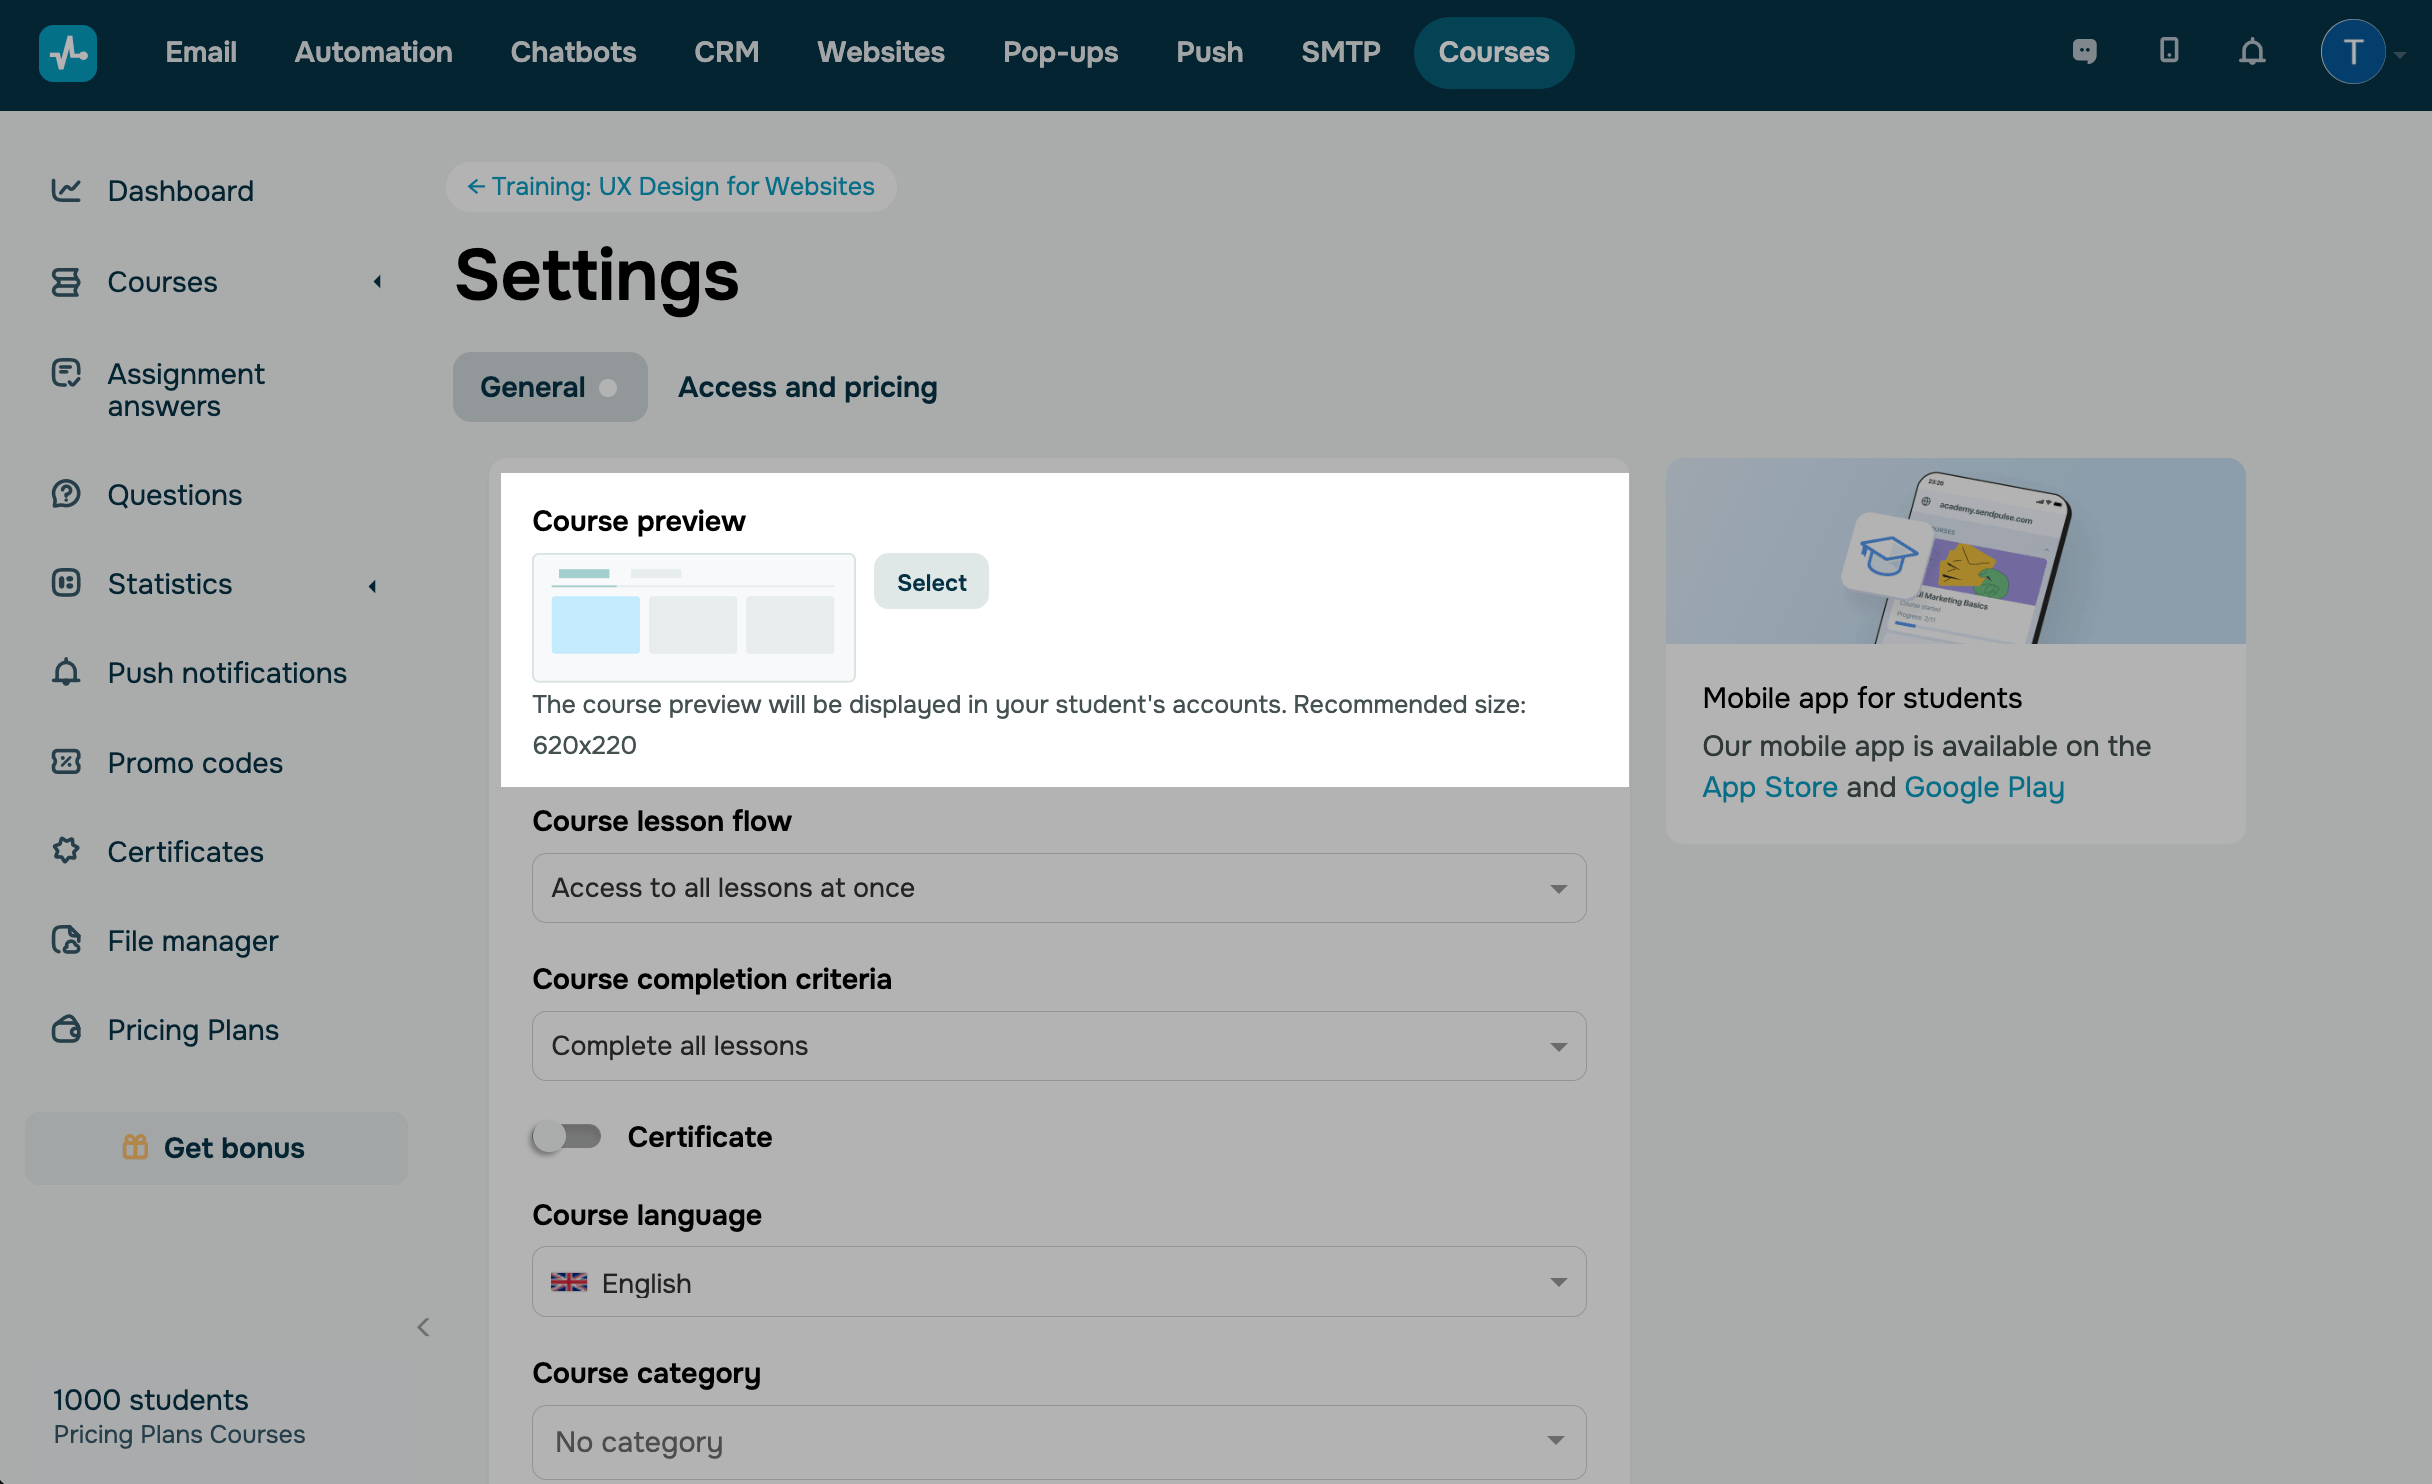
Course preview
This option adds your course cover to the Courses tab in student accounts. Click Select, and upload an image. The recommended image size is 620x220px.
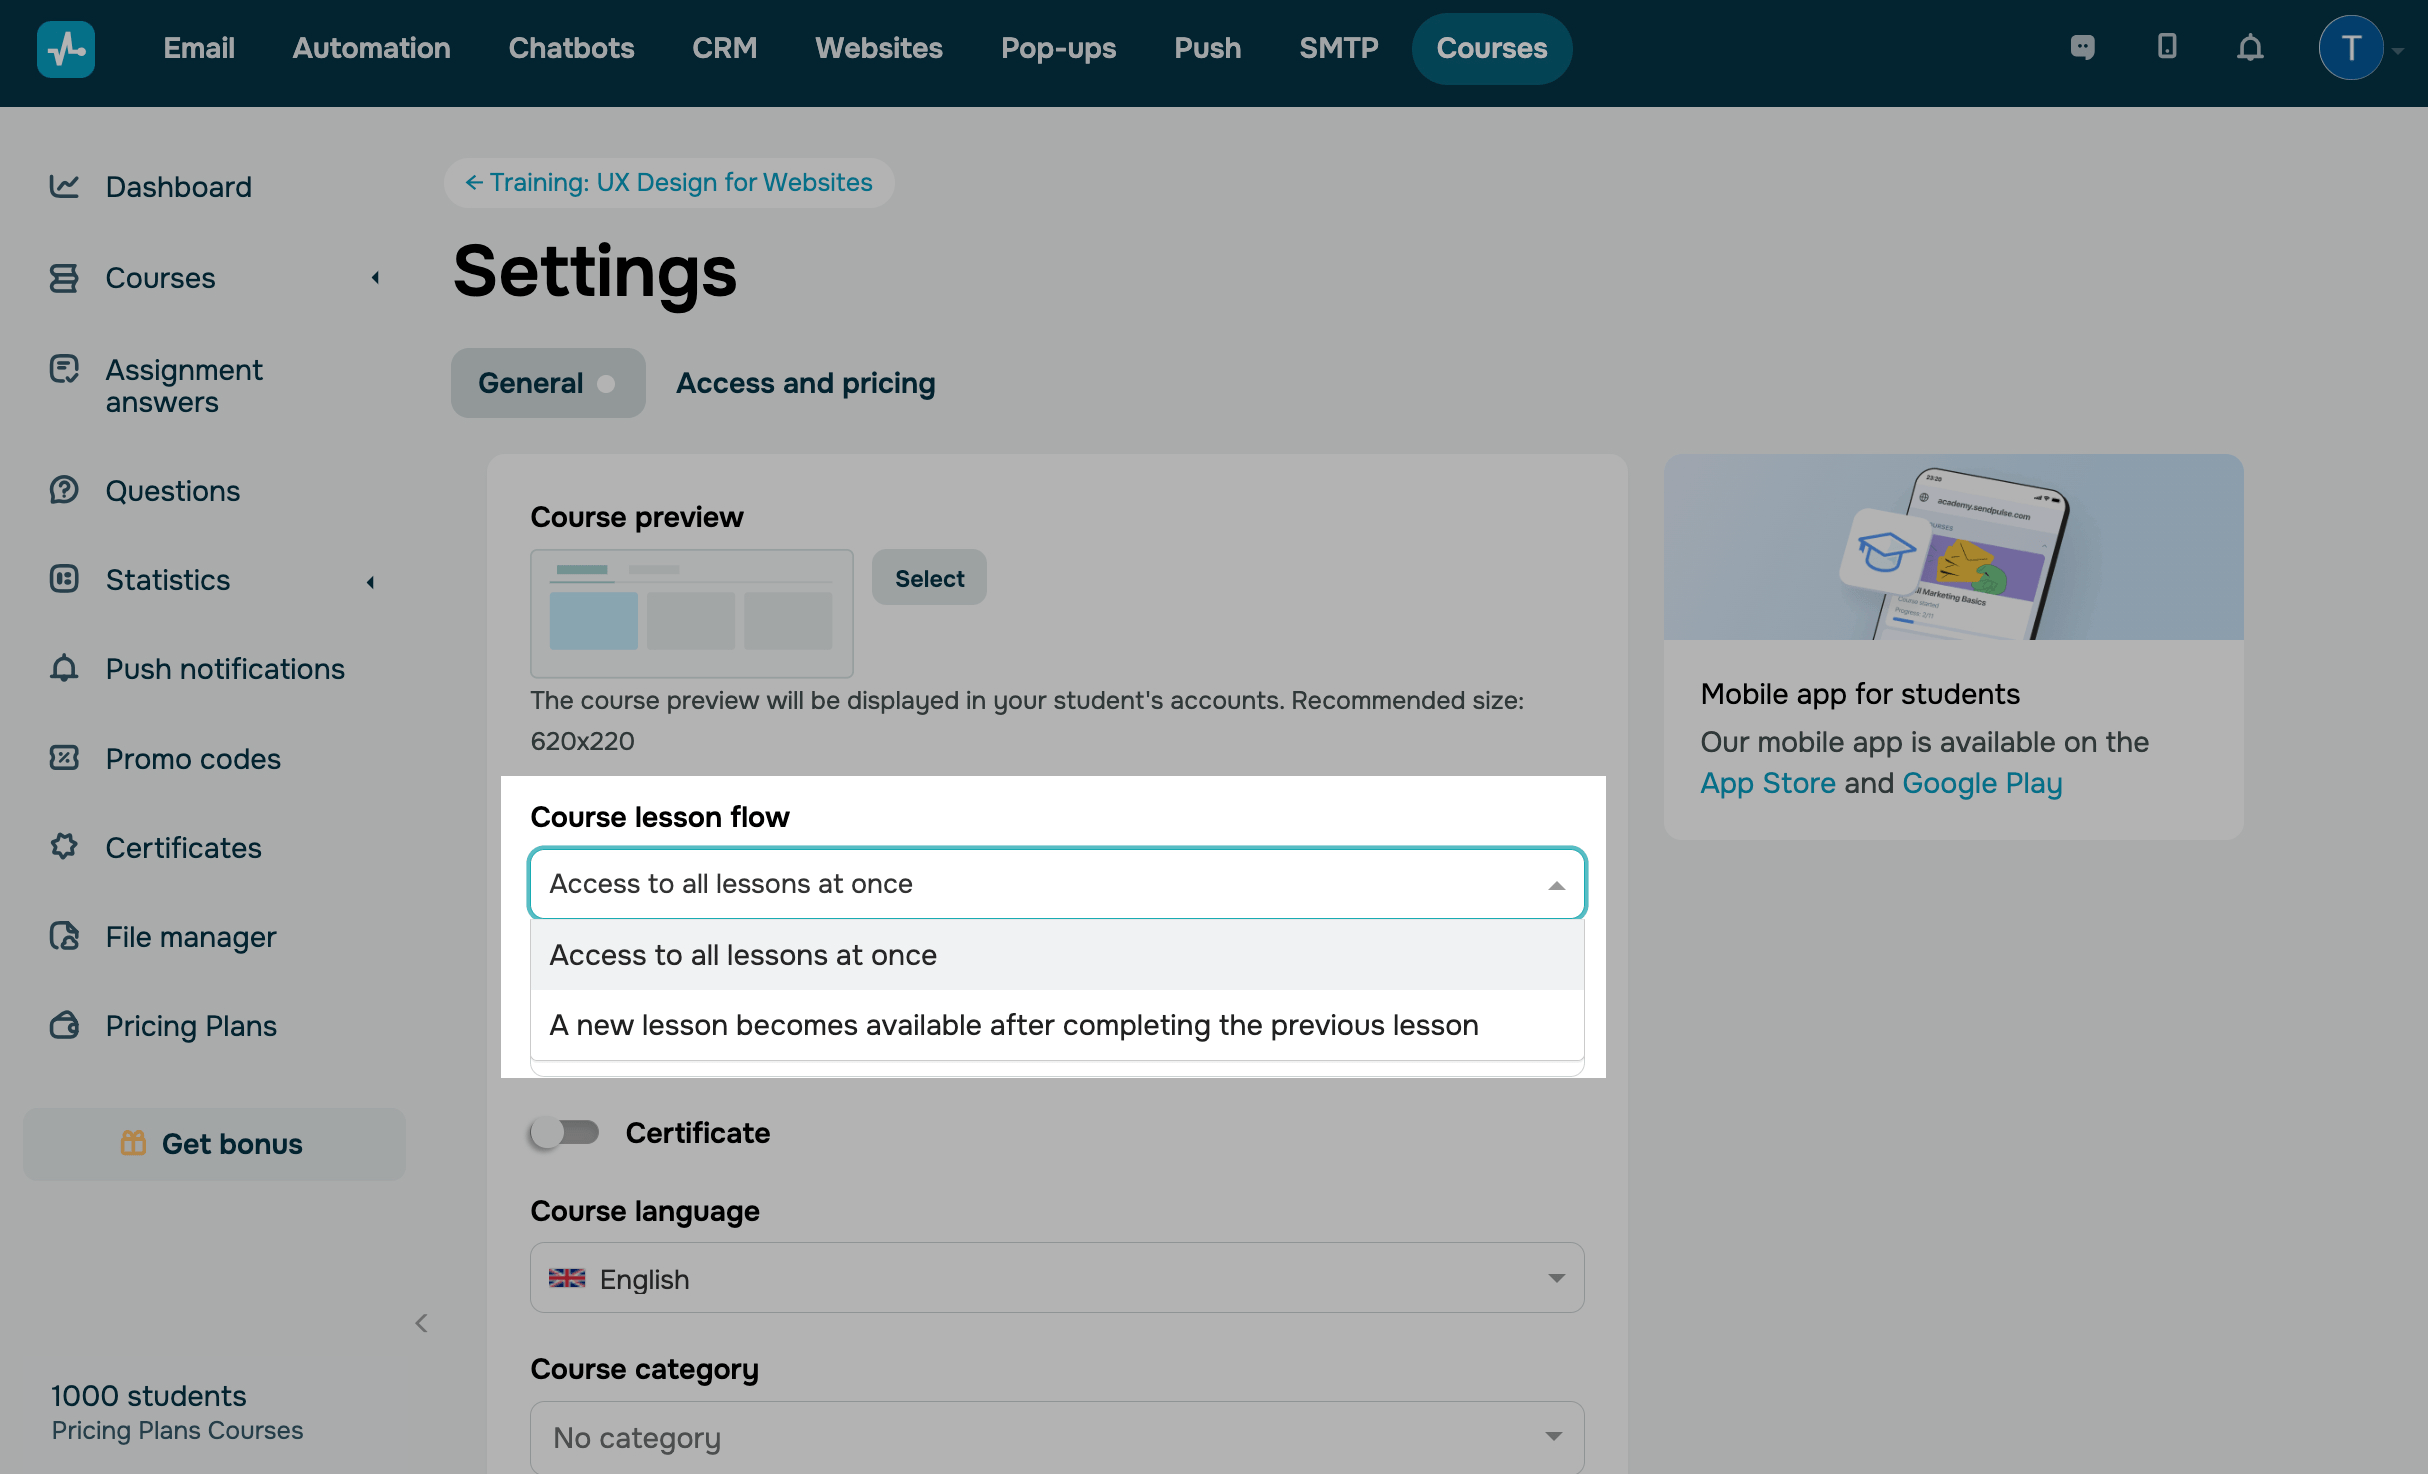
Course lesson flow
This option allows you to define how students access your lessons. You can select from the following options:
| Access to all lessons at once | Make your course non-sequential and allow students to decide in which order to take your lessons. |
| A new lesson becomes available after completing the previous lesson | Make your course sequential and require students to go through your course in a specific order set by your course program. Students will have to complete their current lesson and take the test to access the next lesson. |
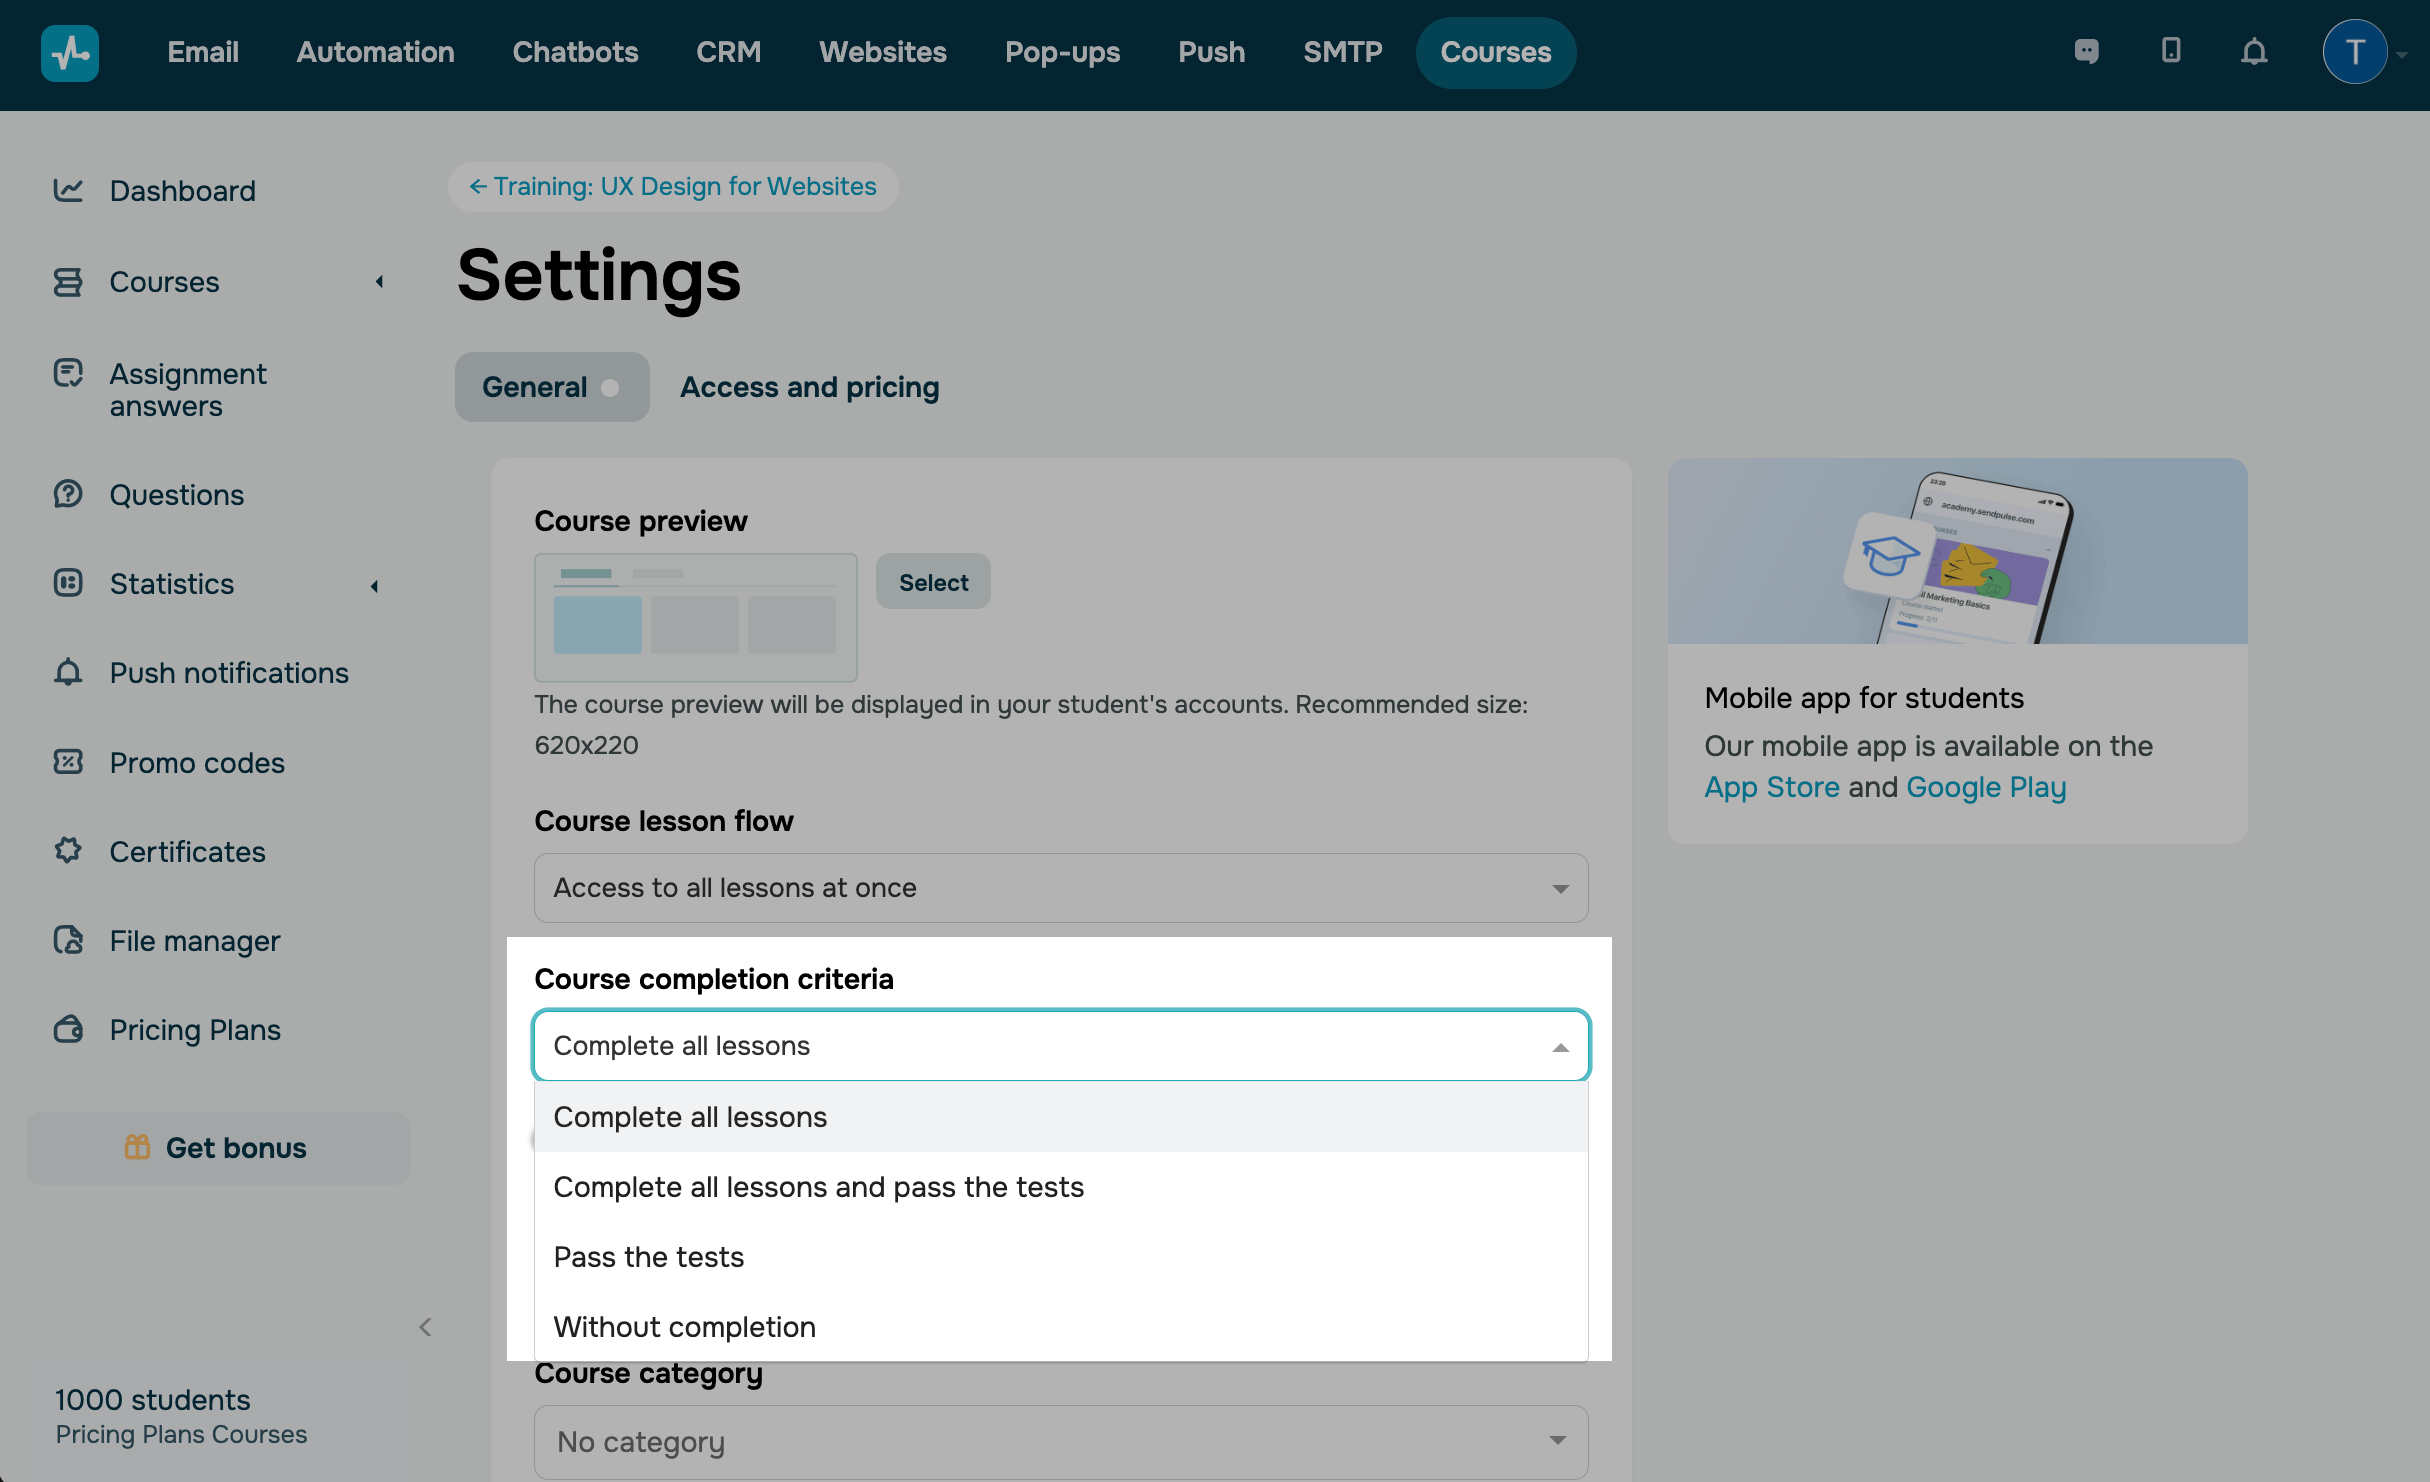
Course completion criteria
This option defines the criteria students must meet to complete your course. You can select from the following criteria:
| Complete all lessons | Students must take all lessons and mark them as completed. |
| Complete all lessons and pass the tests | Students must take all lessons, mark them as completed, and complete all tests with a passing score. |
| Pass the tests | Students must complete all tests with a passing score but don’t have to take all lessons. |
| Without completion |
Students won't automatically get the Completed status after they complete your lessons and tests. This means that they will not be able to automatically complete your course. Use this criterion if you need to create and publish lessons as you go (not all at once). Once you establish your course program, you can change your course completion criteria so that students can get the Completed status. |
If you select the Complete all lessons and pass the tests or Pass the tests option, students will have to complete each test with a passing score to finish your course.
You can set the point value for each correct answer and the total passing score in your test settings.
Course language
Select a course language that will be used in your email notifications, certificates, and on your course registration website.
Setting a course language does not prevent students from selecting their preferred language in account settings.

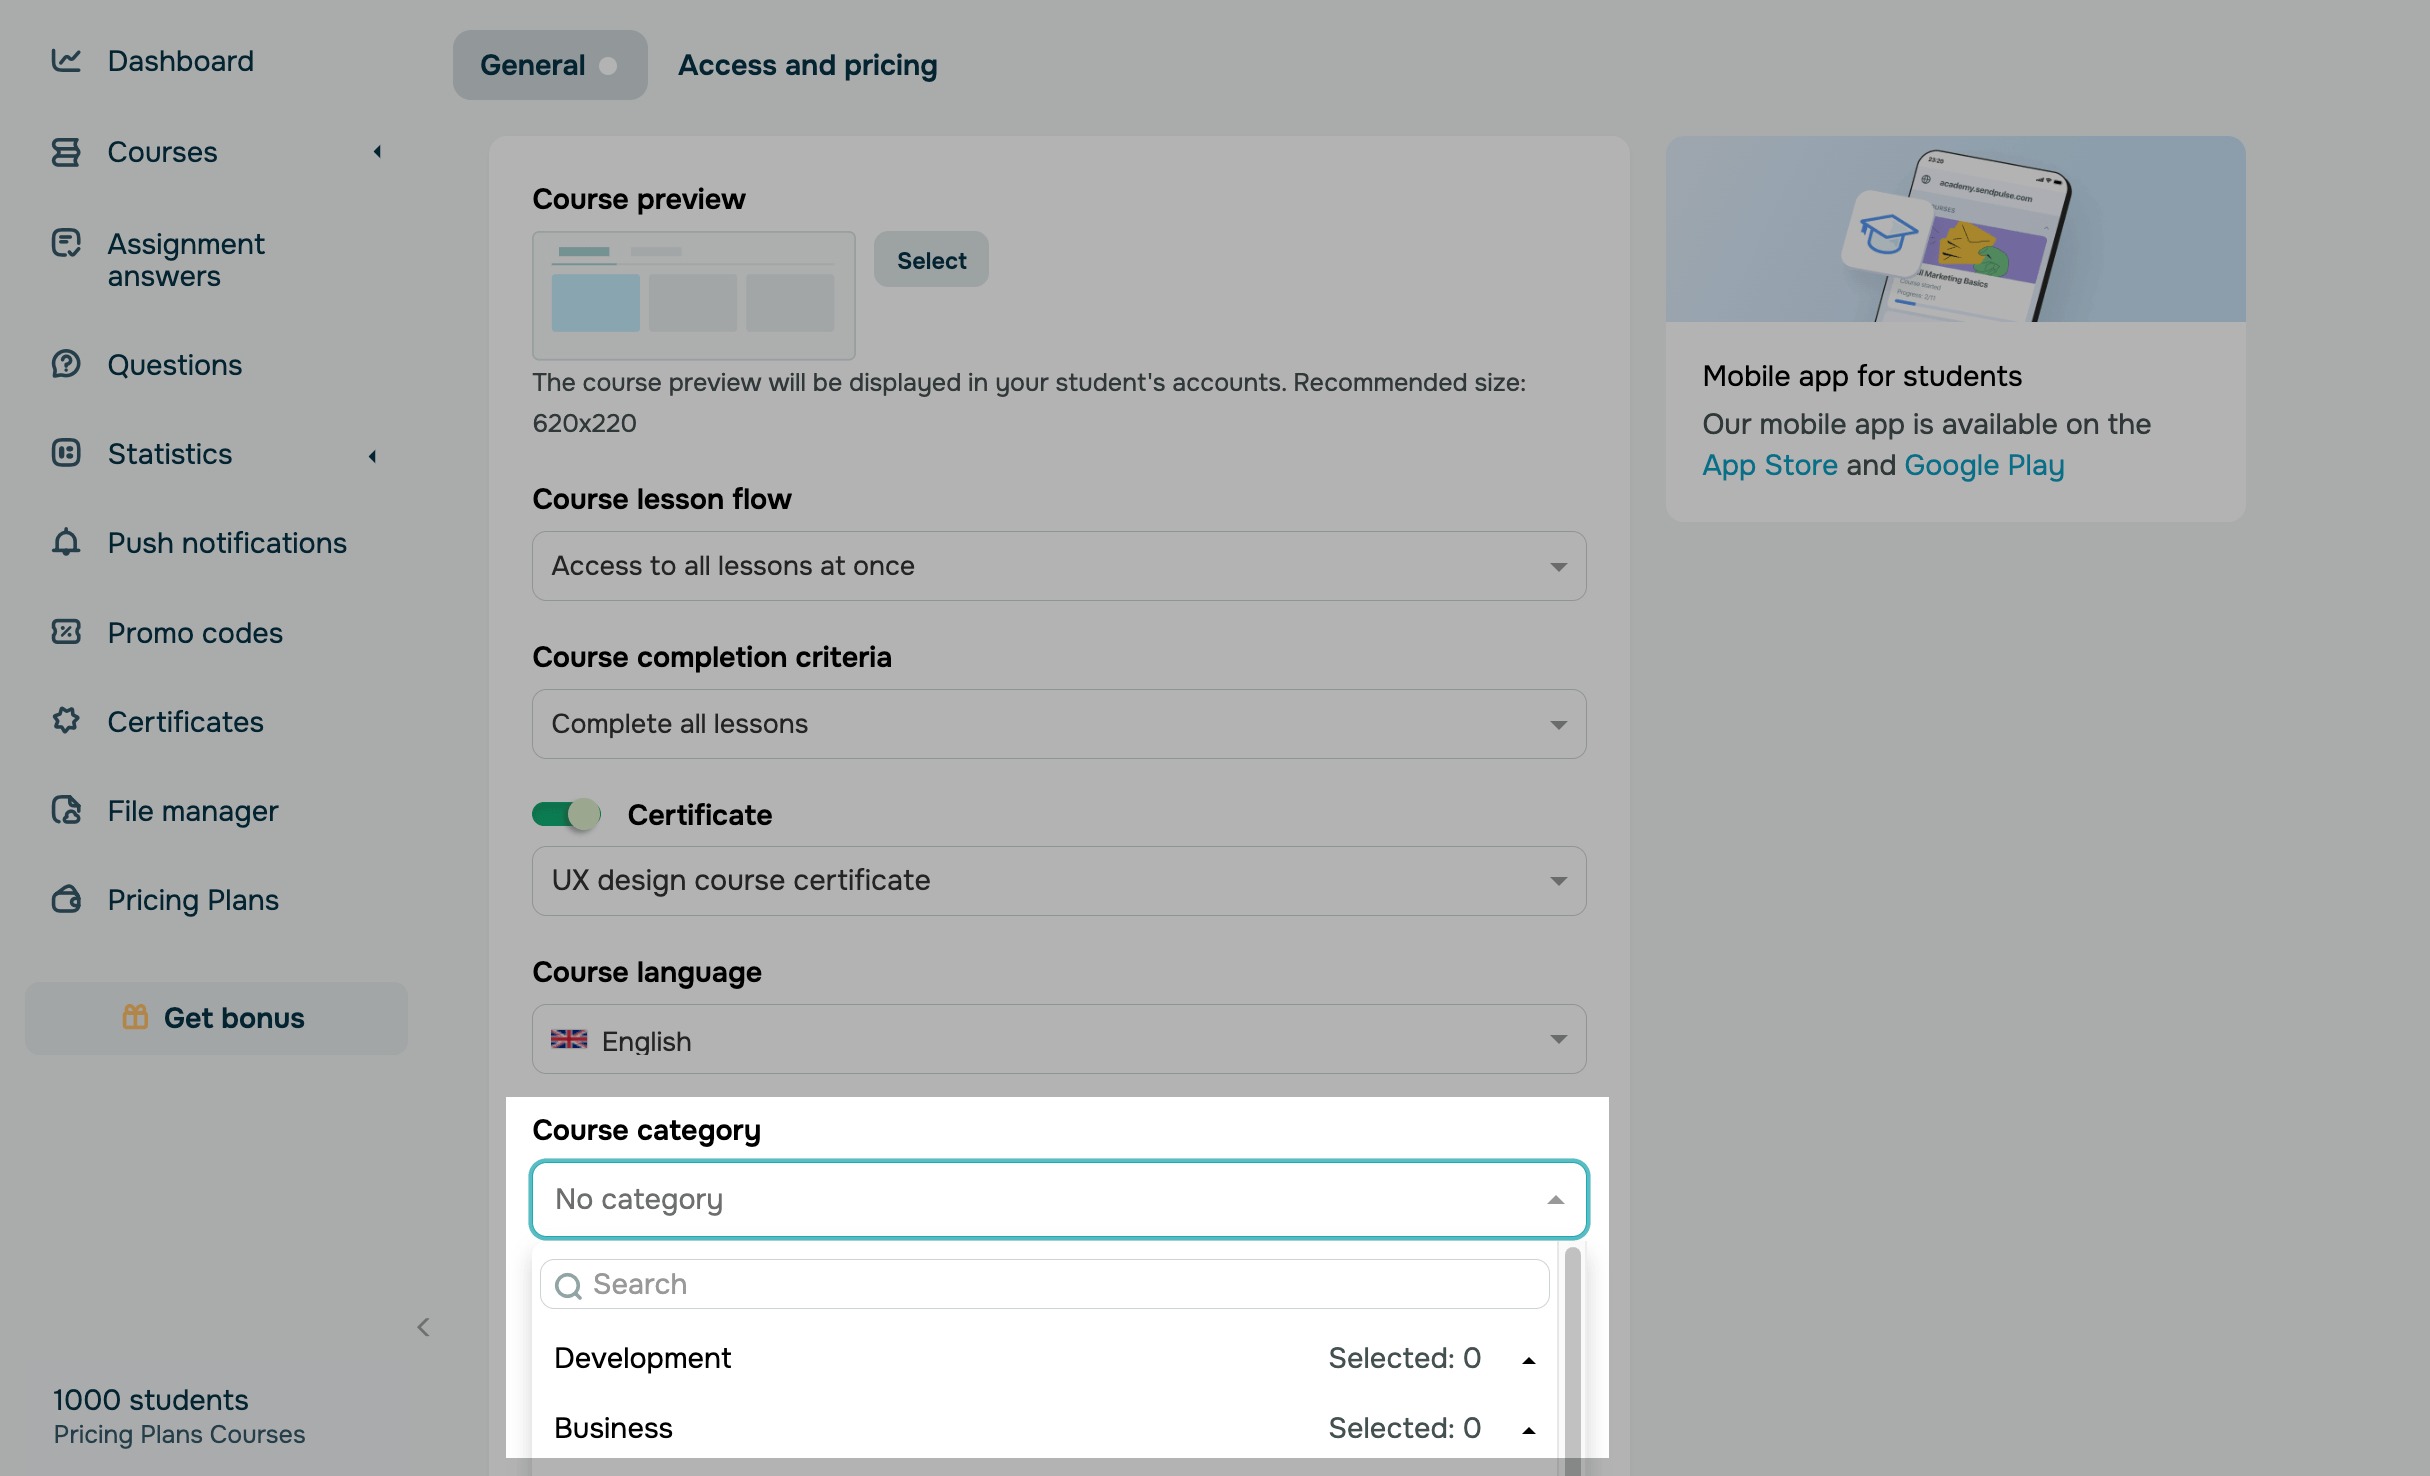
Course category
Select one or more categories for your course. Categorization will help you structure courses in student accounts.
To select a subcategory, hover over the category where you want to select it.
By default, each course is created without a category.
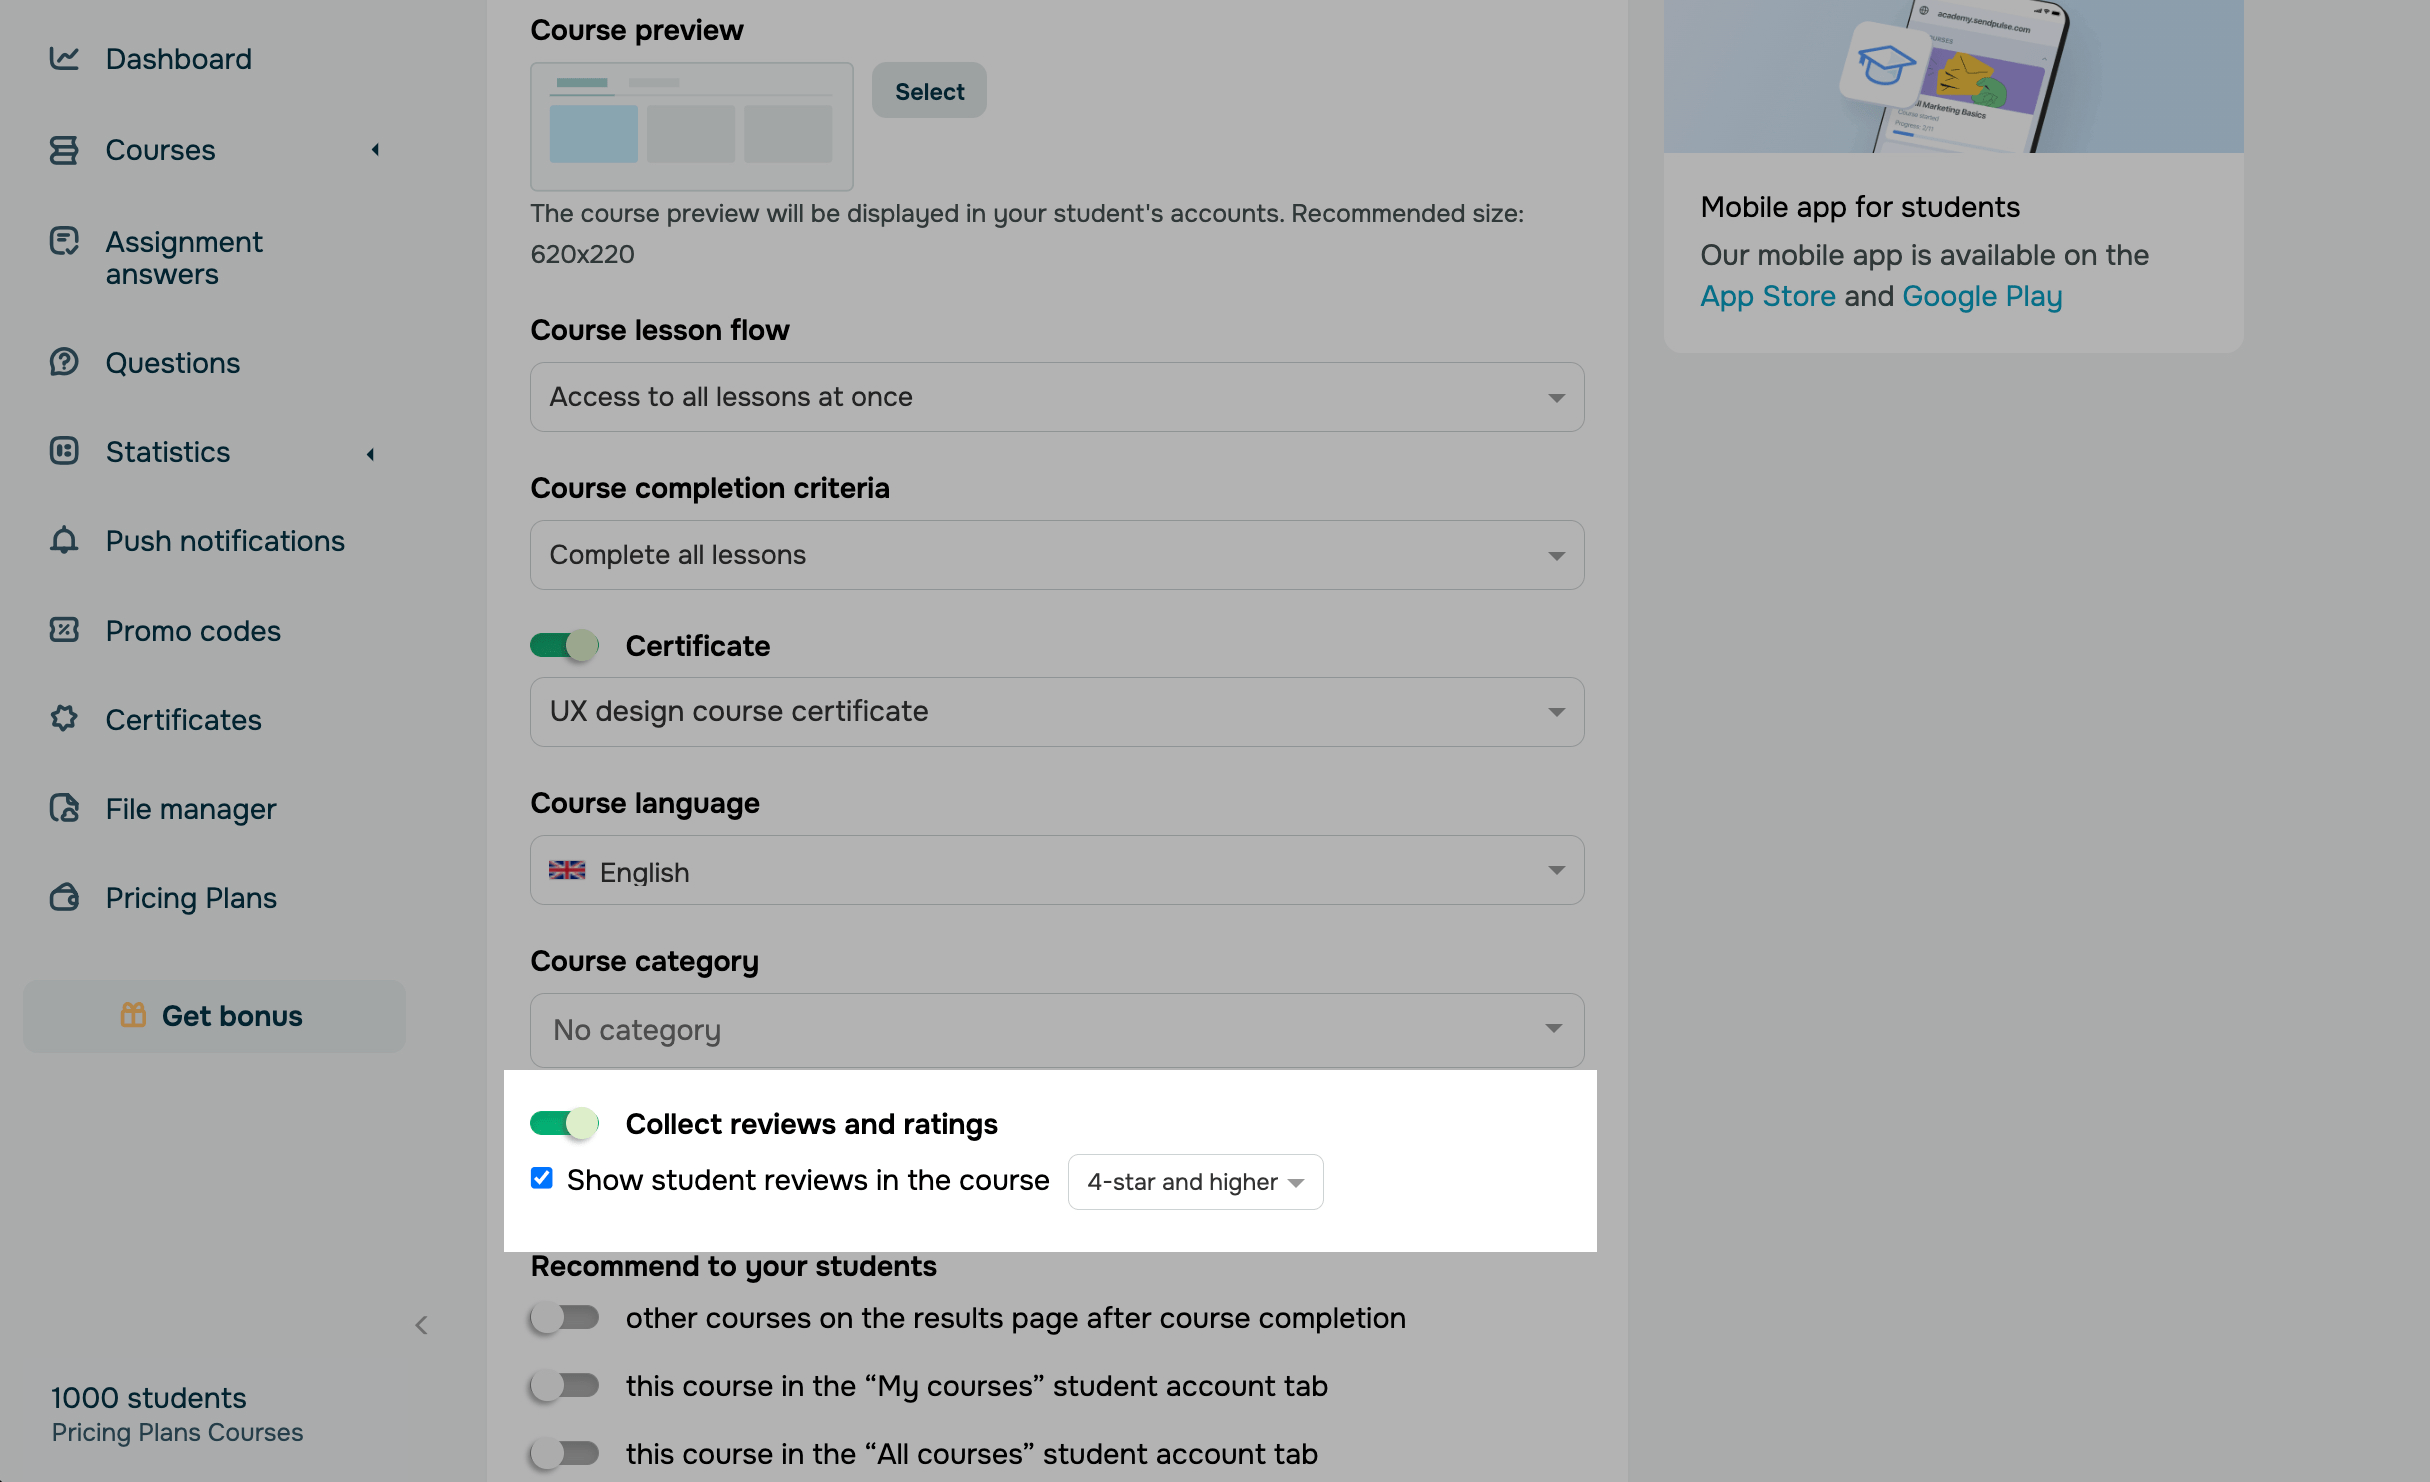
Collect reviews and ratings
Use this option to collect and display student reviews and ratings.
To collect ratings and reviews, turn on the toggle. Student reviews and ratings will be displayed on your course dashboard, in the Reviews tab, and on the student dashboard.
You can view ratings of sections, lessons, and tests in the Lessons tab or student cards.
To show reviews to students, select the checkbox, and choose the reviews you want to show: all, 3-star and above, 4-star and above, or 5-star and above.
If enabled, your reviews will be displayed in student accounts, on the course results page, and on your course registration website if you add the Reviews widget.
By default, review and rating collection is enabled.
If review and rating collection is disabled, there will be no rating information in your students’ cards and no functionality that allows you to show or collect ratings on the student dashboard. You will also not be able to add this block to your course registration website.
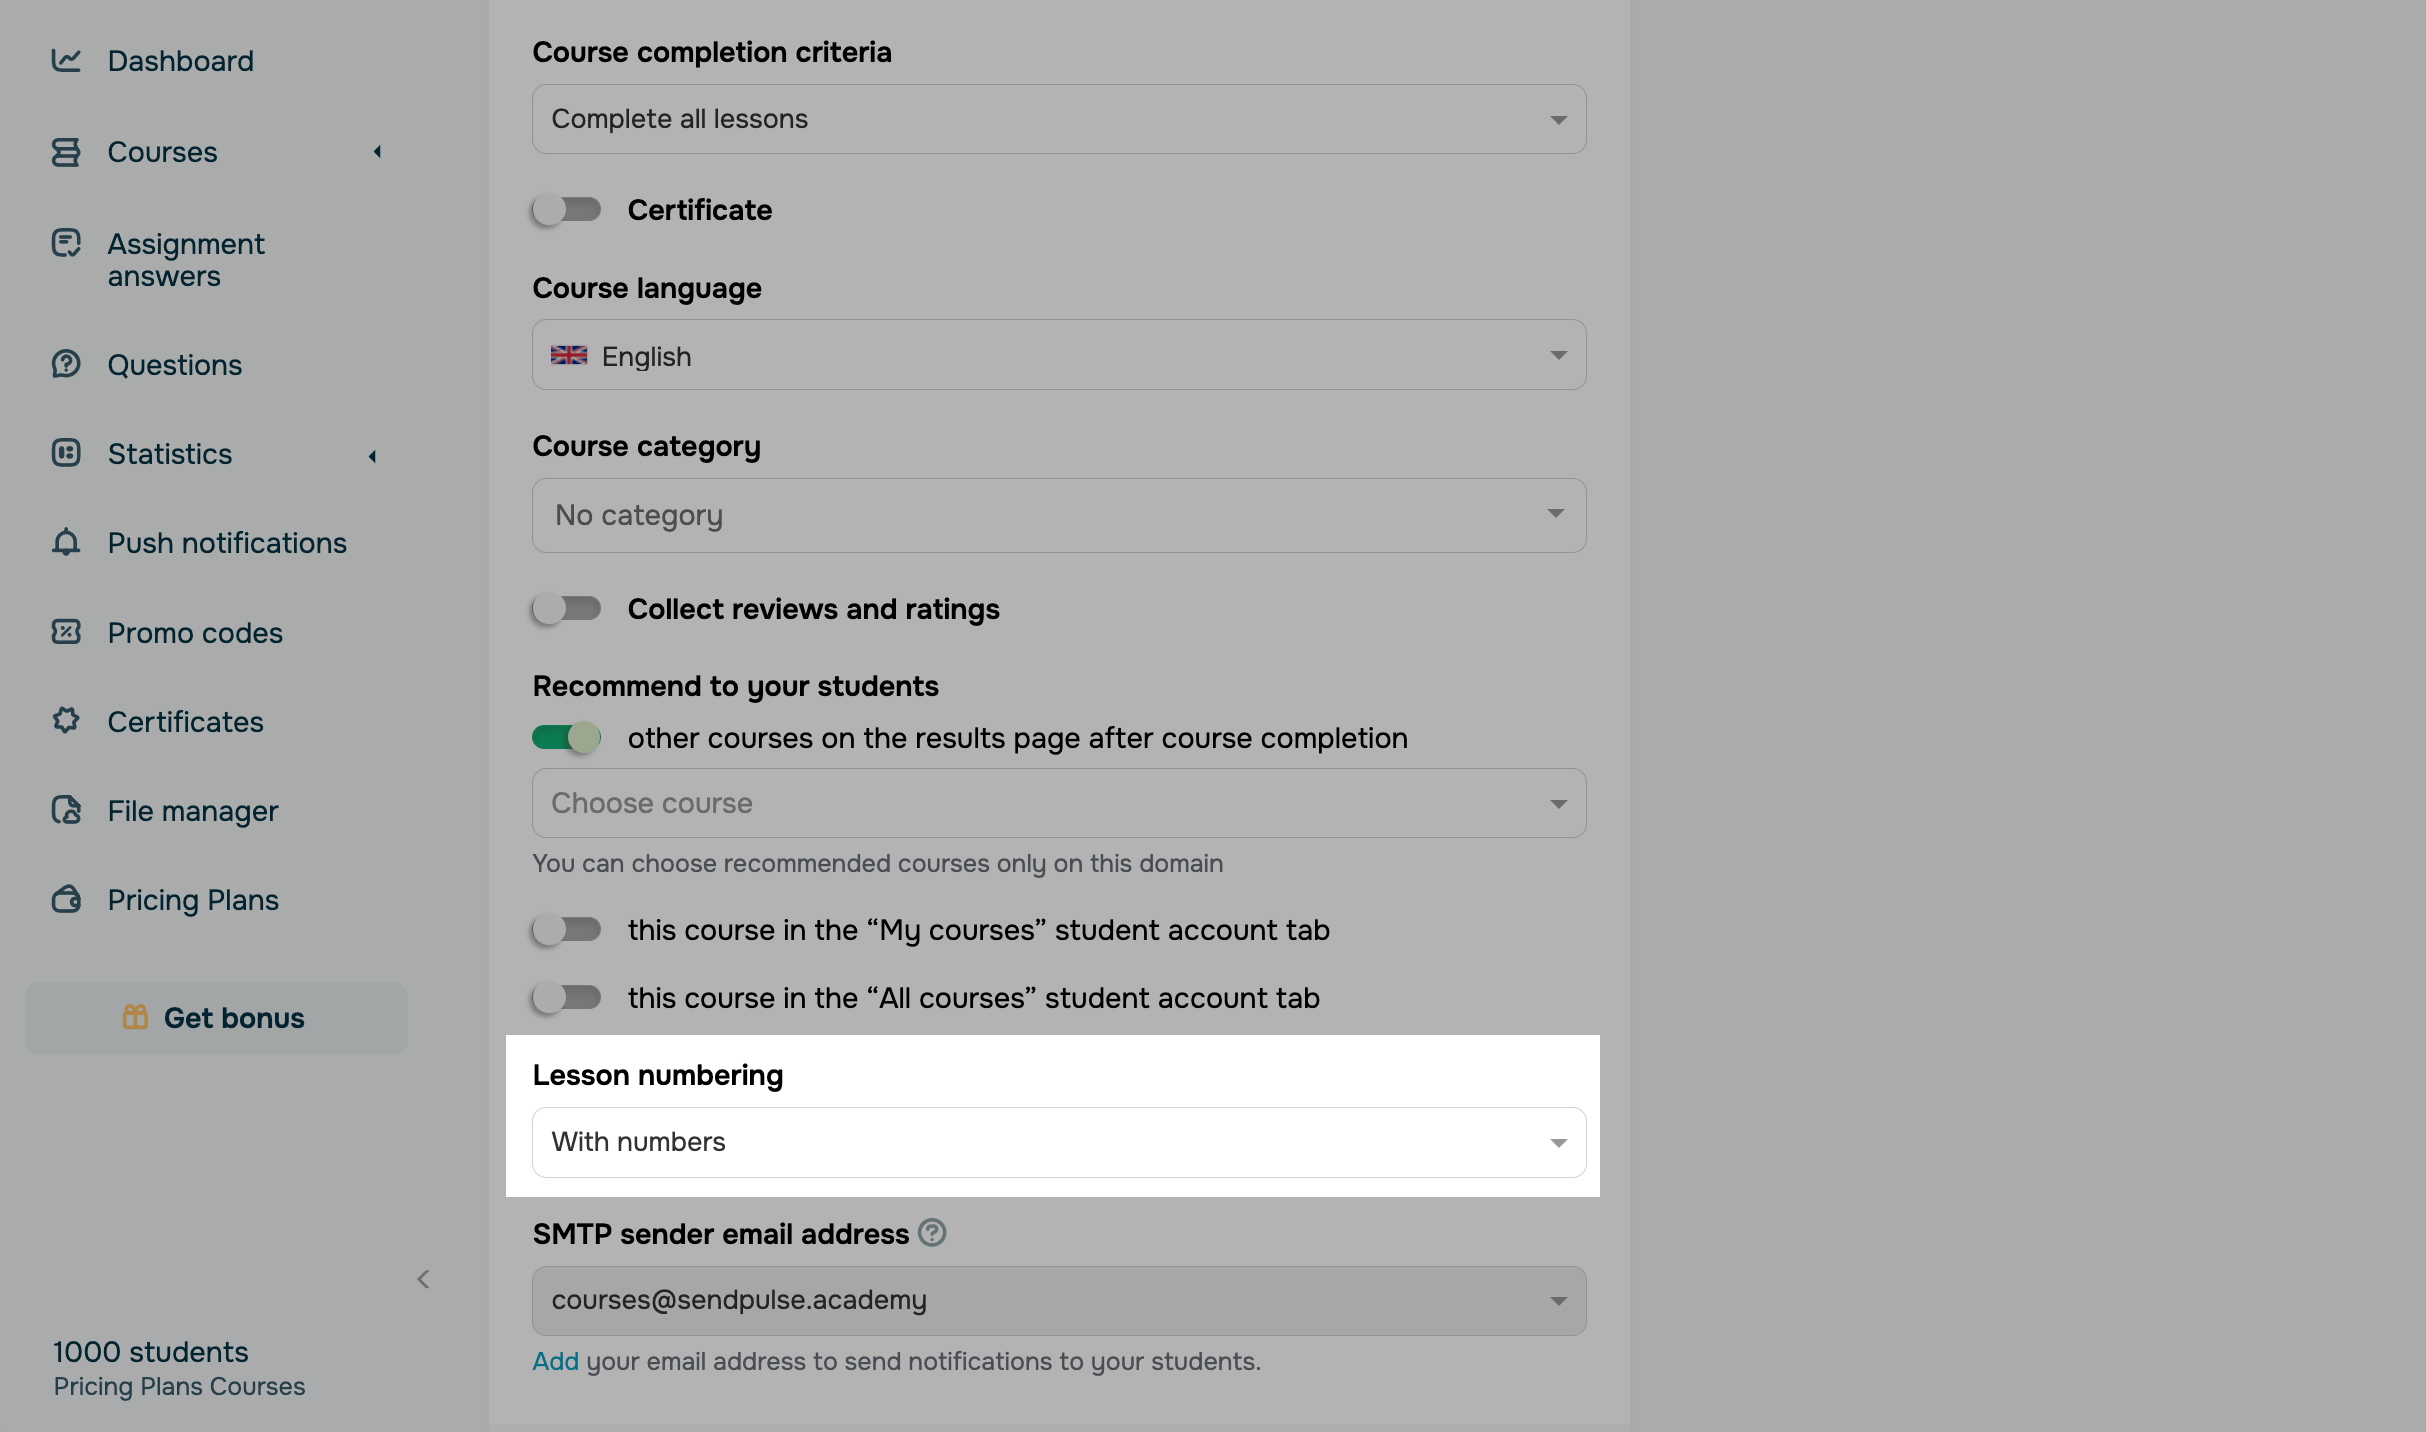
Lesson numbering
This option determines how to display your lesson names in the course program. You can select the following options:
| With numbers | Lesson names will be automatically numbered. The first digit is your section number, and the second digit is the number of your lesson within that section. |
| Without numbers | Lesson names will not be numbered. They will appear exactly as you've entered them in the builder. |
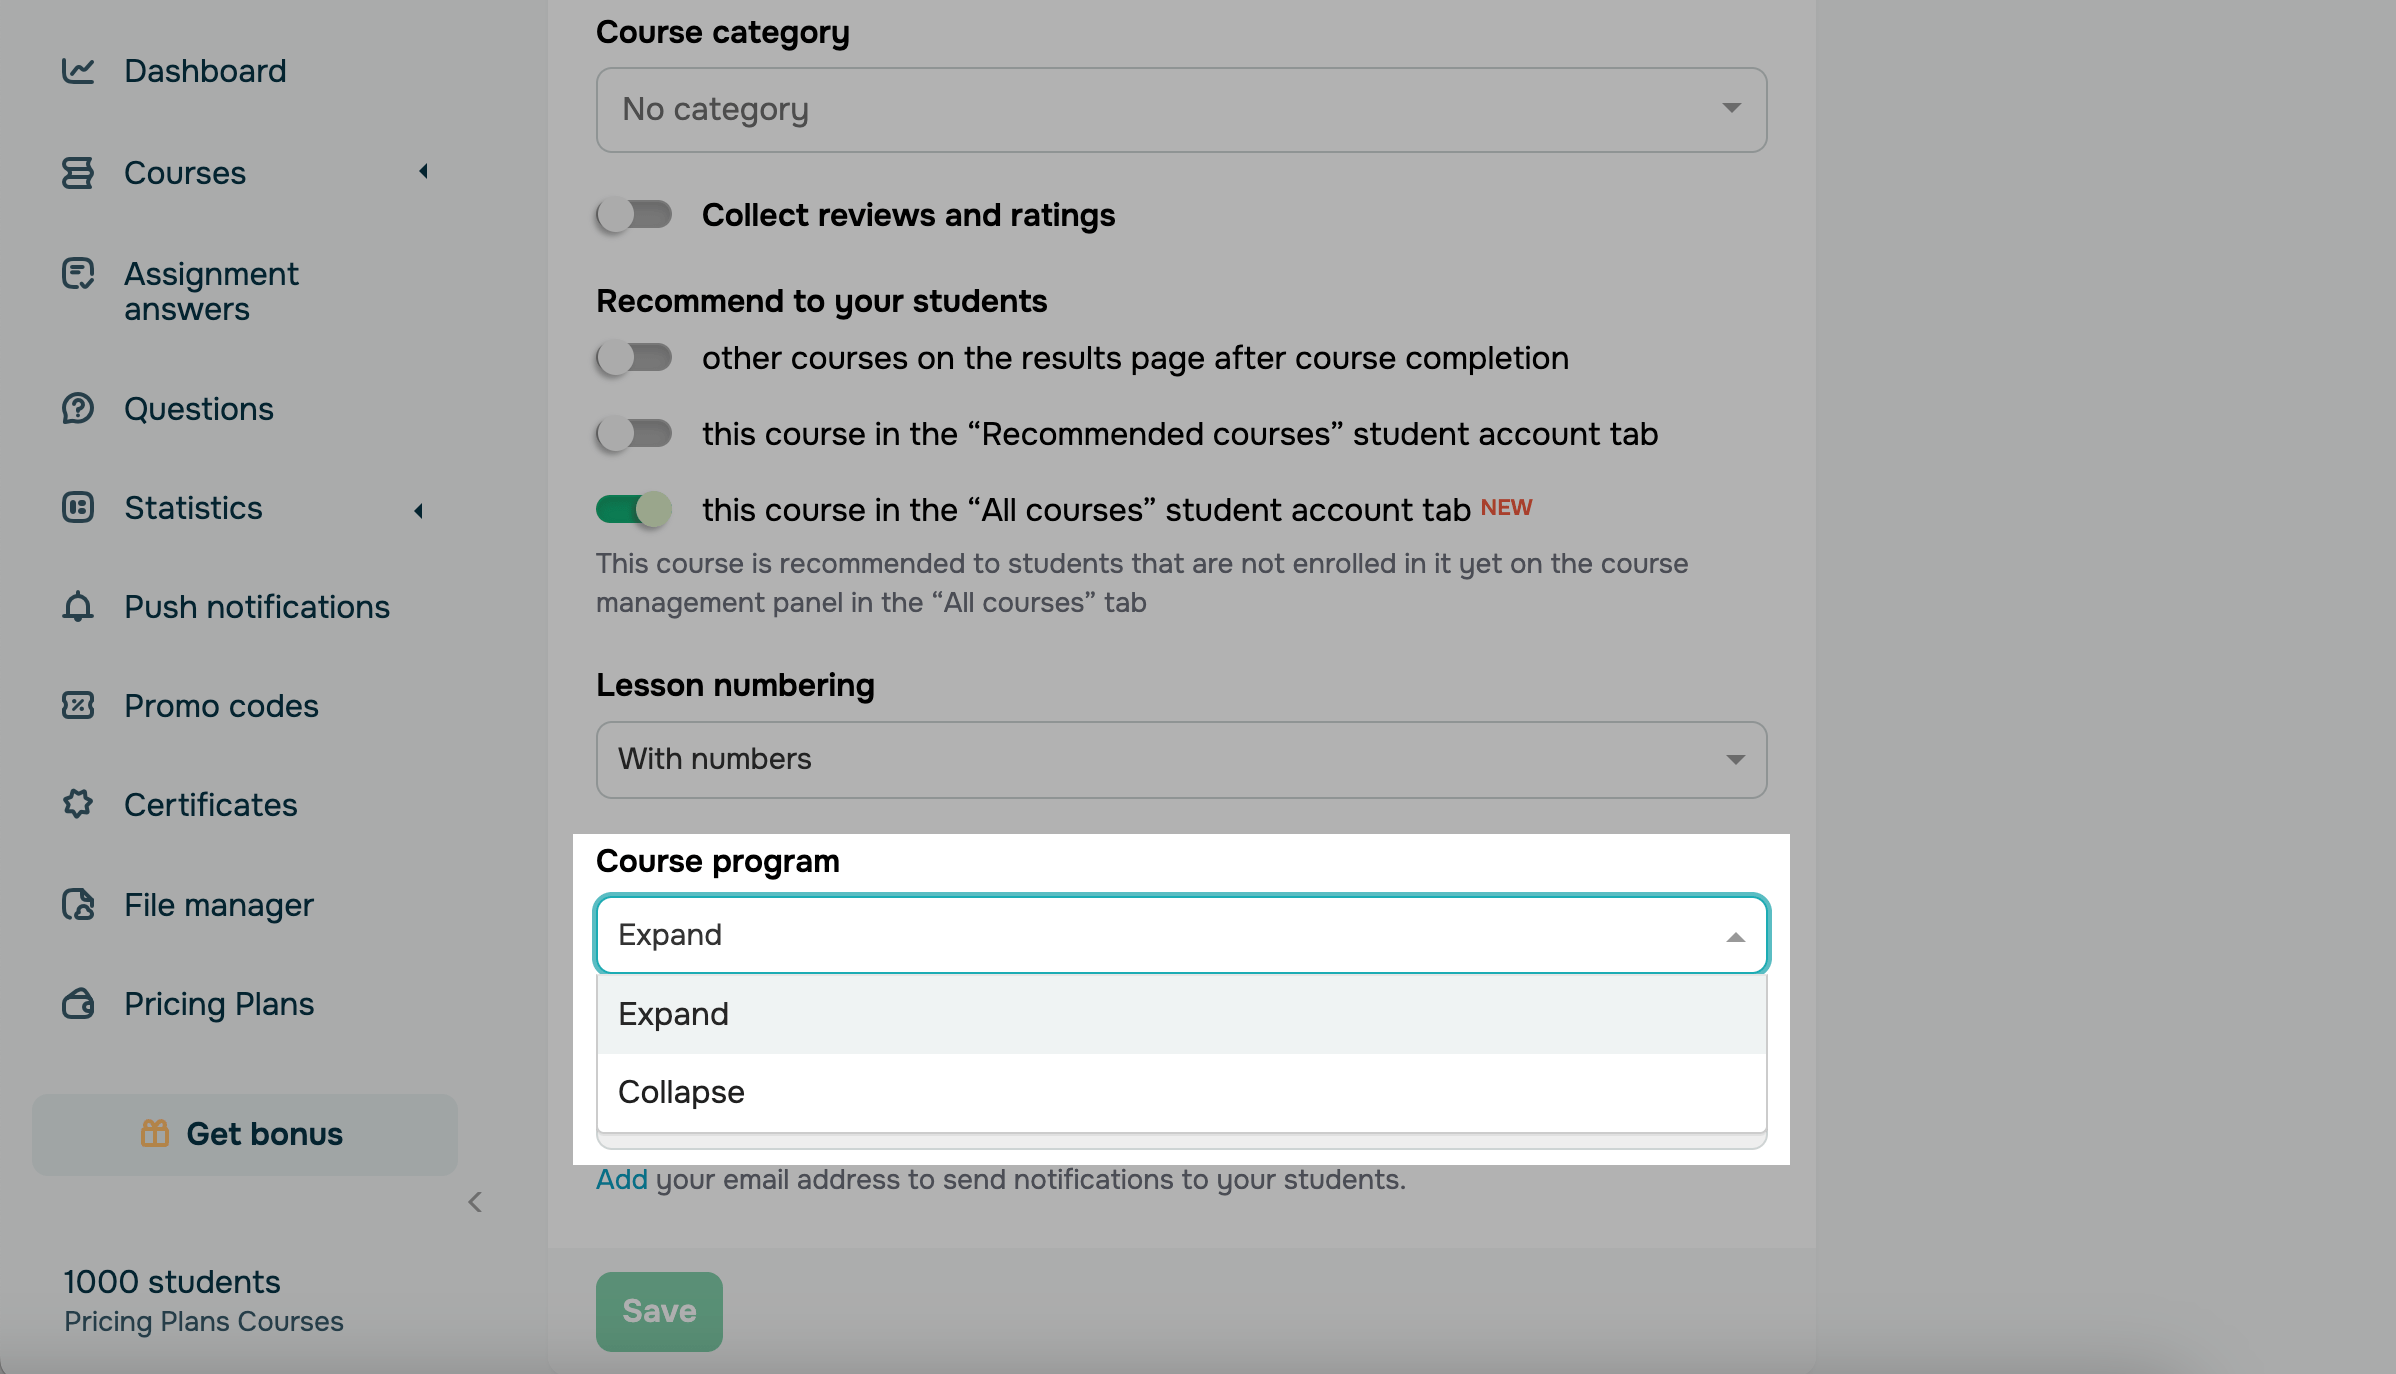
Course program
This option allows you to choose how to display your course program in student accounts. You can select the following options:
| Expand | All course sections will be expanded, allowing students to view lessons, tests, and other content within the sections. |
| Collapse |
All course sections will be collapsed. To view lessons, tests, and other content, students will need to expand each section individually. You can use this option to improve course navigation, especially if you have many lessons. |
By default, the Expand option is selected. This setting does not apply to the Education by SendPulse application.
Last Updated: 30.05.2025
or