Use the automated flow builder
SendPulse's Automation is a visual workspace where you create and manage automated flows. Use the builder tools to arrange elements, keep your workspace organized, and work efficiently with flows of any complexity.
Let's talk about how to use the auto-flow builder.
Create an automated flow
To start building an automated flow, go to Automation and click Create automation. The workspace appears with the starting element.
To add a new element, drag the connector from an existing element to an empty area. Then, select an element type from the menu that appears.
You can also choose a customizable flow template or generate a flow layout using AI.
Read more: Create an automation and Create an automated flow using AI.
Rename elements
Custom element names help you and your team understand the flow layout at a glance without opening each element.
To rename an element, click it. In the Element name field, enter a name and click Change. The updated name will appear on the workspace.
Find an element using the navigator
The Flow navigator sidebar lists your flow's elements. With it, you can find an element in a large flow, locate it on the workspace, and check which elements aren't configured or connected yet.
For example, before you save a large flow, you can filter the navigator to show only unconfigured elements and set them up one by one.
To open the navigator, go to Automation > Dashboard and open your flow in the builder by selecting Edit. At the bottom of the builder, click the compass icon.
The navigator will appear on the left. While it's open, the workspace stays active, and you can move around it.
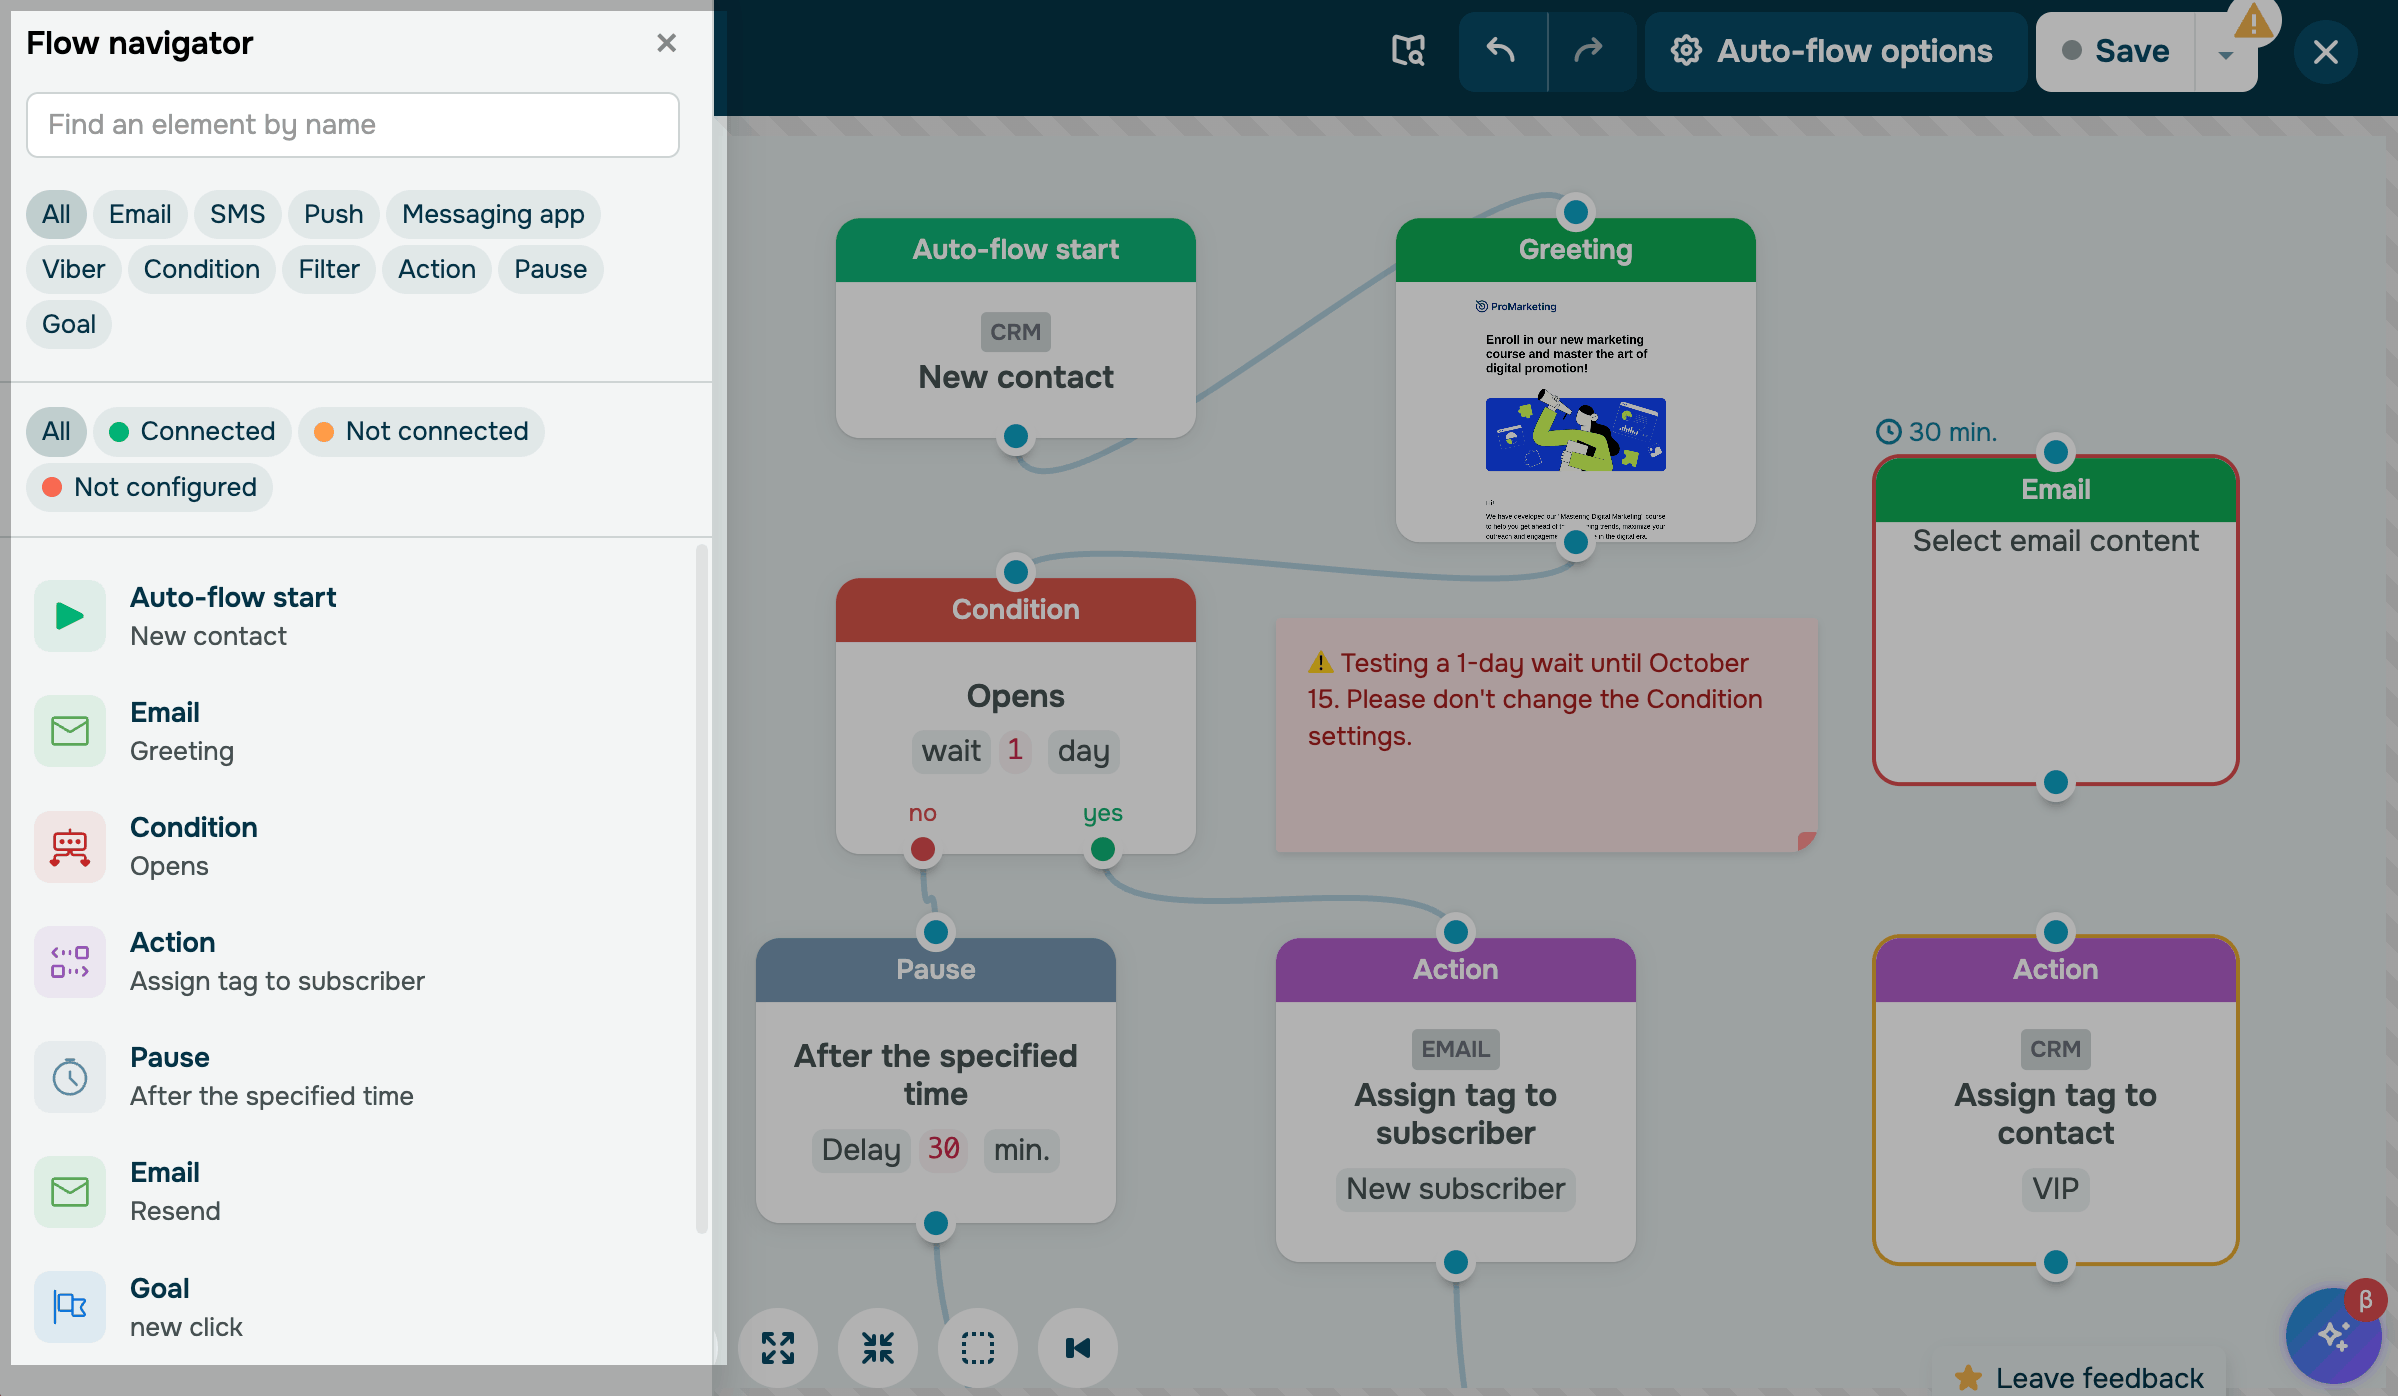
To find an element, enter its name in the search field. If you haven't renamed an Email element, you can also find it using its subject line.
To narrow down the list, filter elements by type, status, or both.
To filter elements by type, select one or more element types.
To filter elements by status, choose one of the available statuses: All, Connected, Not connected, or Not configured.
Each row shows an element's name and a short preview of its content, such as the email subject line or SMS text. Elements you haven't renamed are listed by their type. The flow start is always at the top.
Unconfigured elements have a red dot and are labeled Not configured. Unconnected elements have a dashed border around their icon.
To go to an element, click its row. SendPulse highlights the element and moves the workspace to it. The navigator stays open while you go from one element to another.
To go straight to an element's settings, hover over its row and click the pencil icon. The navigator closes, and the settings sidebar appears on the right.
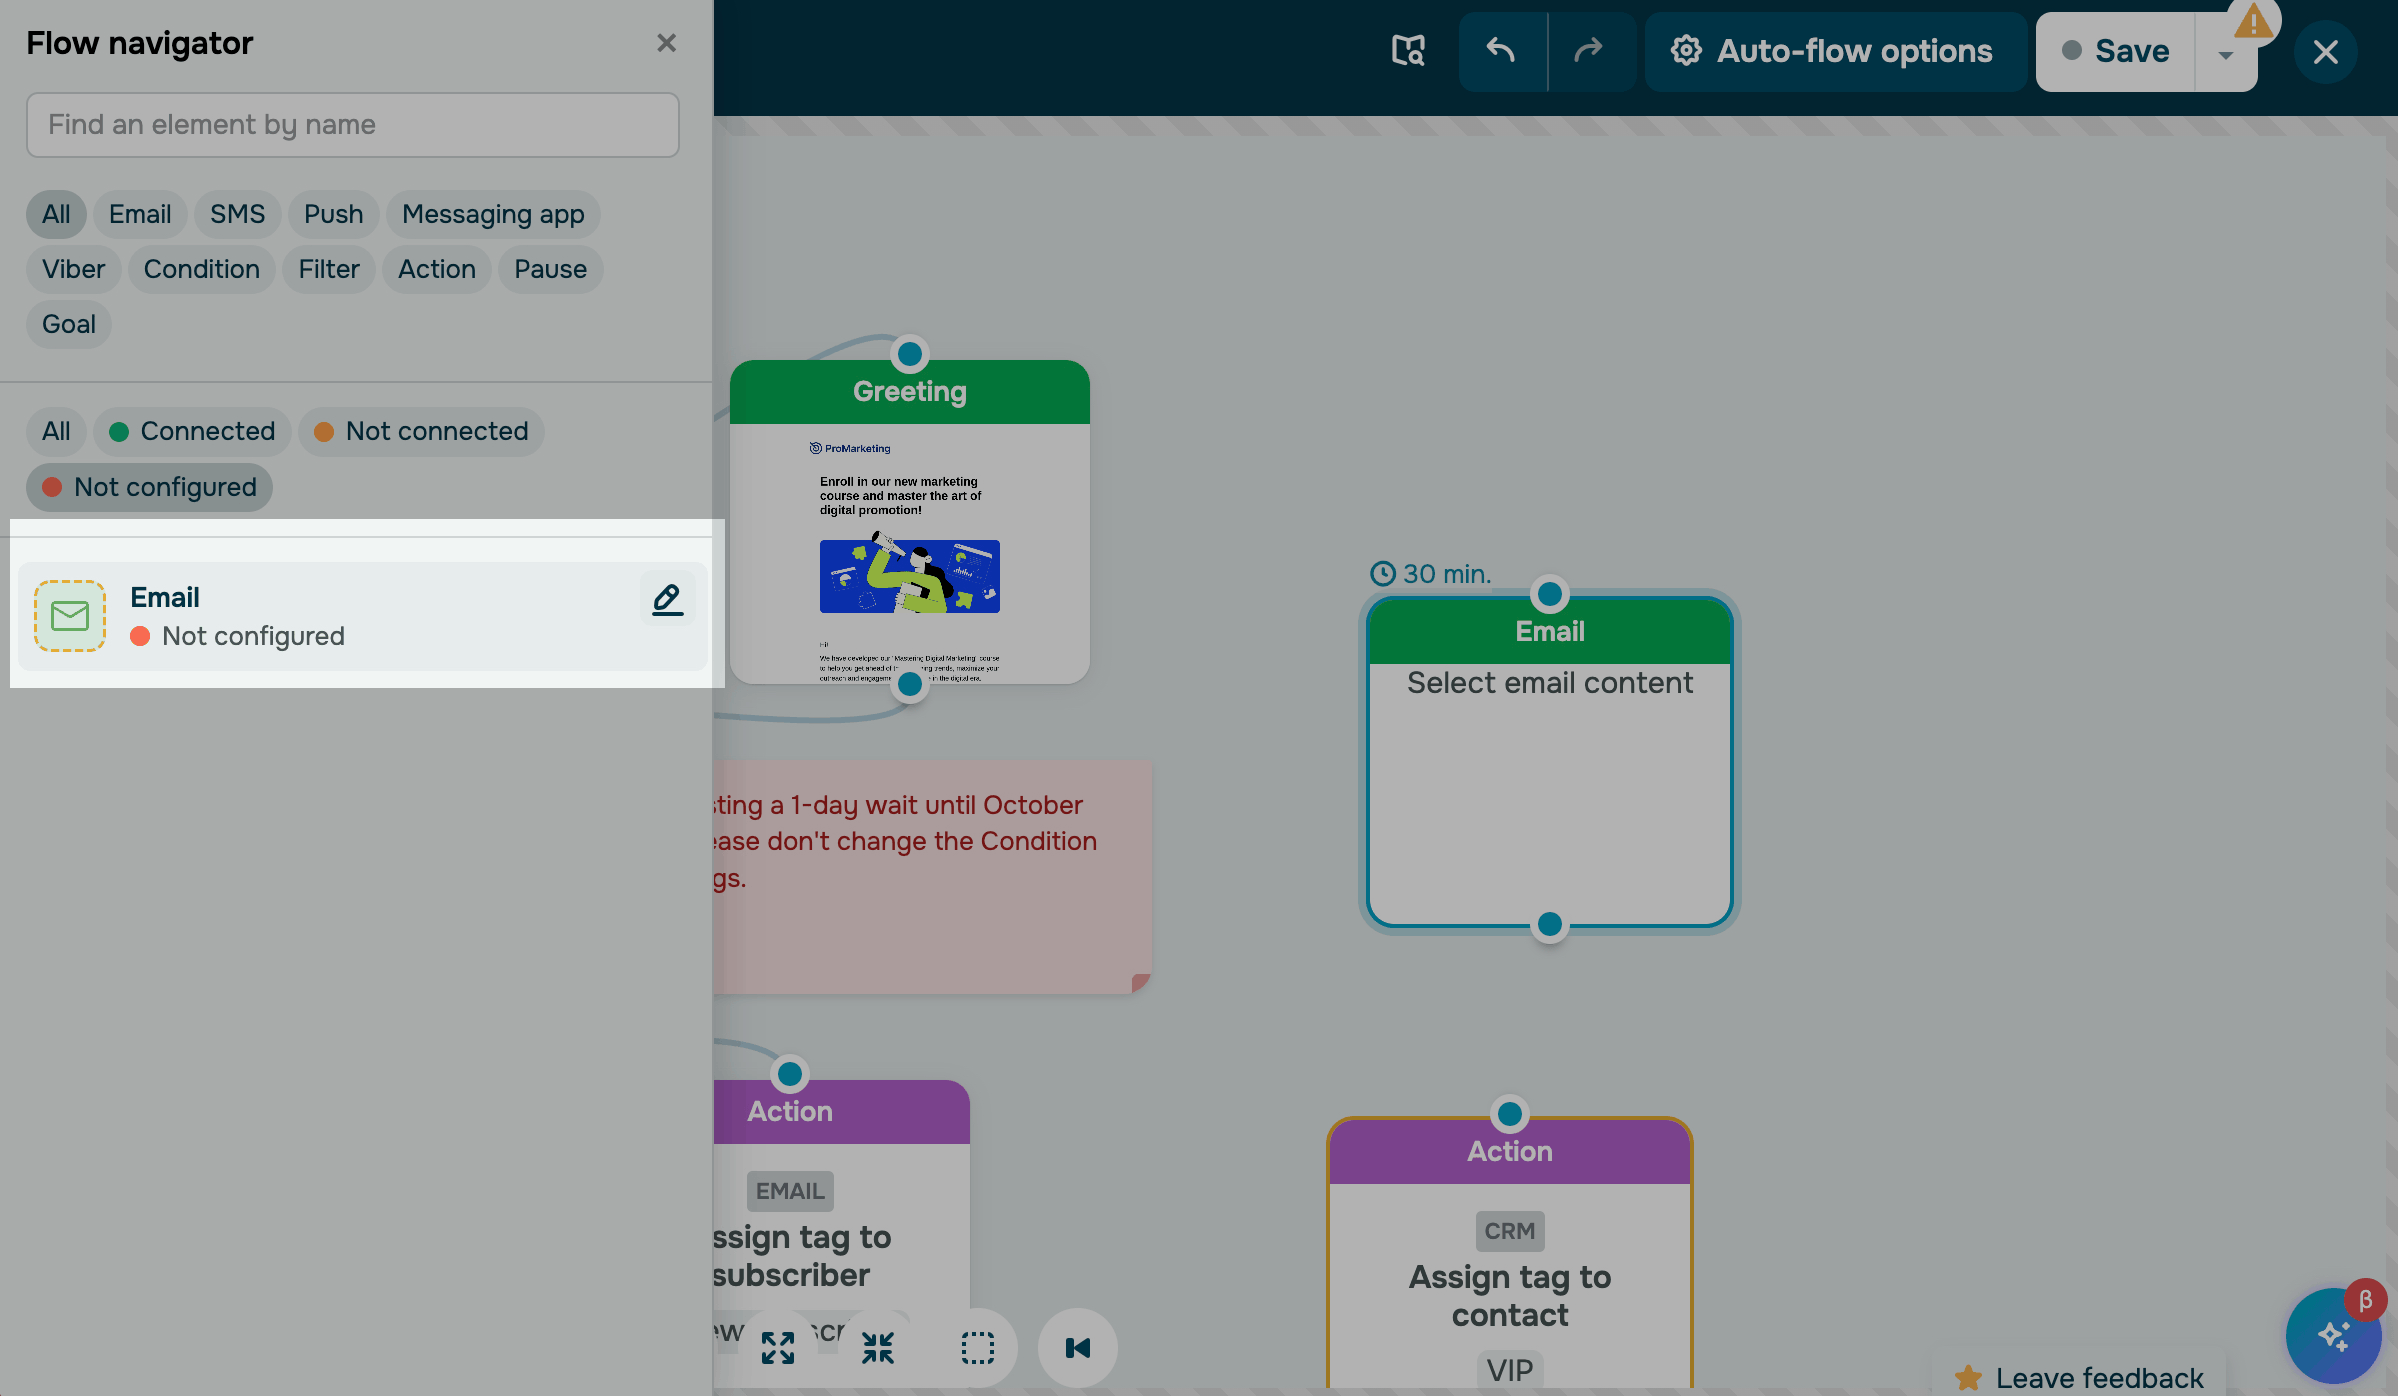
If you click Save while your flow has unconfigured elements, SendPulse won’t save your changes. Instead, it shows a notification and opens the navigator with the Not configured filter. This helps you see which elements still need configuring.
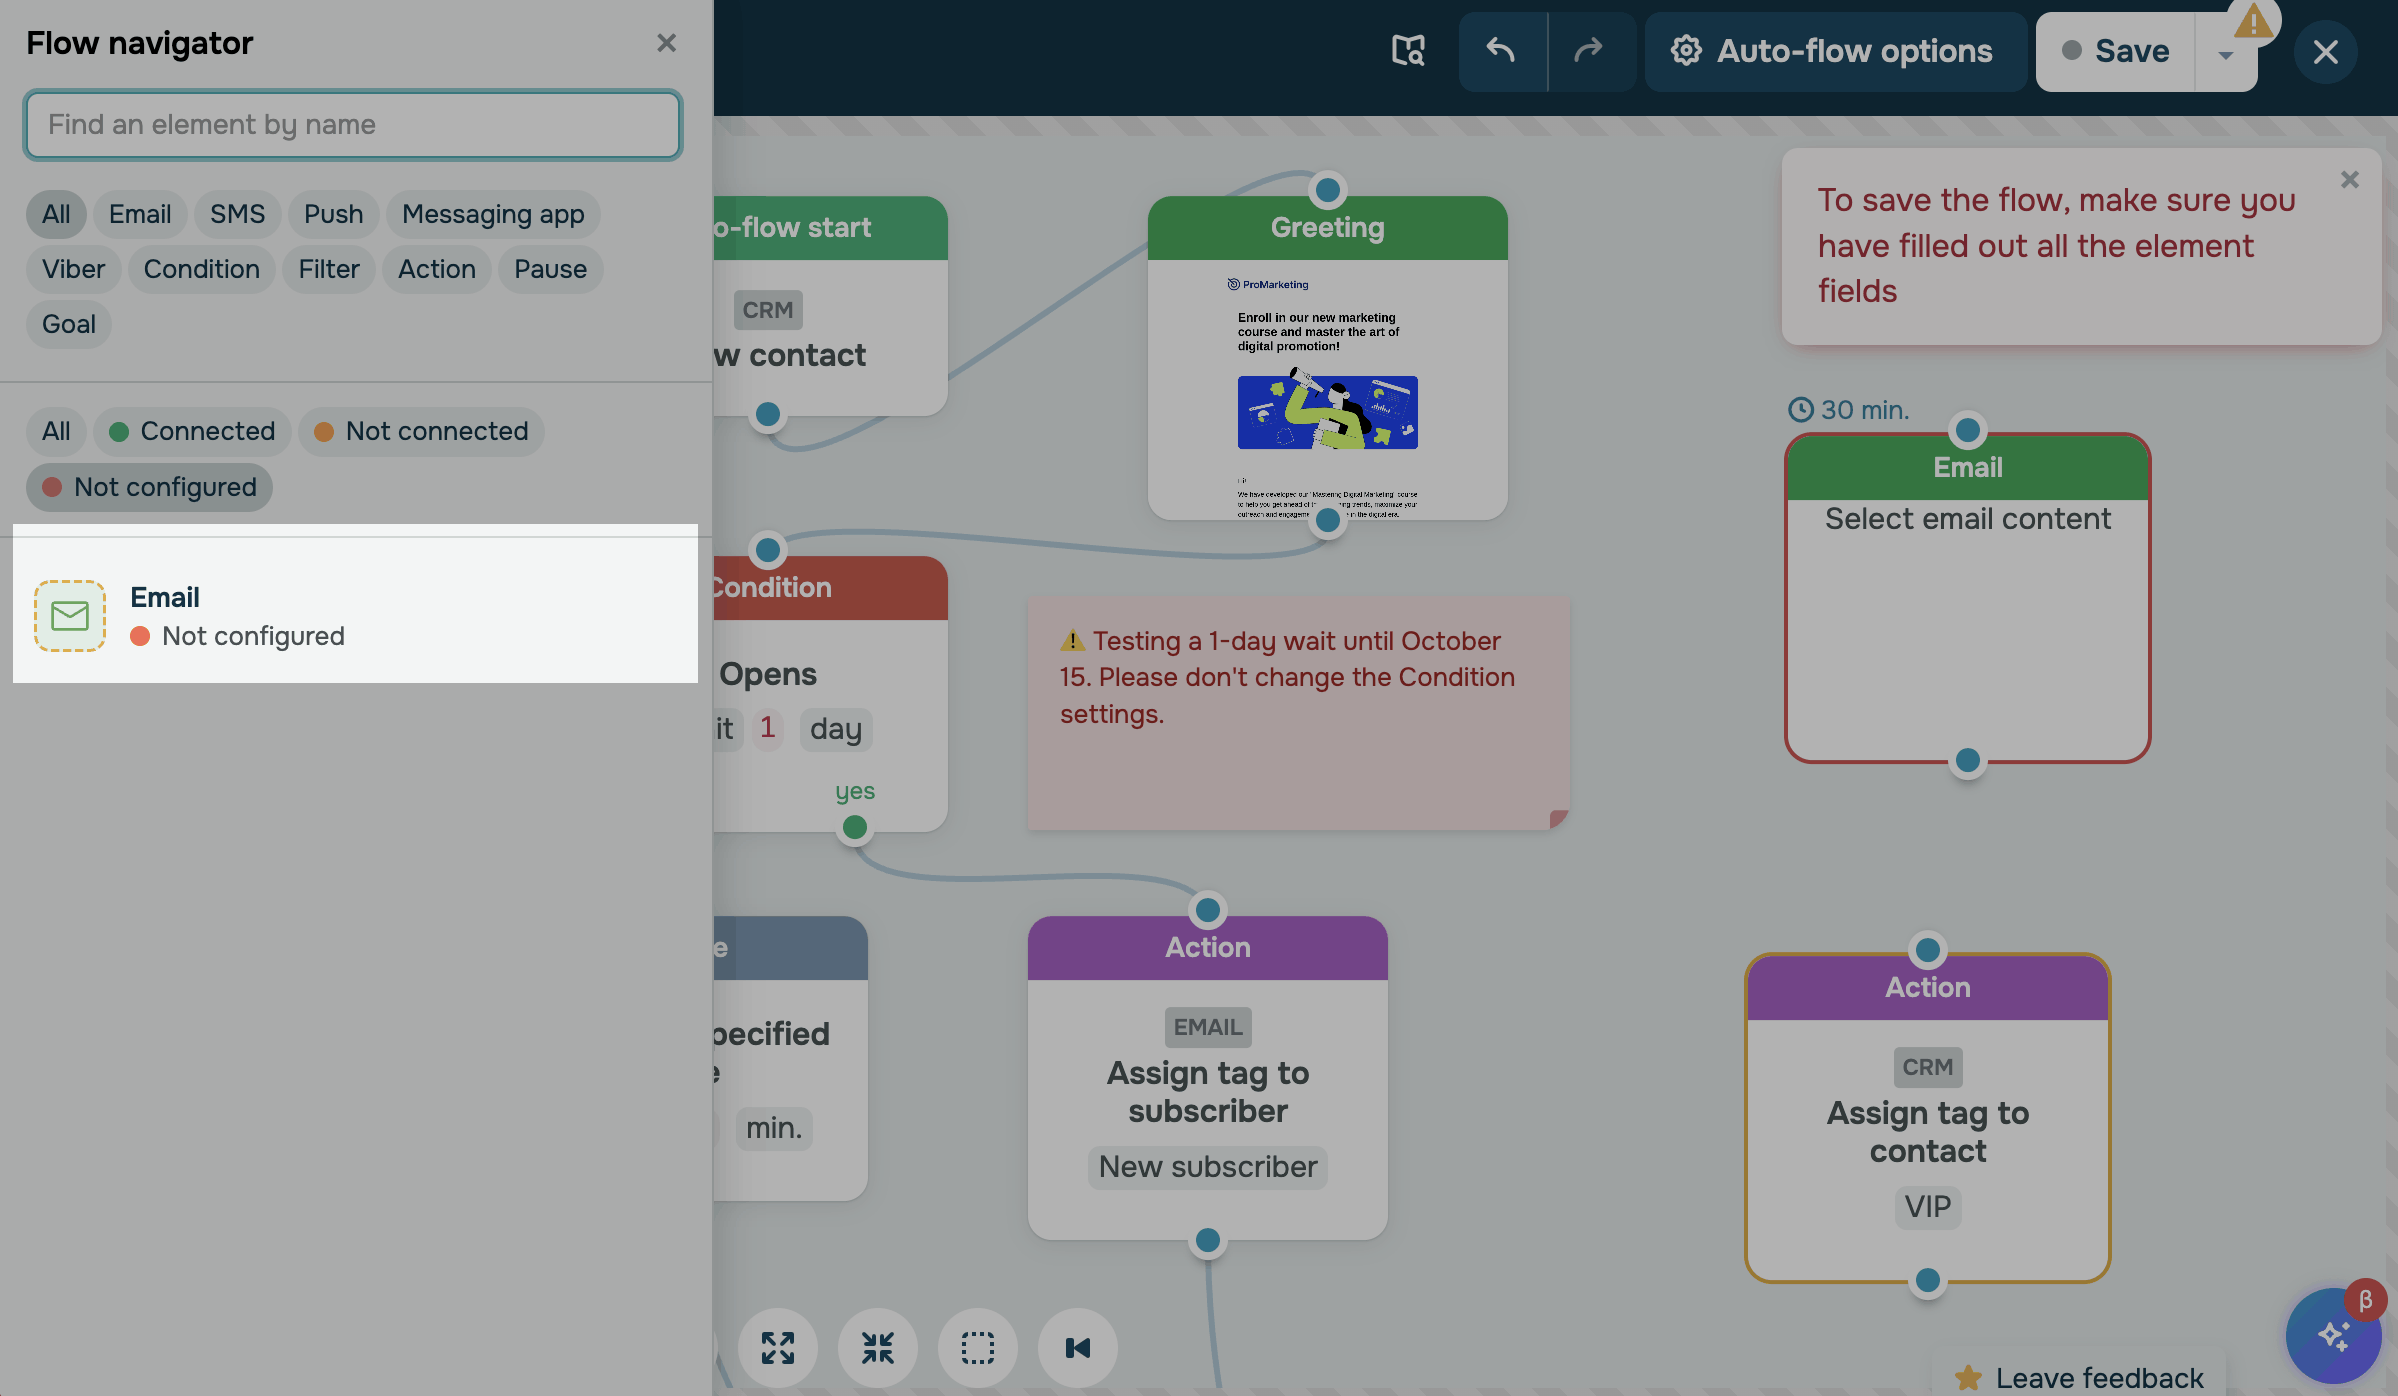
You can also use the navigator on your automated flow page. Go to Automation > Dashboard, and click your automated flow. In the Flow tab, click the compass icon at the bottom.
On this page, the navigator includes only the search field and element type filters. To view an element's statistics, find it in the navigator and click it in the flow. The statistics sidebar appears on the right, and the navigator closes.
Read more: View your automation statistics.
Show or hide grid lines
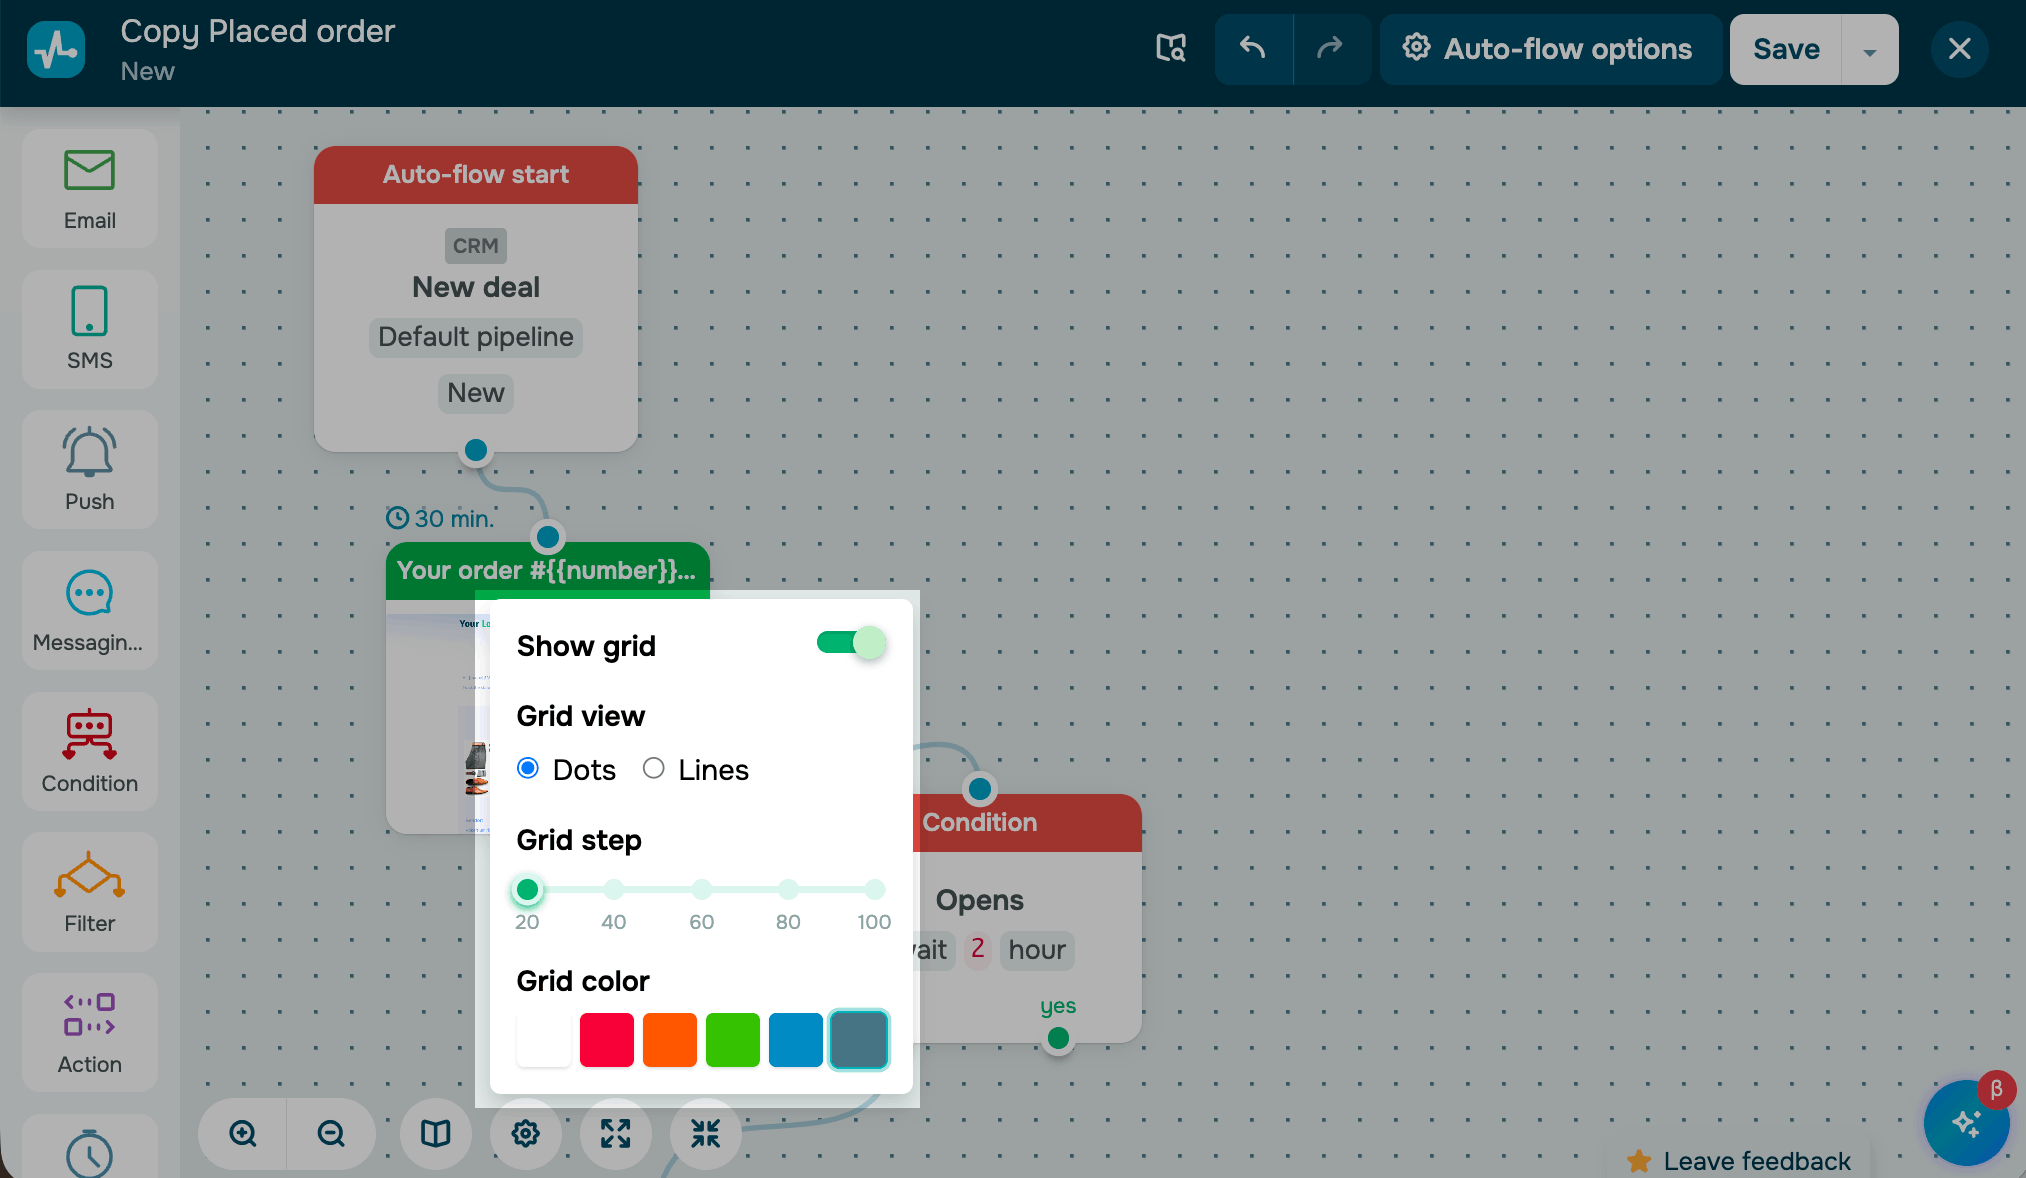
Grid lines help you position elements with precision.
To turn them on, click the settings icon at the bottom of the builder and turn on the Show grid toggle. Select a grid type (Dots or Lines) and a spacing value: 20, 40, 60, 80, or 100 pixels.
Scale the workspace
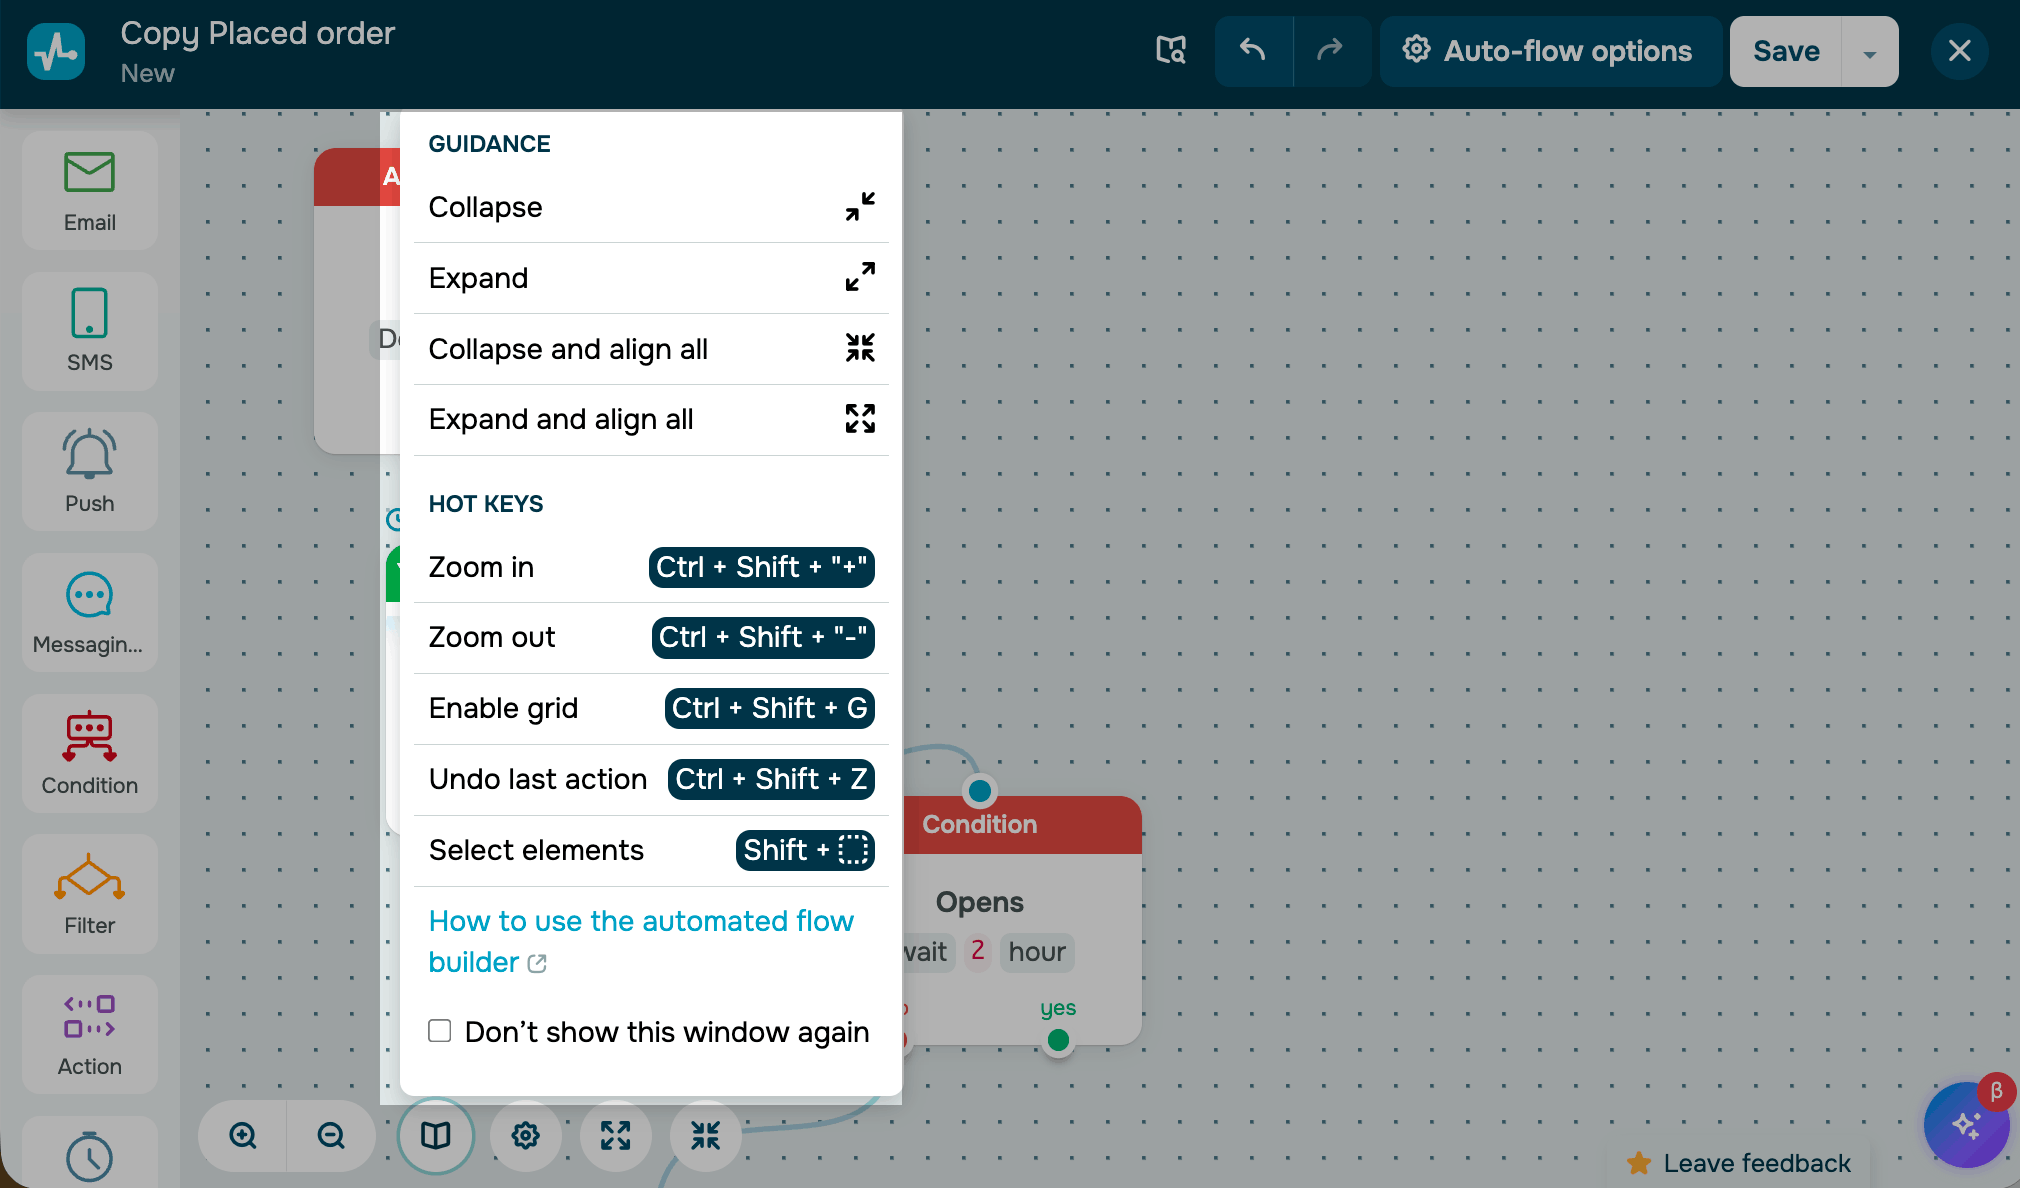
You can scale the visible area by scrolling the mouse wheel or using hotkeys:
- Press Ctrl + Shift + + to zoom in;
- Press Ctrl + Shift + - to zoom out;
- Press Ctrl + Shift + G to show/hide the grid.
To find more quick actions, click the book icon at the bottom.
Collapse and expand elements
Collapse elements into compact icons to keep the workspace clean and make it easier to see the whole flow. This is useful when going over a complex flow with your team or presenting it to a client.
To collapse an element, click the collapse button in its upper-left corner. To expand it, click the icon again.
To collapse or expand all elements at once, use the corresponding buttons at the bottom of the builder.
When you collapse all elements, the workspace also automatically aligns them to give you a compact view of the entire flow.
Copy an element
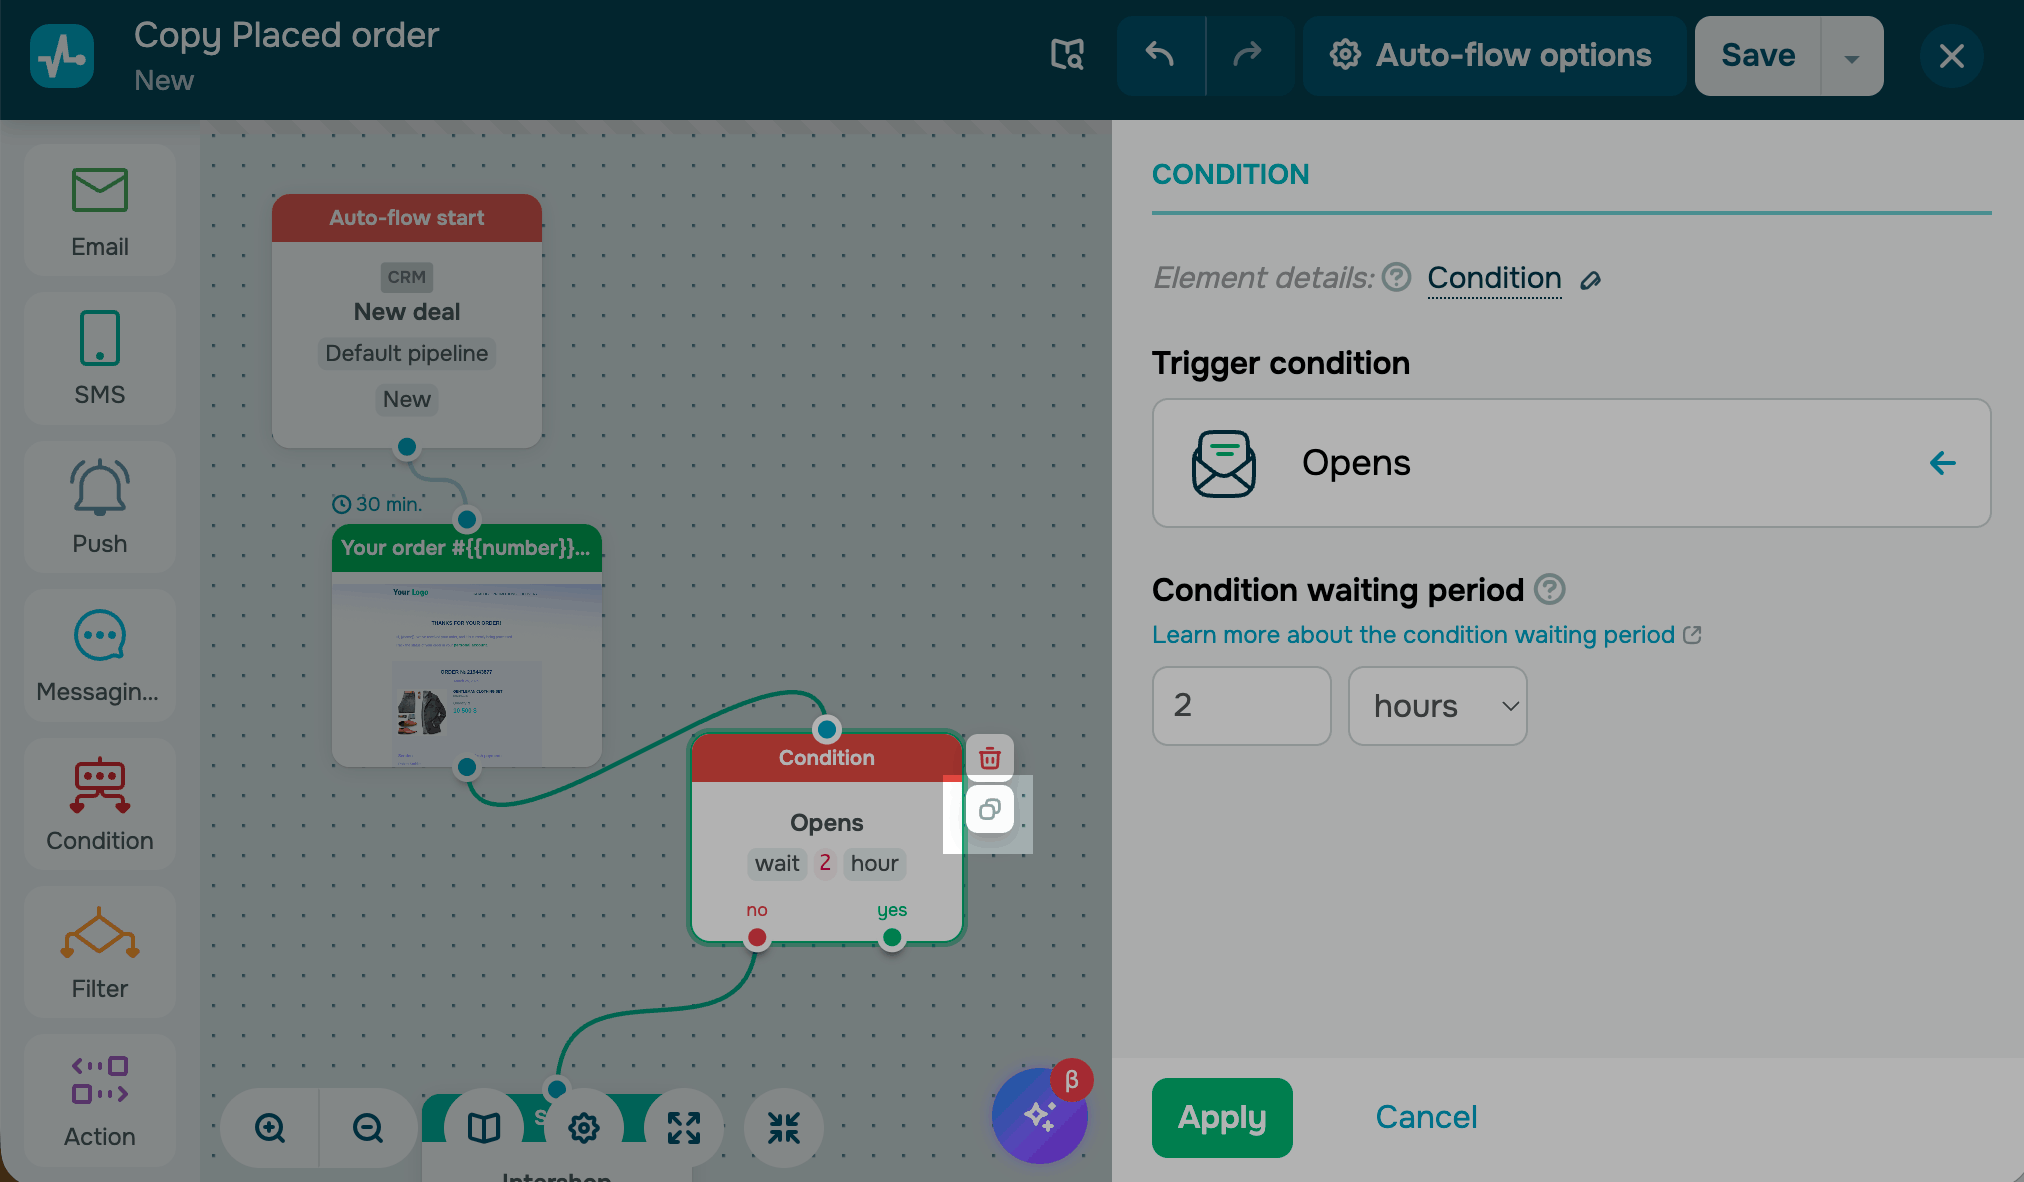
To duplicate an element and reuse its configuration, select it and click Copy. The copy appears on the workspace with all its settings preserved, and it can be linked to the next element.
Edit multiple elements
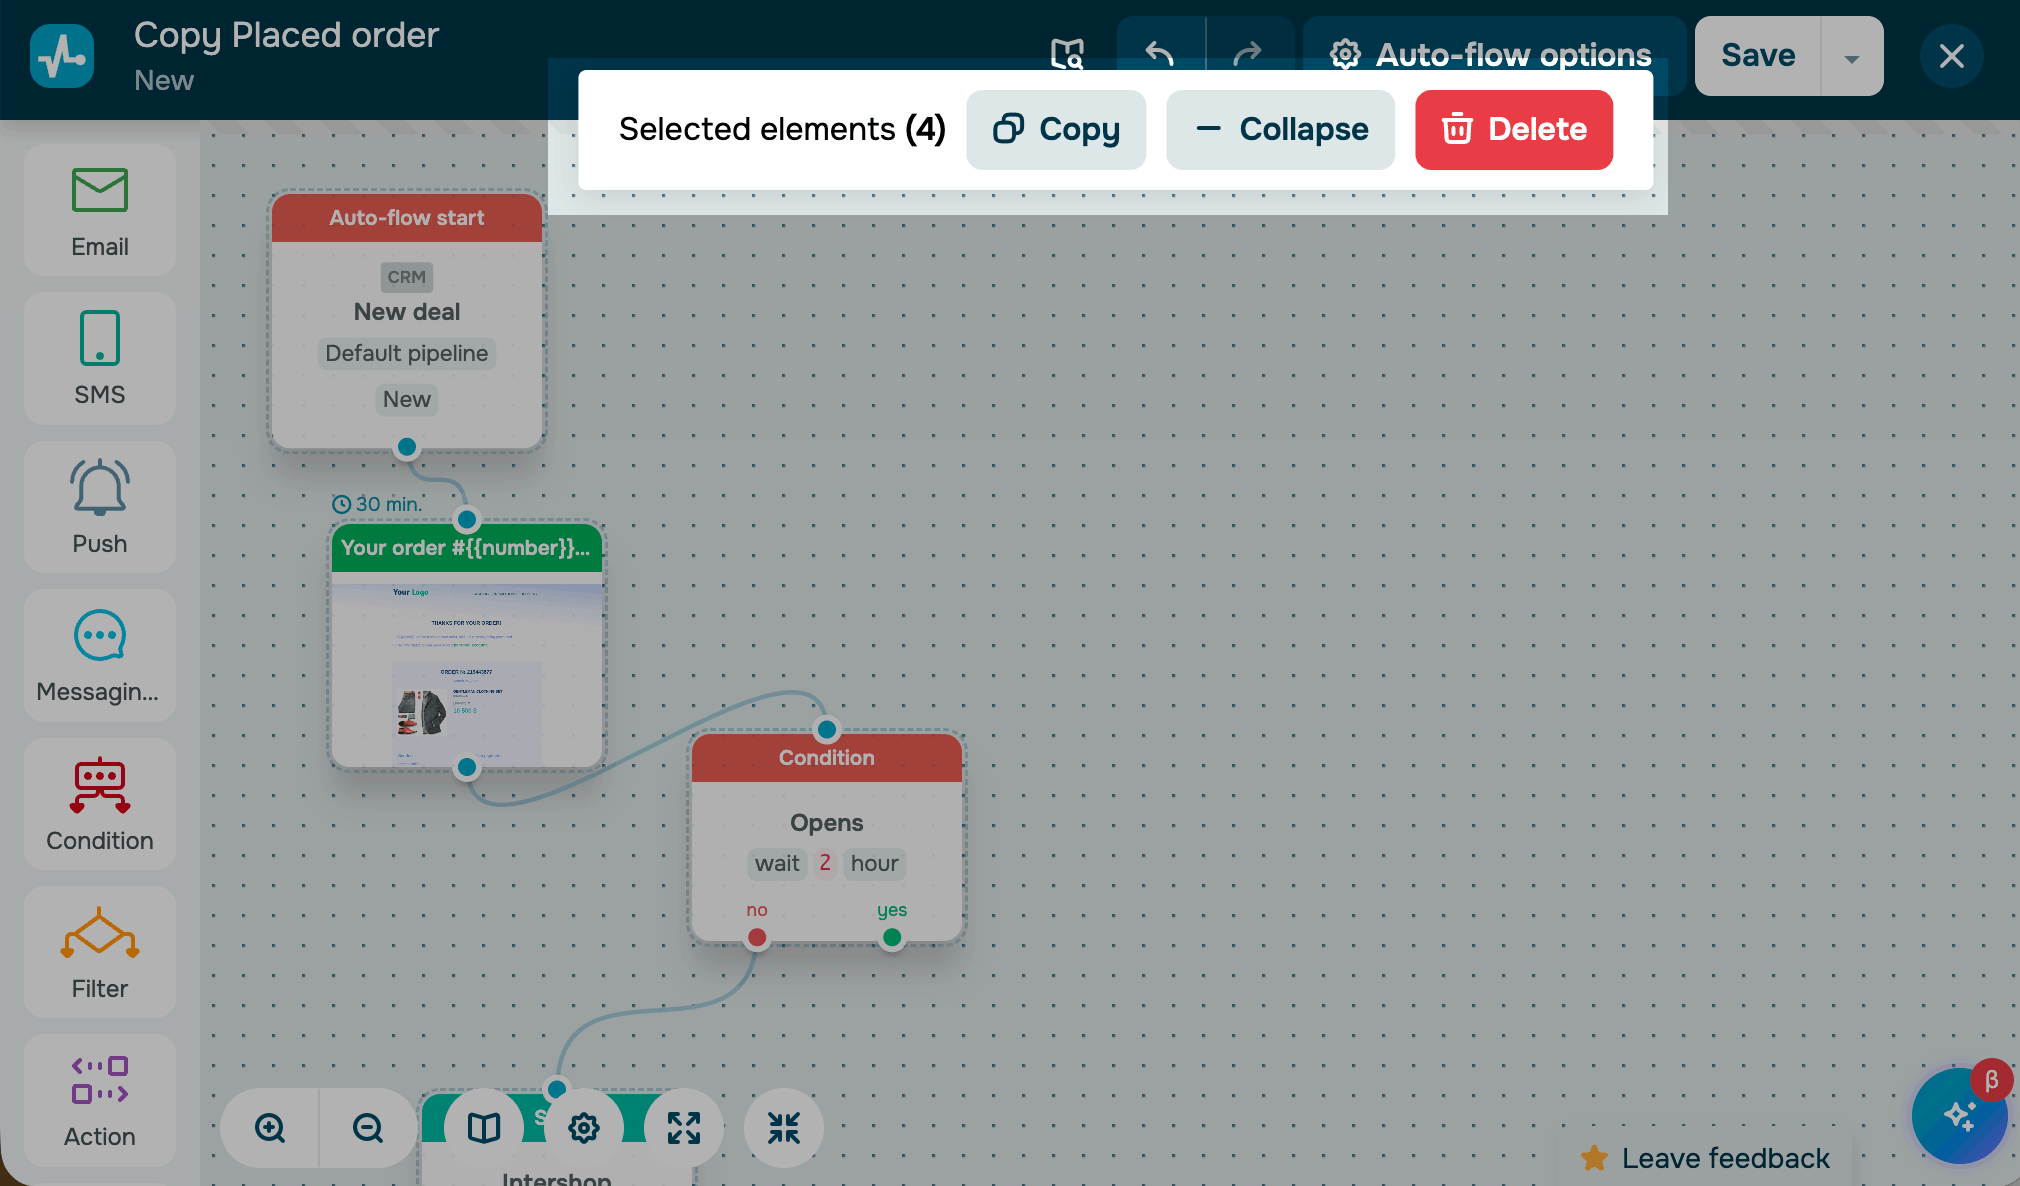
To take an action with multiple elements at once, hold Shift and click each element you want to select. A command panel will appear with the following options:
| Collapse | Folds all selected elements into compact icons |
| Expand | Restores all selected elements to full size |
| Copy | Duplicates the selected elements with their settings and connections |
| Delete | Removes the selected elements from the flow |
 Last Updated: 09.09.2024





or