Send transactional emails using a SendPulse Template
You can send transactional emails to clients via API from your system using a template with dynamic content created in SendPulse.
Dynamic emails allow you to send personalized information to each customer, for example, order data, a password, and so on. You specify the values for each customer in the email request and place the variables themselves in the message template.
Let’s talk about each step in more detail.
Create or choose a template
You can create a template using a convenient drag and drop template builder, using the API Template creation method, or by uploading an HTML version of the template.
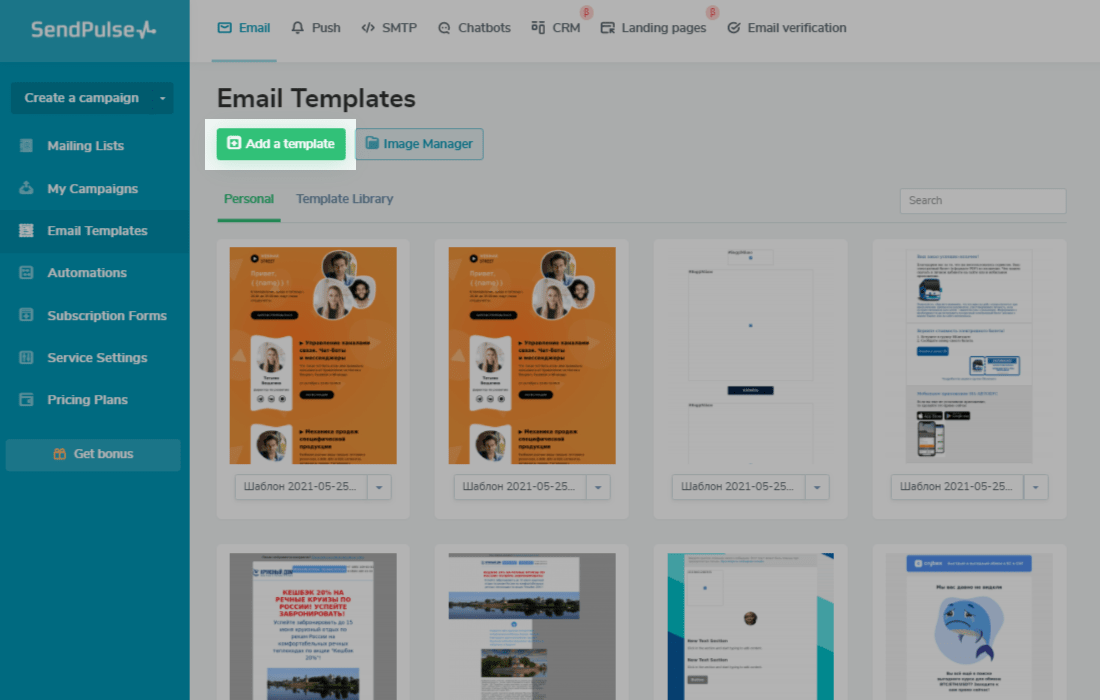
Let's analyze template creation through a personal account in SendPulse. Go to the Email section > Email Templates tab, and click Add a Template to create a new template or edit one from the Template Library.
Find out how to create your own template.
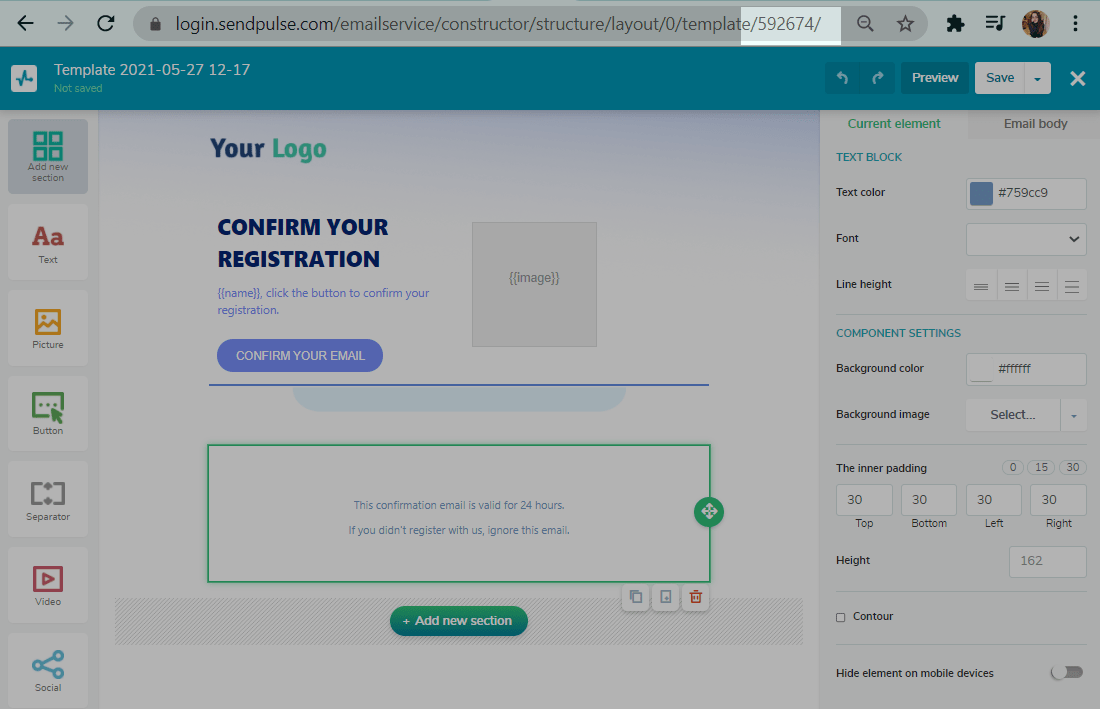
Insert custom variables
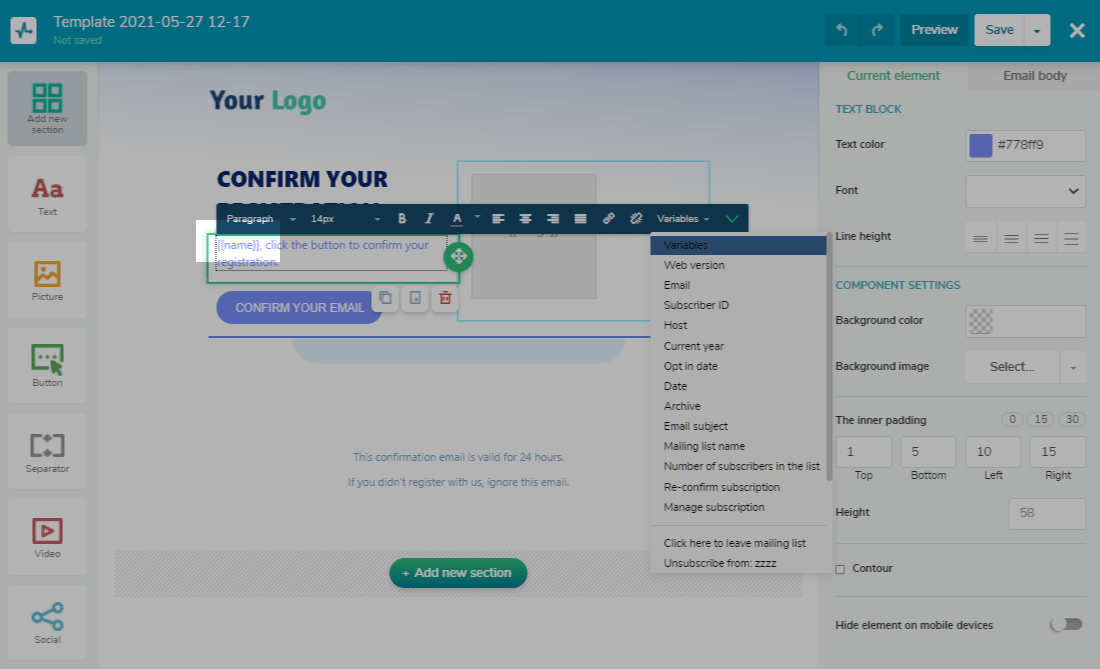
Add variables to a template to form the dynamic part of an email — personalized for each recipient.
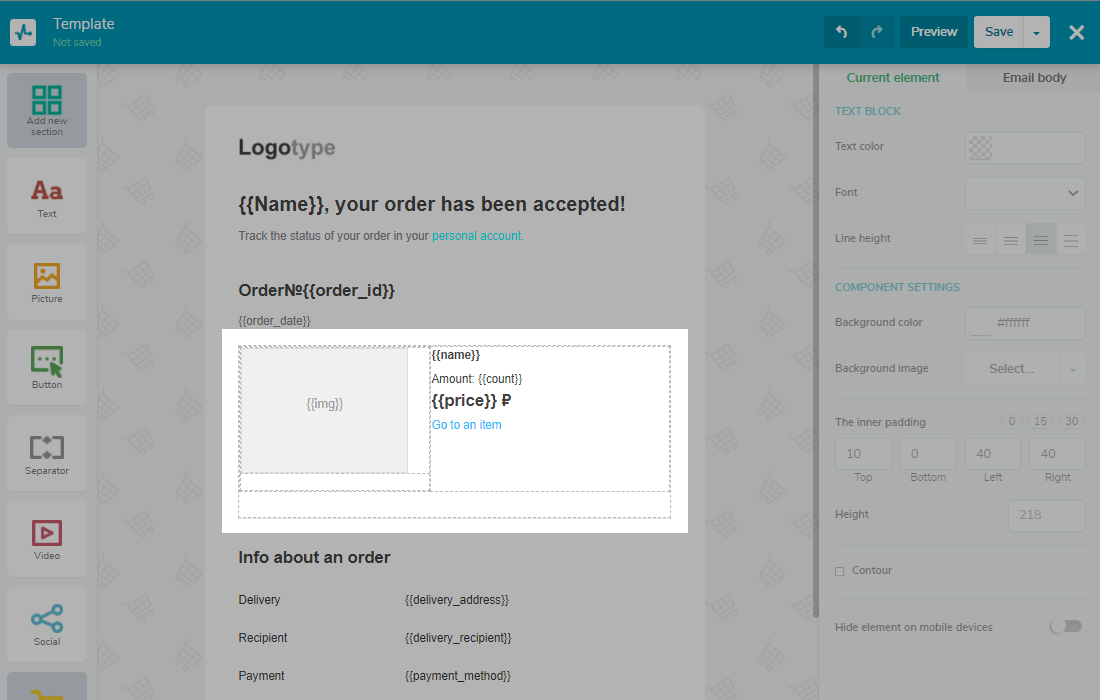
To add a variable, select the template text element and insert the variable name in double curly braces, for example, {{name}}. You can also select a variable from the text edit panel.
To add a variable with an image, click on the <> in the text element editor to open code editing mode. Add the image display tag <img scr = "{{image}}"> </img>, where image is the name of the variable to which you will pass the link to the image. You can also add tag properties to edit the display of the picture.
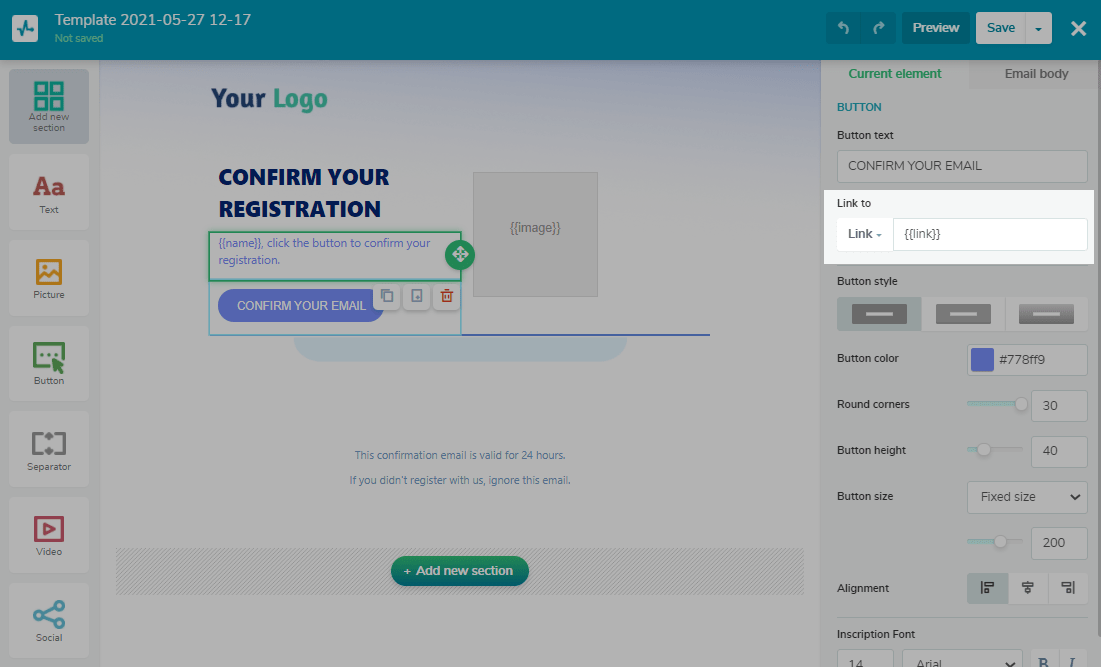
<p><img scr = "{{image}}" width="150" height="150"> </img></p>To add a clickable link, enter <a href= "{{link}}">text</a>, (where link is the name of the variable to which you will pass the link).
<p><a href="/{{link}}">text</a></p>You can also add variables to buttons and, for example, send each recipient a unique link.
When you're done editing, click Save.
Send an email
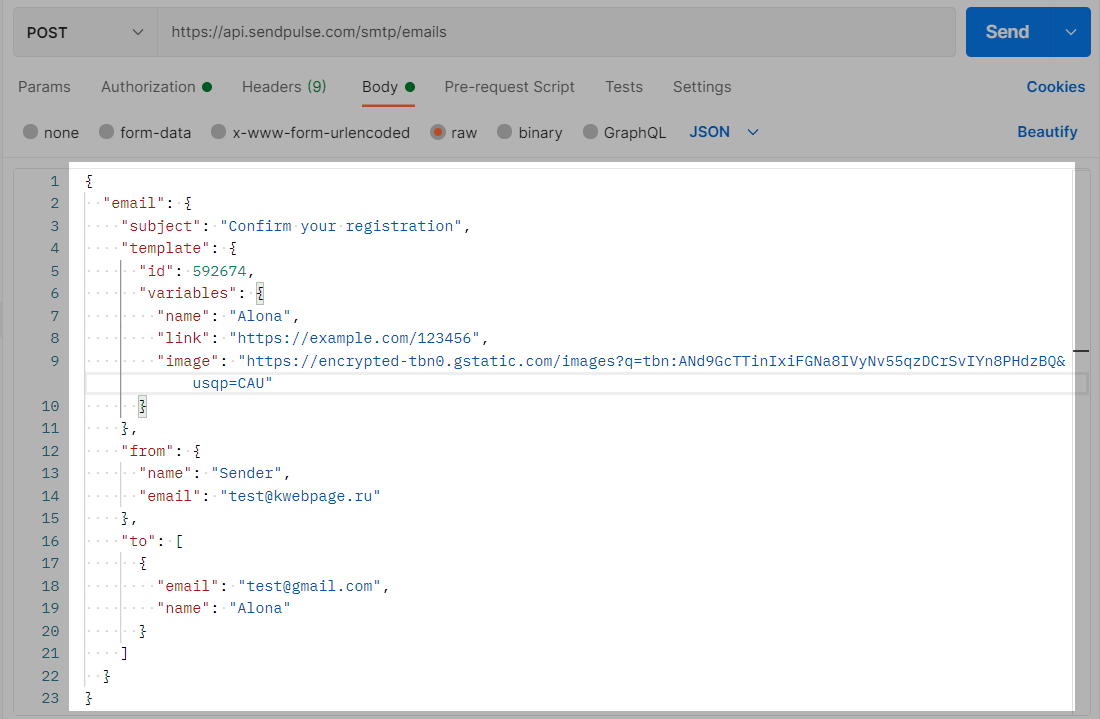
To send an email via SMTP, send a POST request using the link:
| https://api.sendpulse.com/smtp/emails |
Insert the passed parameters in JSON format into the request body:
| subject | Email subject |
| template.id | The identifier of the required template |
| template.variables | Template variables, consisting of the variable name and the variable value in the form |
| from | An array with the name and email address of the sender in the form |
| to | The array of recipients in the form [{ "email": "user@example.com", "name": "Alex" }] |
For testing we will use Postman.
Add a request link to the URL field. Select the request method POST.
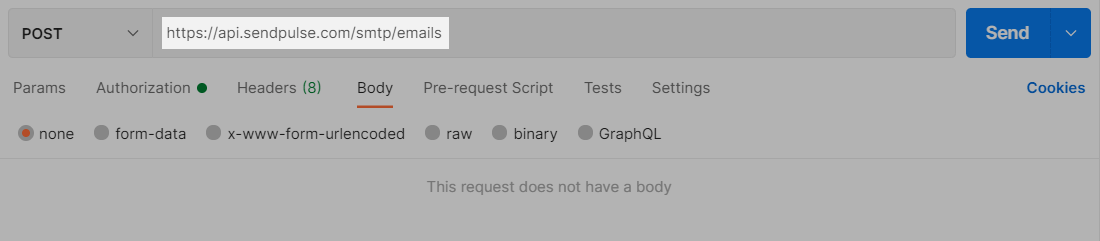
Insert the passed parameters in JSON format into the Body field.
You can get the template identifier (template.id) while editing the template or using the API method get a list of all templates on an account.
Click Send to send a request.
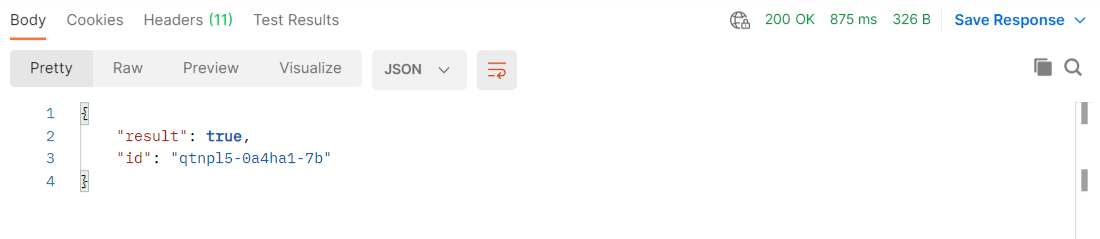
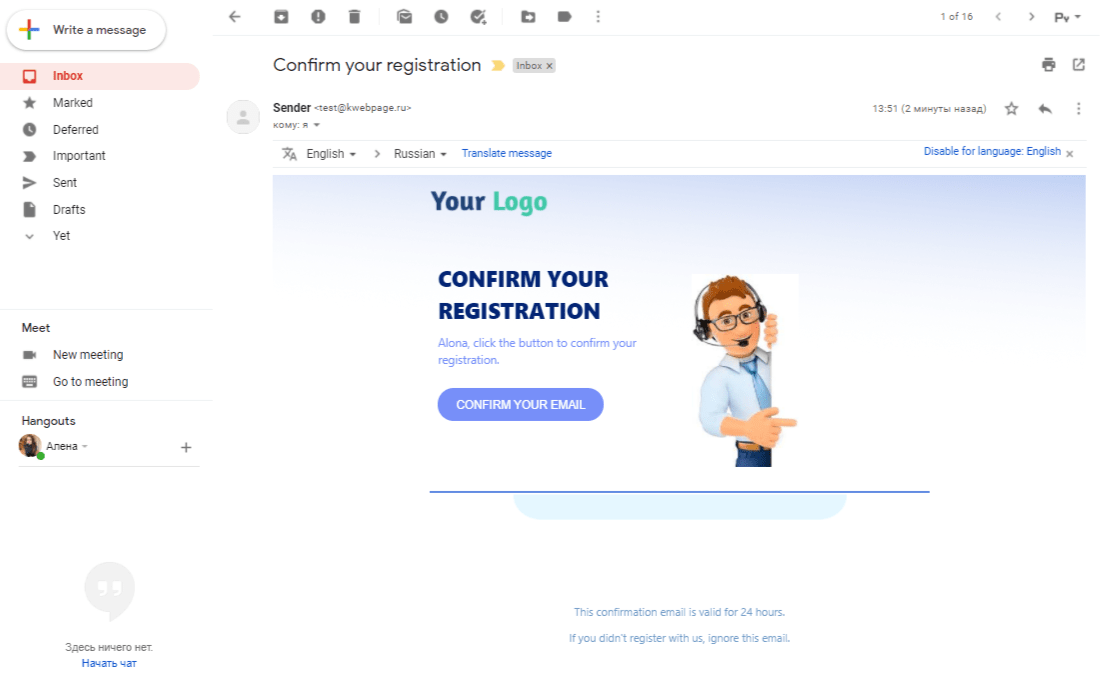
If the request was successful, you will receive a true response, and a personalized email will be sent.
You can also send dynamic triggered emails using pre-made templates with the following variables: "Viewed products," "Abandoned cart," "Complete order," "Order accepted," "Checkout," "Order sent," and "Purchase feedback". Find out how to create dynamic emails triggered by events using pre-made SendPulse templates.
Please note that in pre-made SendPulse templates created for events with arrays, you will need to remove the first part of the item variable. So, for example, {{item.name}} becomes {{name}}.
Last Updated: 03.01.2024
or