Get started with SMTP
With the SendPulse SMTP service, you can send transactional emails from your service, for example, abandoned cart emails, order updates, order confirmation emails, and other notifications.
This article will show you how to set up an SMTP server with SendPulse in just a few steps: fill out your user profile, set up an authentication domain to increase deliverability, and add email sendout settings for your email client.
Check the requirements
To set up the SMTP service, fill out the user profile, and wait for the approval.
Before filling out the user profile, we recommend you look through the Terms of service.
Go to the SMTP section, and click Get started.
Fill out the user profile
Complete the following fields:
| Primary email |
Enter the sender's email address on the corporate domain — you will receive a confirmation email on this email address. Apart from that, it will also be used to send your campaigns. We recommend using an email address on the domain of the same site where you collect contacts. |
| How are you going to use SMTP |
Select your purpose for using SMTP: private and business messages, updates, notifications, mobile messages, transactional messages, marketing messages, or other. |
| How do you collect email addresses |
Elaborate on how you collected the email addresses to which you plan to send emails. In the next field, add any information SendPulse can use to verify the source of these email addresses. |
| Do you provide an unsubscribe link in your emails | Indicate whether you use an unsubscribe link in your emails. |
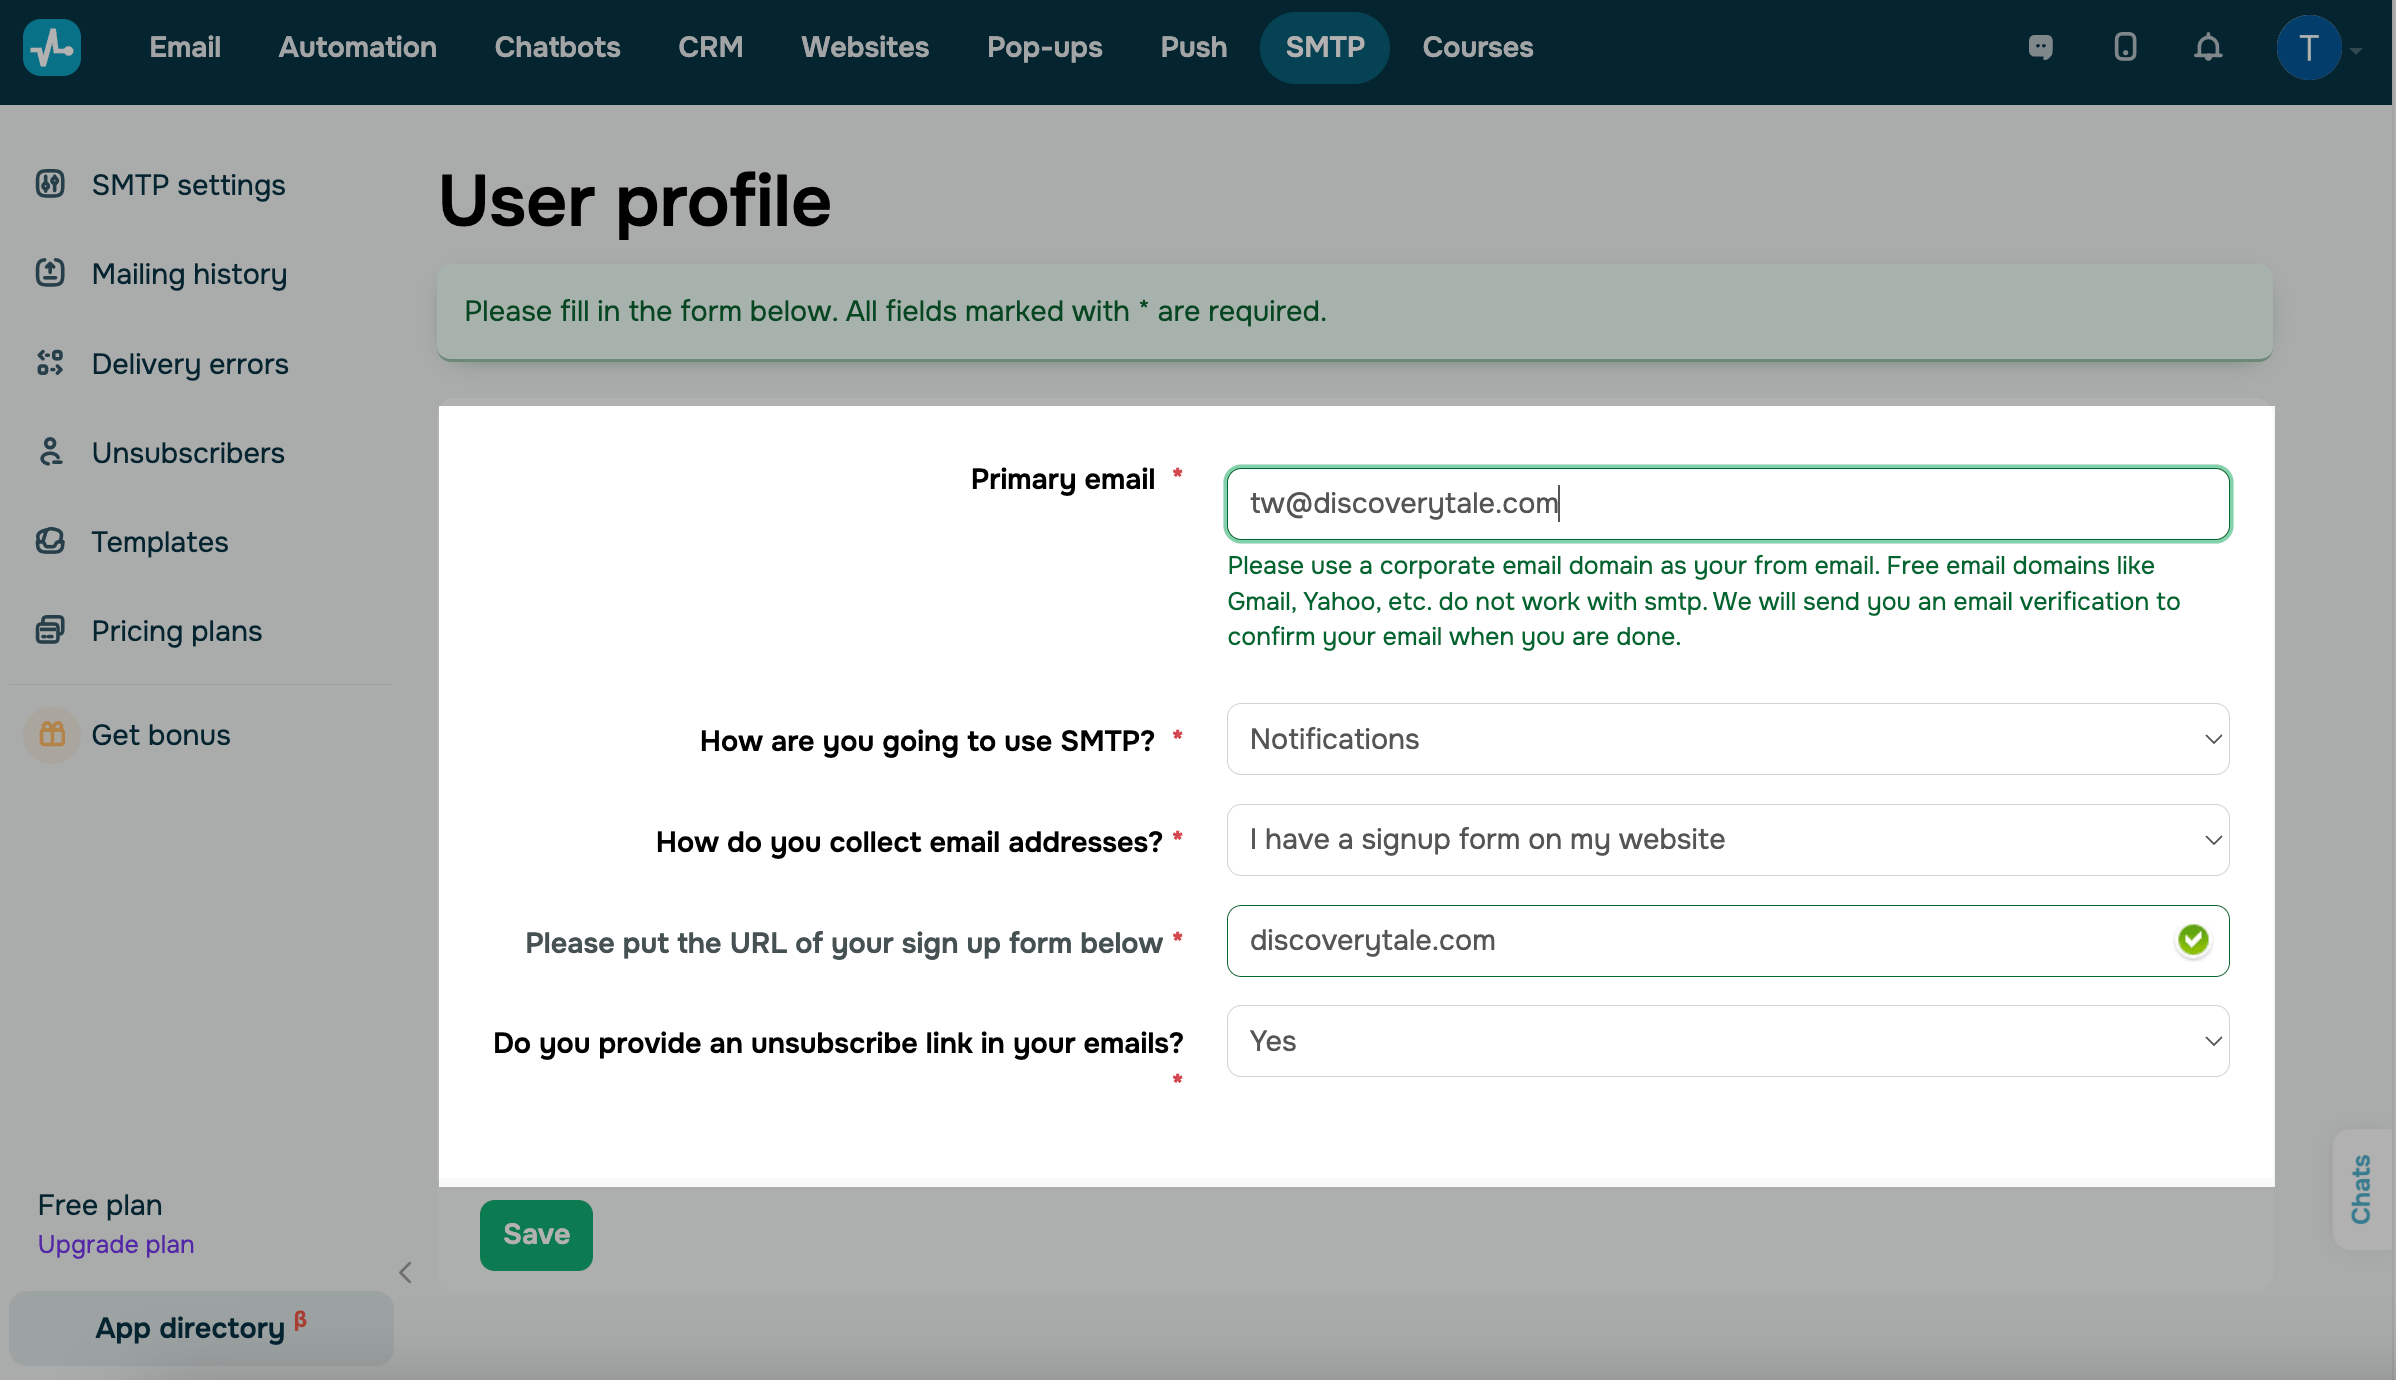
Click Save. Then, you will receive an email to your primary email address. Once you confirm your email address, the form will be sent for moderation.
Wait for the approval
SendPulse’s moderators check all the information and decide whether to approve it, send additional questions, or block the user profile if it does not follow the Terms of Service. This process usually takes up to 24 hours.
After your user profile has been approved, you will receive an email to the email address specified in your account, and you will be able to send emails.
Set up the connection
After your user profile has been approved, the service settings will become available to you, but you need to add them to your email client first.
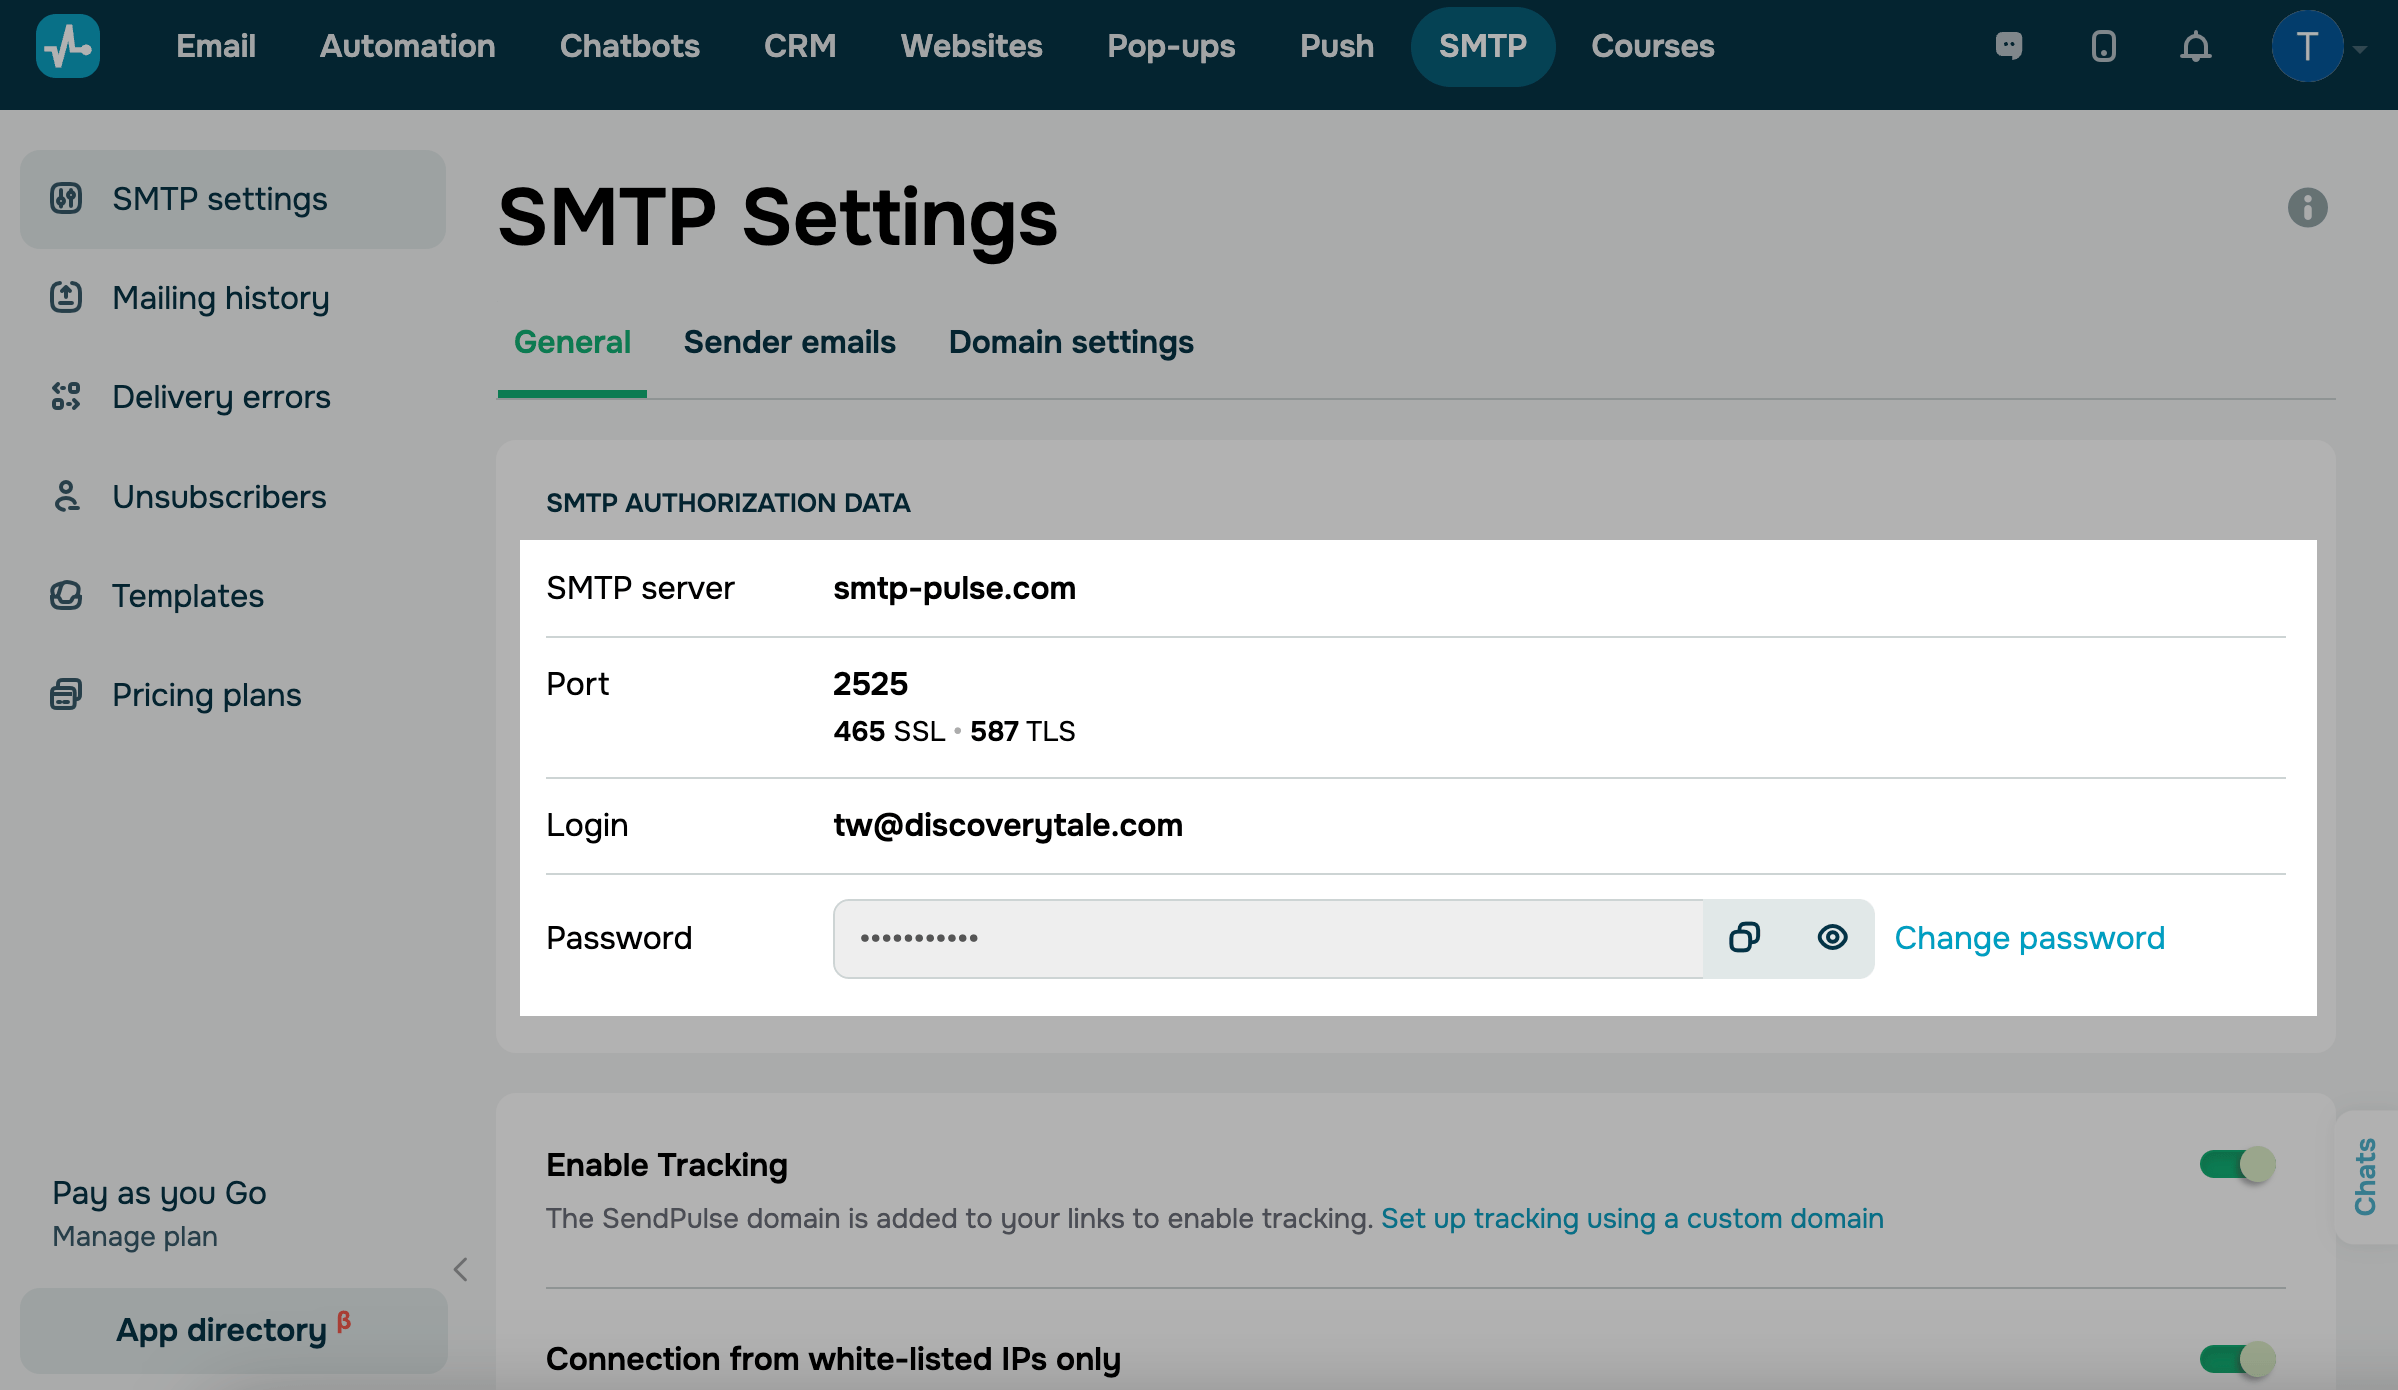
Connect using server settings
Go to SMTP settings > General. Copy the values from the SMTP server, Port, Login, and Password fields, and add them to your program.
Learn more: How to send emails via SMTP using email clients, How to send emails via SMTP with WordPress plugins, How to send emails with PHPMailer.
Connect using API
The second option for using the service is through the API.
You will need an ID and a Secret to receive a token and authorize email sending requests for the connection. To get your ID and Secret, go to your account settings in the API tab, and copy the values next to the ID and Secret fields.
Use the Authorization API method to get a token for authorization.
Then you can send emails using the Send an Email API method.
Please note that you can send an email only after the user profile has been approved. If the user profile is on moderation or blocked, or you have entered some data for authorization incorrectly, the email will not be sent.
Learn more: SMTP Service API.
Configure the authentication domain
Add an email sender address
On 2023-05-17, SendPulse merged sender email addresses for the Email and SMTP services. If you have already added a sender email address in the Email service, you don’t need to add and set it up in the SMTP service.
All SendPulse services share the same record settings, so you only need to connect them to your host provider once.
Note that if you add authentication domains available only in the Email service, you won't be able to select and use them in the SMTP service.
To check your sending domains and add another email sender address, click on SMTP settings, and go to the Sender emails tab. Click Add sender address.
Enter a sender’s email address on the corporate domain. An email with a link will be sent to the specified email address to confirm it.
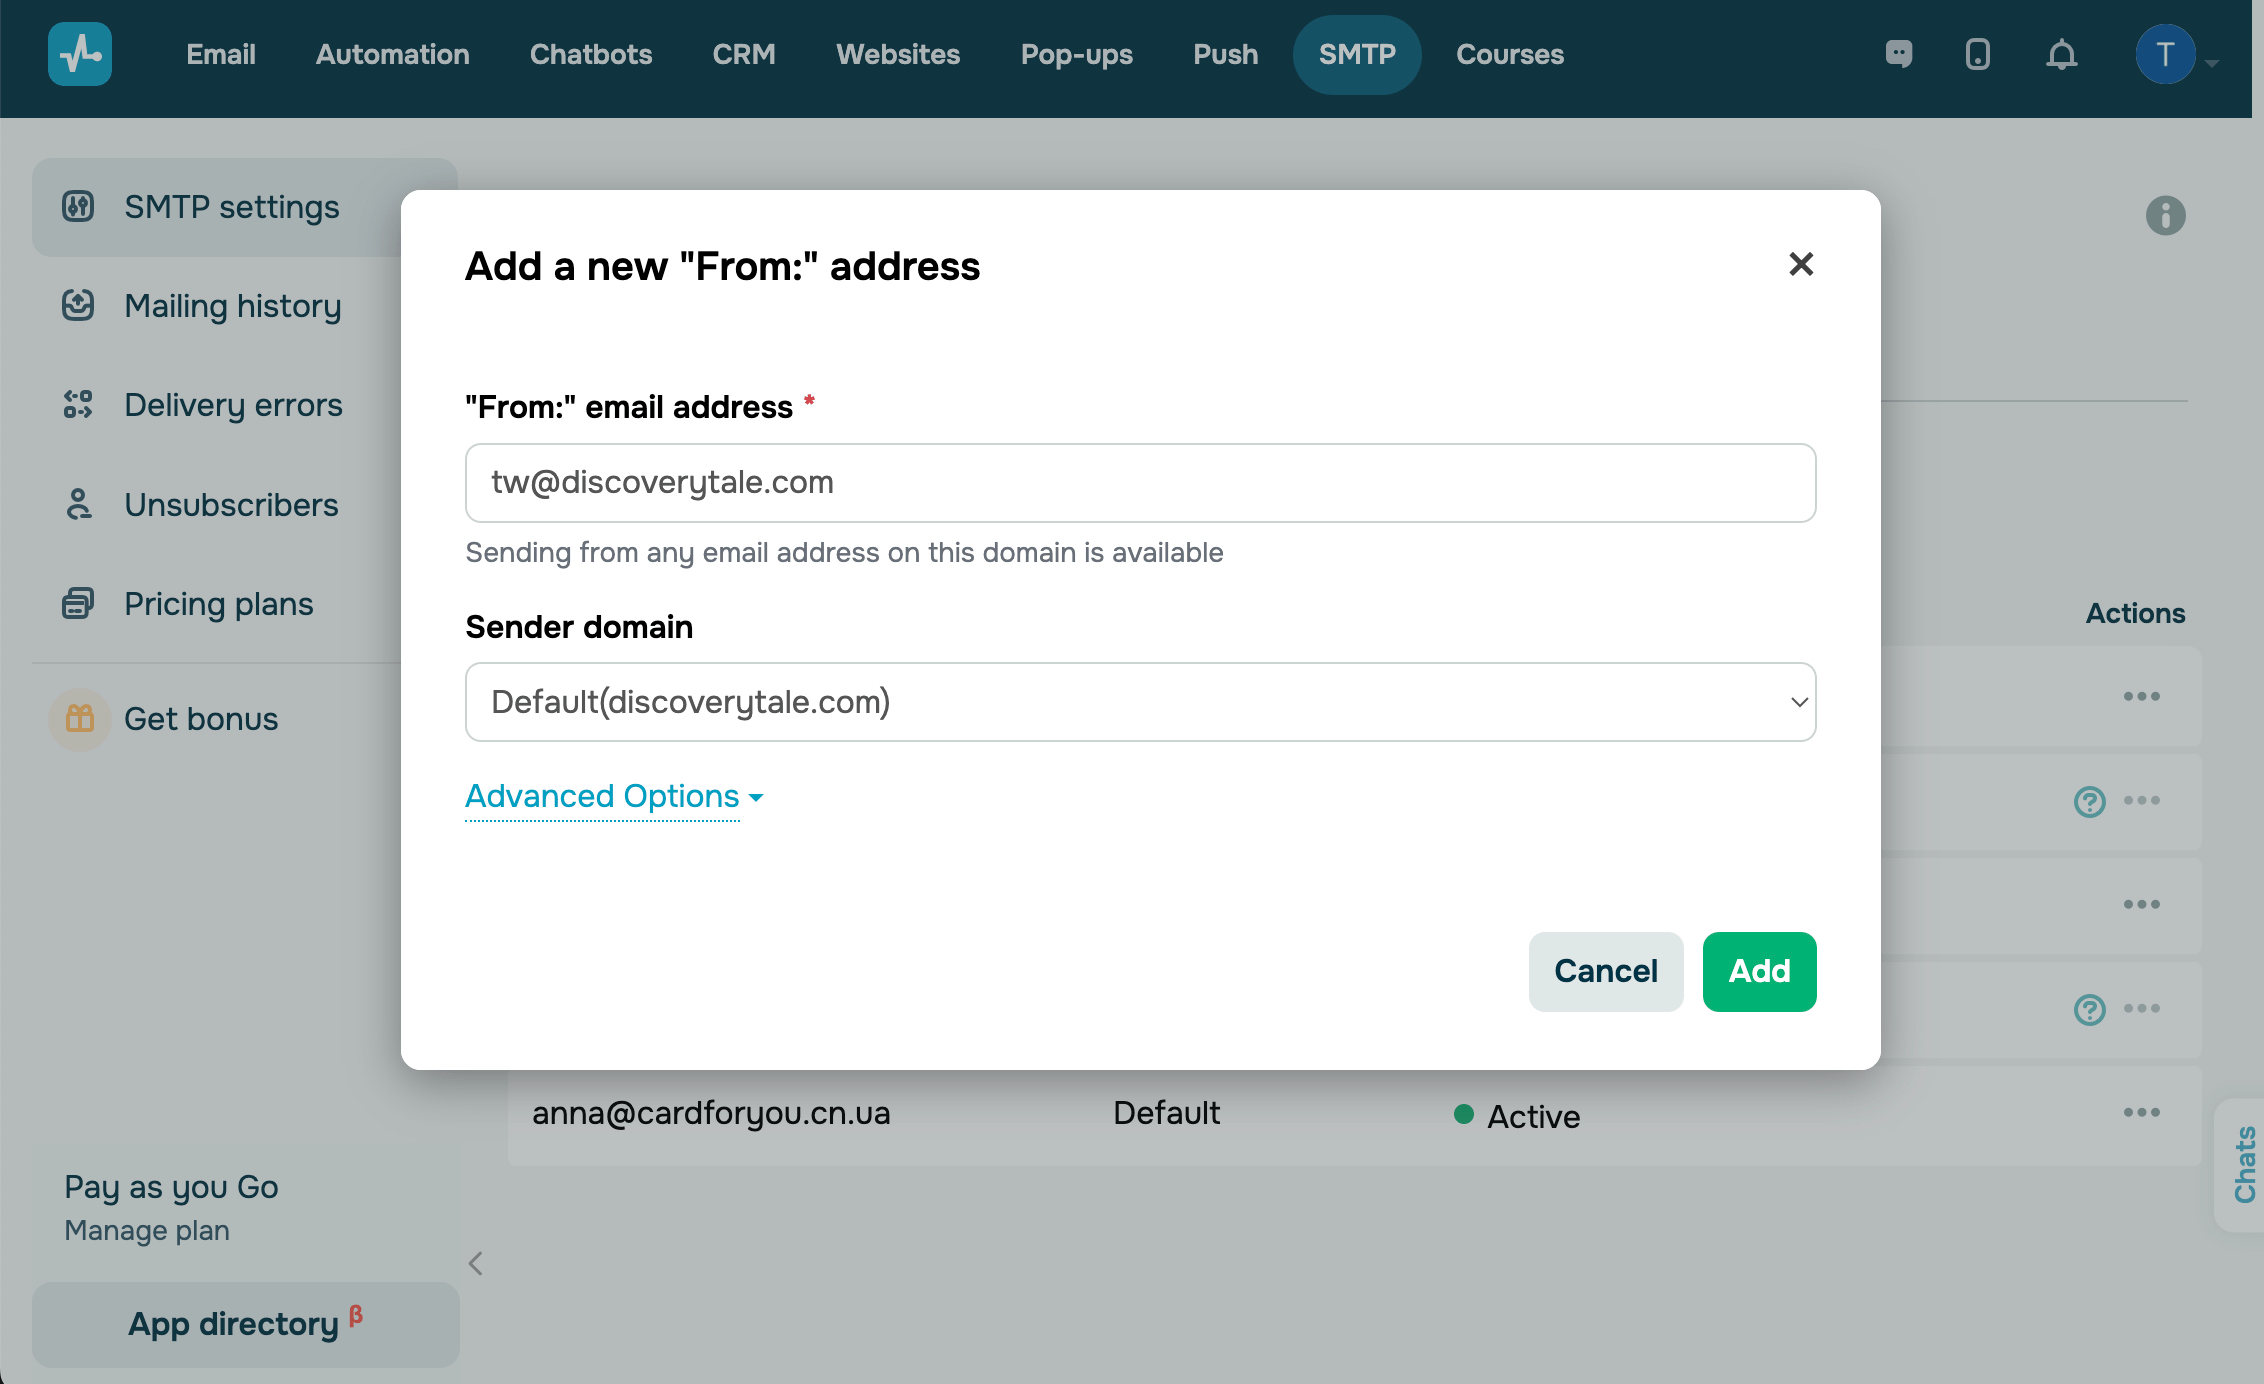
After confirmation, the new email address will appear on the list of available domains.
Add DKIM and SPF records
DKIM and SPF are technologies that authenticate the sender, guarantee the integrity of the emails sent, and protect users from phishing and spam.
Learn more: How to configure DKIM for SendPulse SMTP, How to create an SPF record.
Please note that verification of DKIM and SPF records may take up to several hours.
Add a CNAME record
CNAME is a record in your domain settings, with which you can remove the mention of SendPulse’s domain when tracking links so that links in an email turn into your company's domain.
With the help of CNAME record, you can track the number of emails sent, delivered, and opened as well as the number of click-throughs and delivery errors.
Learn more: How to enable email tracking statistics sent via SMTP.
Please note that adding a CNAME record can take up to several hours.
Add an unsubscribe link
To enable users to unsubscribe from irrelevant emails, you can add an unsubscribe link to your emails using the {{unsubscribe_url}} variable.
Learn more: Unsubscribers, How to Create an unsubscribe link.
Additional settings
With your SMTP, you can activate additional options for sending and tracking emails. Click SMTP settings, and go to the General tab.
Limit sending by IP
Optionally, you can enter your senders’ IP addresses to restrict their access to the SMTP server.
Go to SMTP settings > General, and enable the Connection from white-listed IPs only option.
Enter the IP address, and click Add.
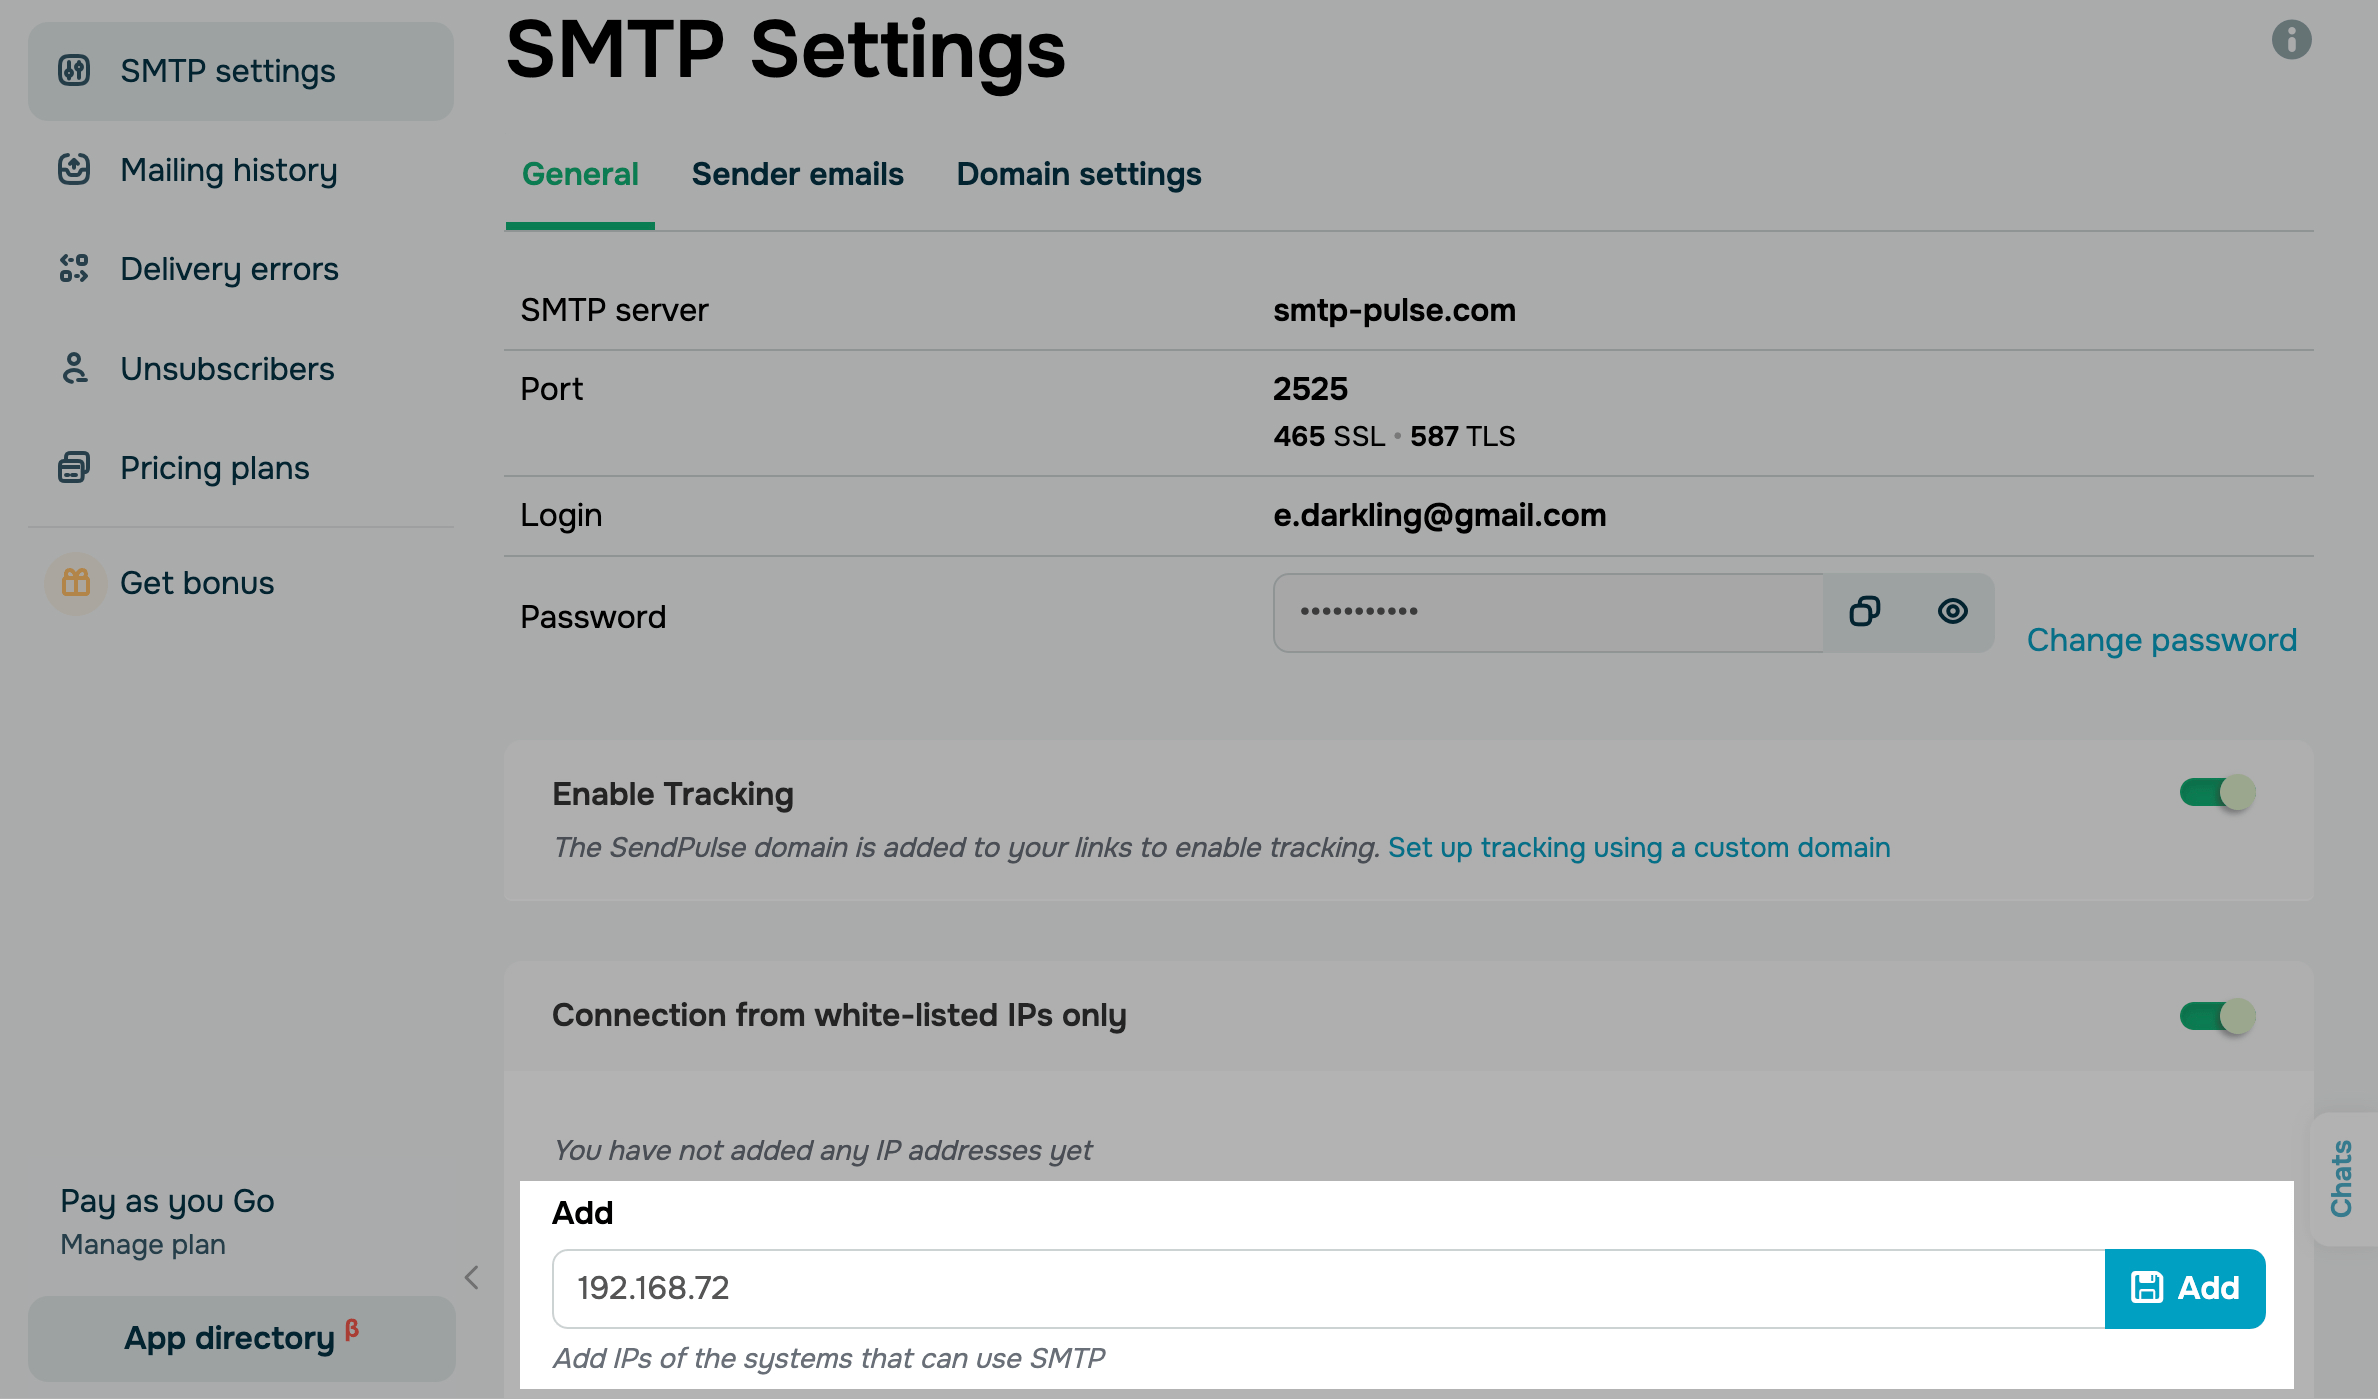
To remove an added IP address, click on the trash can icon next to the IP address you want to remove.
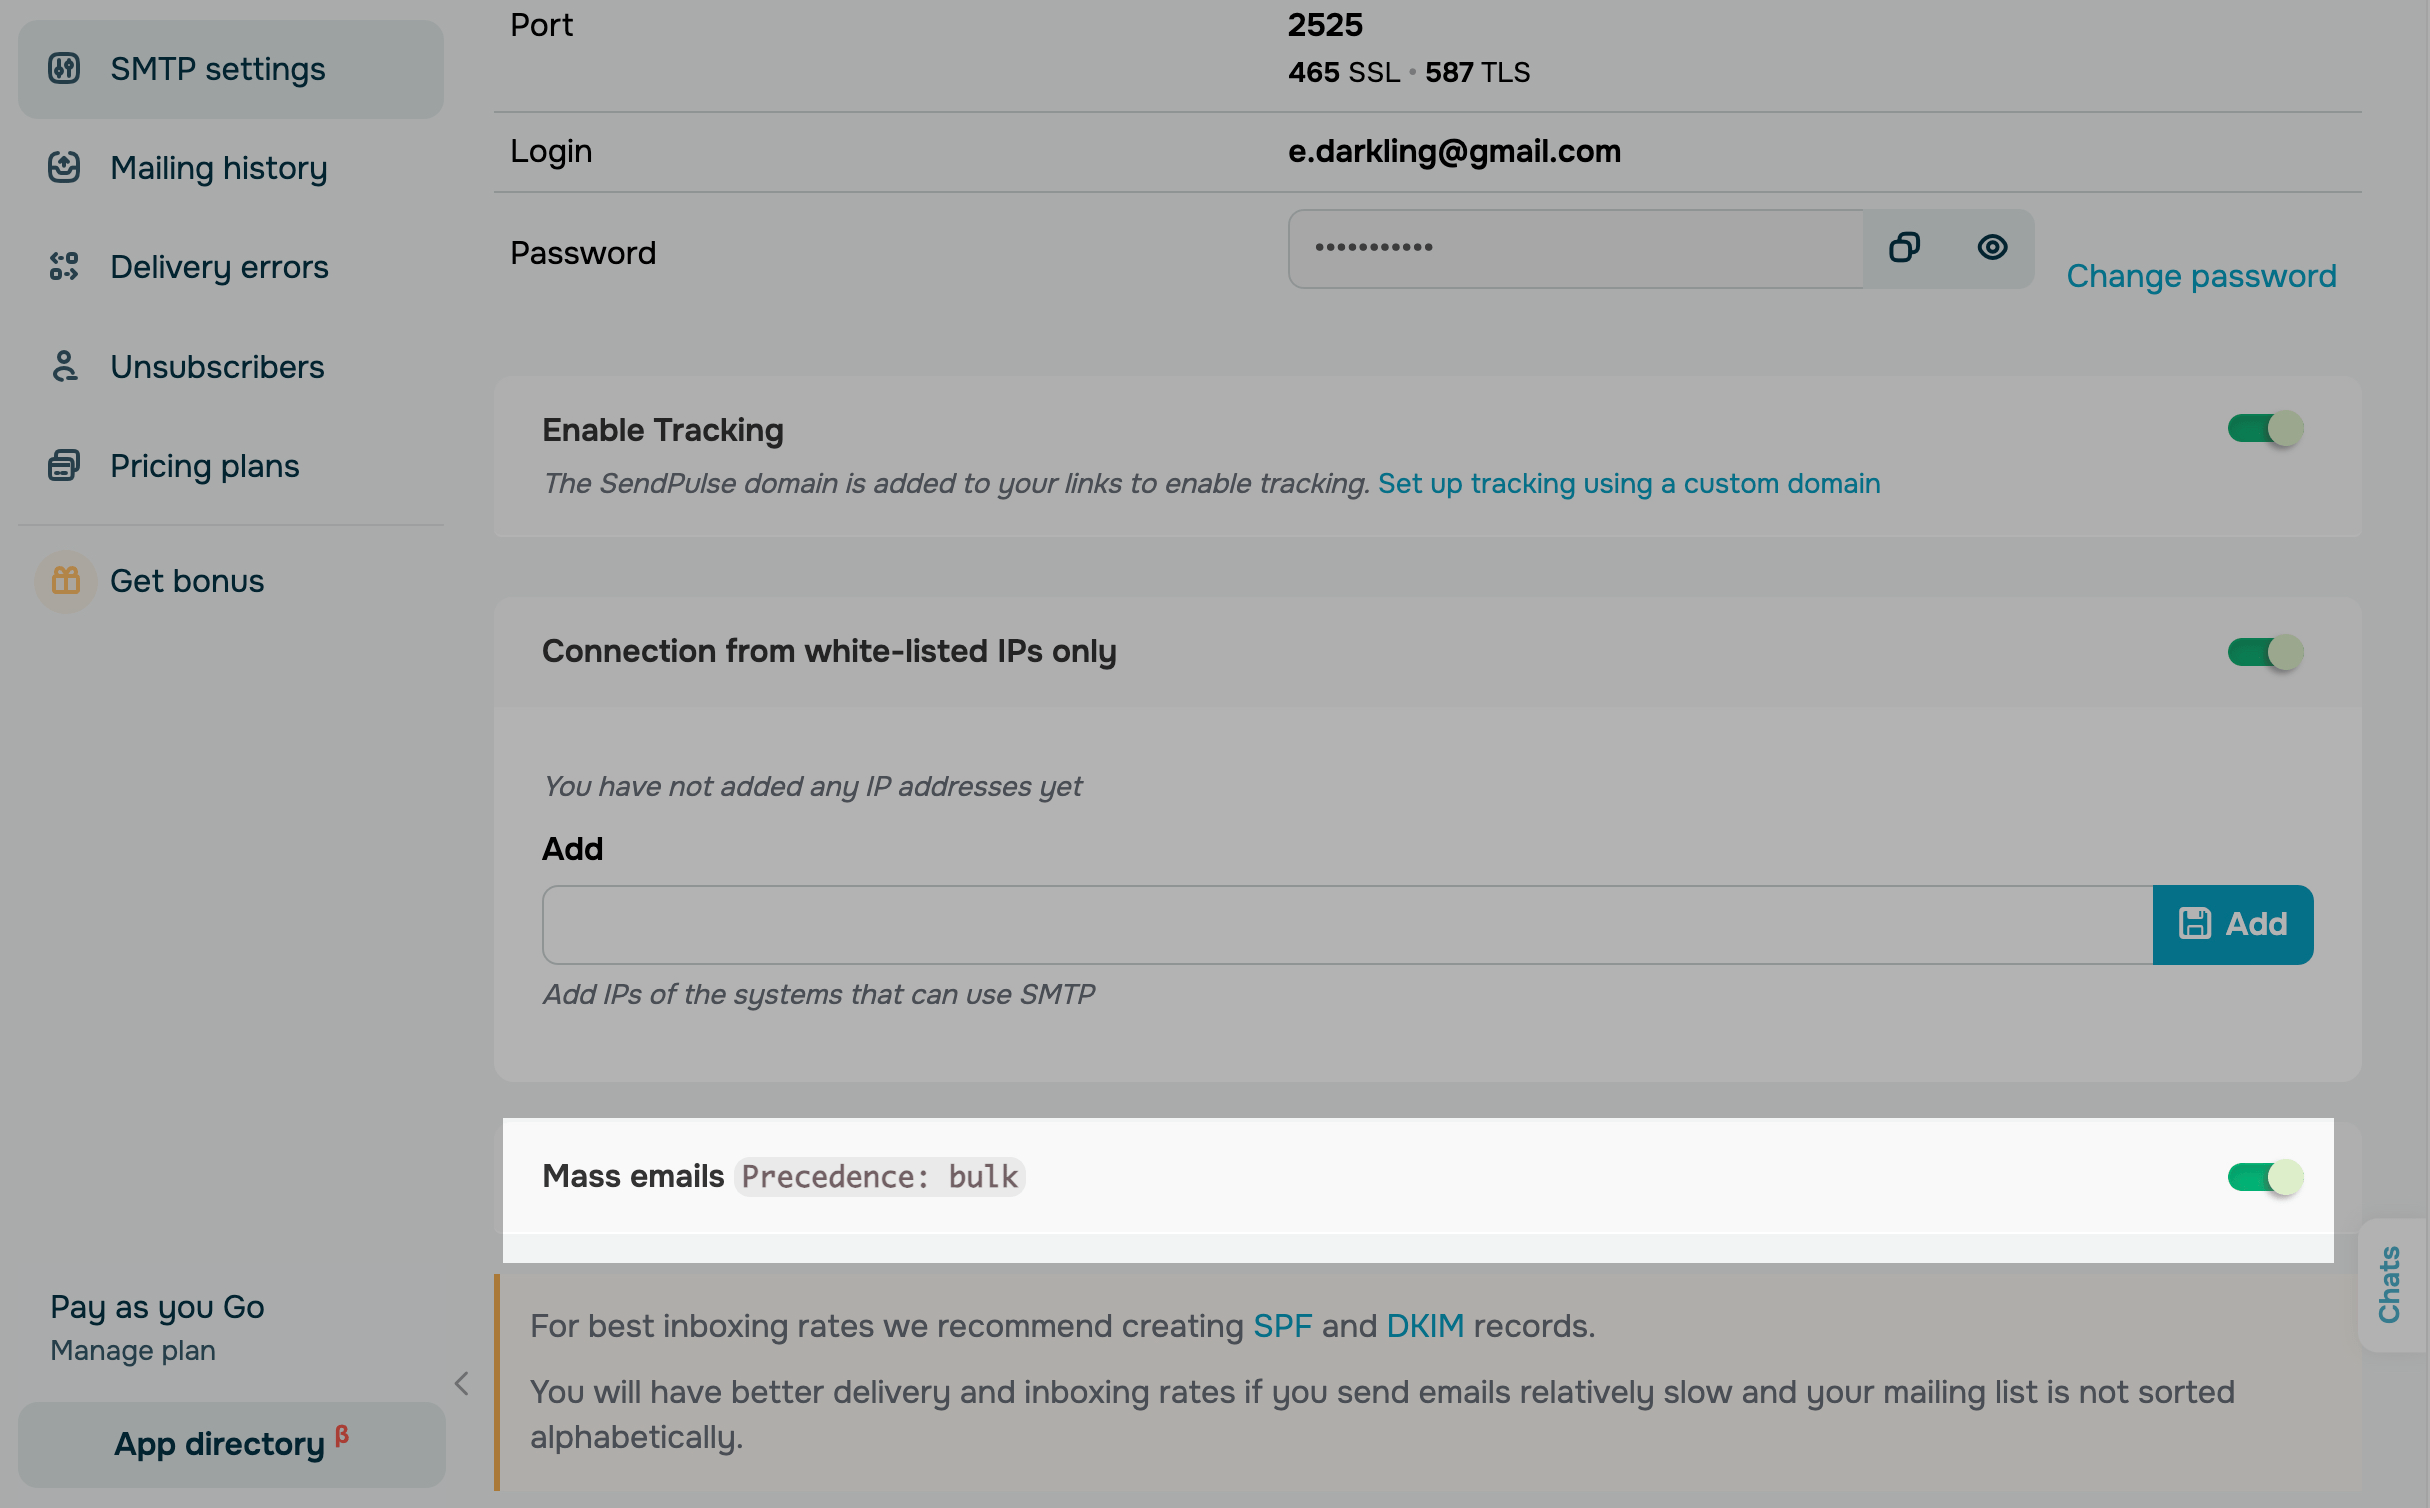
Activate bulk emails
To notify recipient email servers about the upcoming mass email campaign and to reduce the likelihood of emails getting into spam, use the Mass emails option (displayed as "Bulk emails" in technical headers).
The "Mass emails" option is activated by default.
To deactivate it, go to SMTP settings > General, and move the toggle switch to the inactive position.
Track email sending statistics
You can view your sending history, delivery errors, and the list of unsubscribes.
Learn more: How to view SMTP statistics.
Last Updated: 04.11.2024
or