Send a follow-up email
SendPulse offers free tools for email marketers to send follow-up emails. Automation 360 allows you to create a variety of follow-up emails: after an attendee participated in your webinar and you want to ask for feedback; after a user experienced your service and you want them to participate in a survey, or even if you’re going to upsell your product.
Step 1: Go to “Automations” in SendPulse
SendPulse Automation is a great way to send all sorts of triggered emails based on the behavior of your customers, and a follow-up email is not an exception.
Click on “Automation 360” in SendPulse service. Name your automation and decide upon the most appropriate days and time for sending follow-ups. Note that you can change these settings in “Automation options” later at any moment.

Step 2: Set Up a Trigger Event
To send events to SendPulse, you must set up and configure SendPulse API that will be responsible for sending events.
Choose from four preset events or go to the Events manager to add an event that will be the start of your follow-up email. For instance, your custom event may be the attendance of your webinar, registration with your service, booking of a trip, etc. See detailed documentation here.

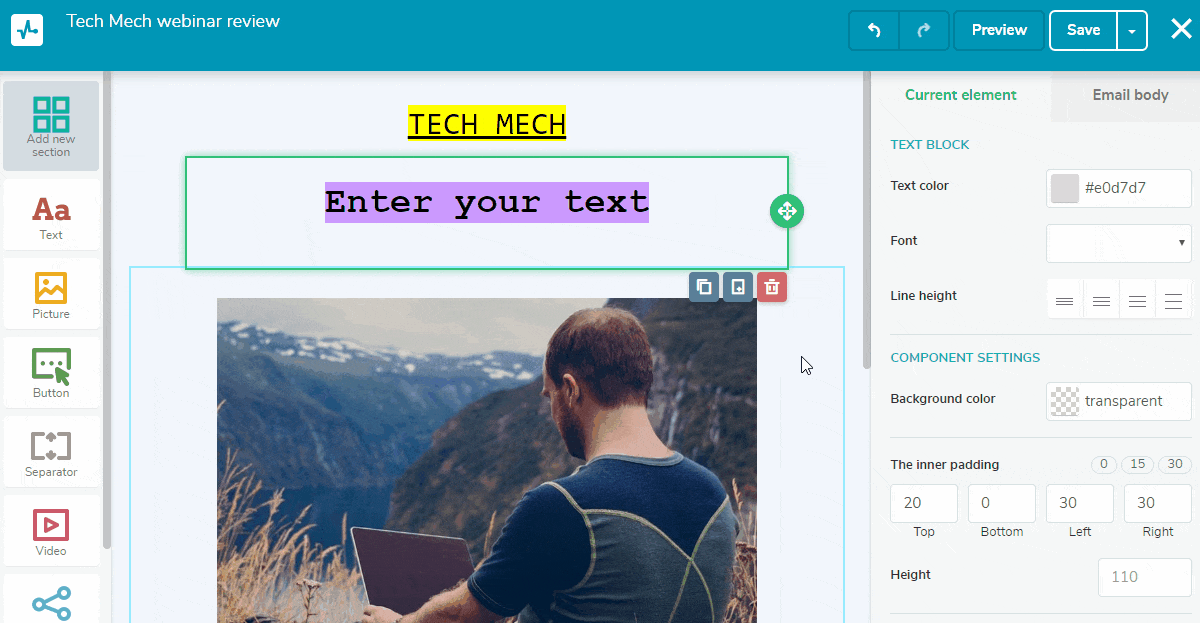
Step 3: Create Your Follow-up Email
Create your follow-up email using HTML editor, drag and drop editor, or import an existing template. You can also make use of the template library available for you.
Keep the email brief and make every text and design element to the point, create a catchy subject line, and don’t overwhelm users with a sequence of follow-ups. Make sure you follow the best practices for follow-up emails.
Step 4: Set Up Follow-up Conditions
SendPulse allows you to nail the exact time for your follow-up email down to a minute.
Specify the conditions for your follow-up email. You can send it right away or wait a specific amount of time. For example, if you are sending a follow-up email after registration, you want to send it after a day or two to make sure the user had enough time to interact with your service. Remember that you may want to avoid sending emails on the weekend. Read recommendations on the best time for follow-up emails here.

Step 5: Add More Follow-up Emails as Necessary
To increase the chances of follow-up’s success, use Automation 360 to its full potential by adding more emails based on different conditions.
You may want to craft additional follow-up emails in case your initial one wasn’t read. Set up another email based on the “didn’t open” condition.

Last Updated: 22.02.2023
or