Create an automation that starts on adding a subscriber to a mailing list
With SendPulse, you can create an automation that will be launched when a subscriber is added to your mailing list. For example, you can welcome those who have subscribed via your subscription form to receive useful information or company news.
In this article, we will show you how to add and start your automated flow when a subscriber is added to your mailing list.
Go to the Automation360 section, and click Create new automation.

Specify your automation settings
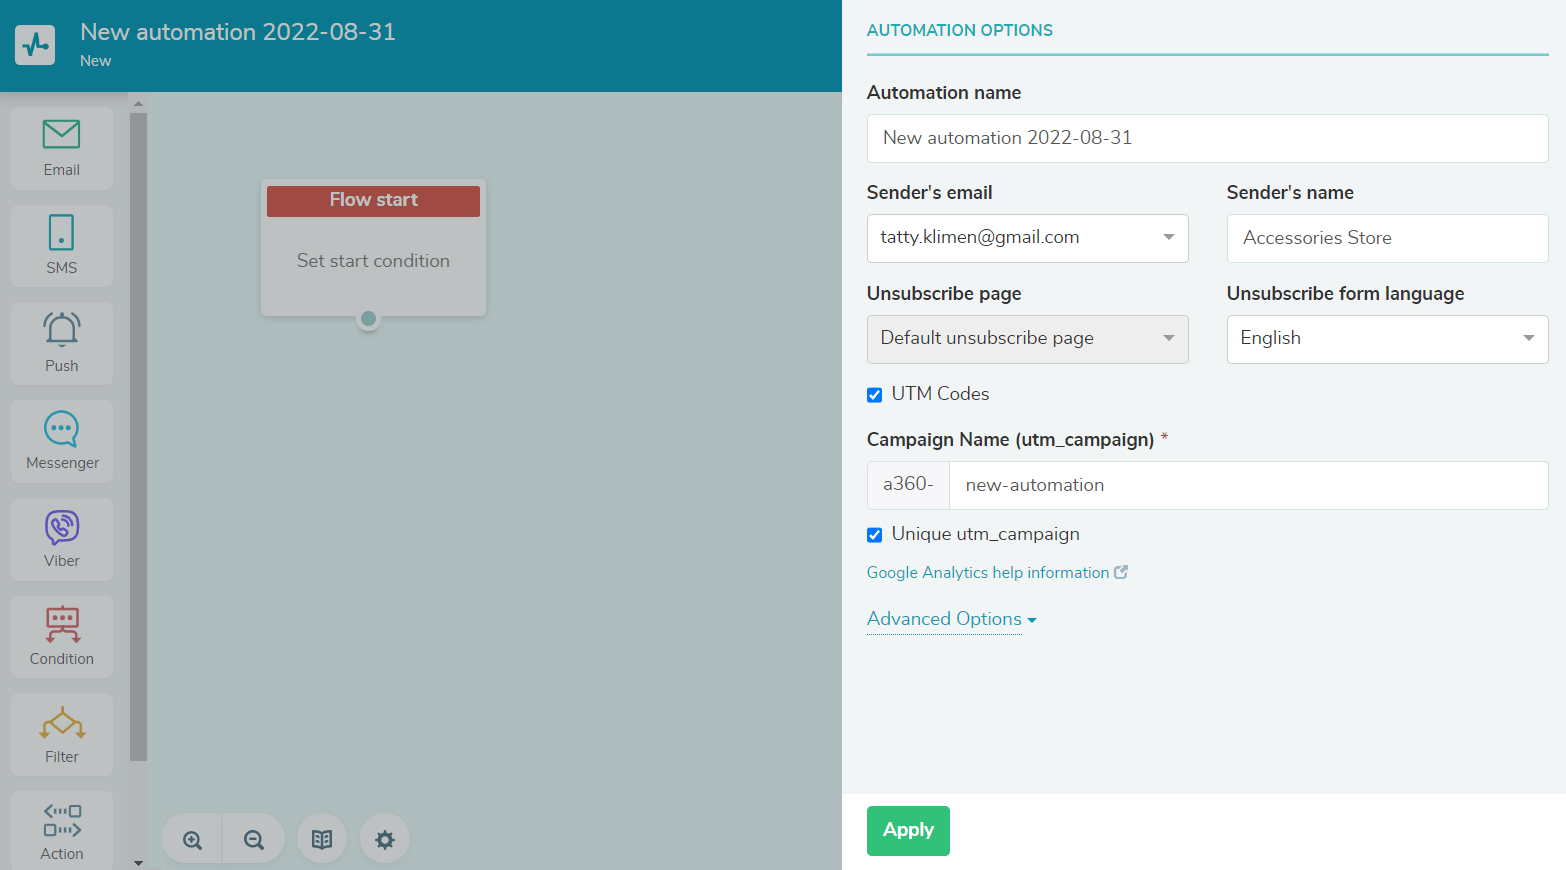
Set the automation parameters: your automation name, sender's email address and name, unsubscribe page, and unsubscribe form language.
In the Advanced Options section, you can specify your preferred sending days and time. Your automated flow will be launched based on the conditions you set for separately for each element.
Start your flow by adding a subscriber
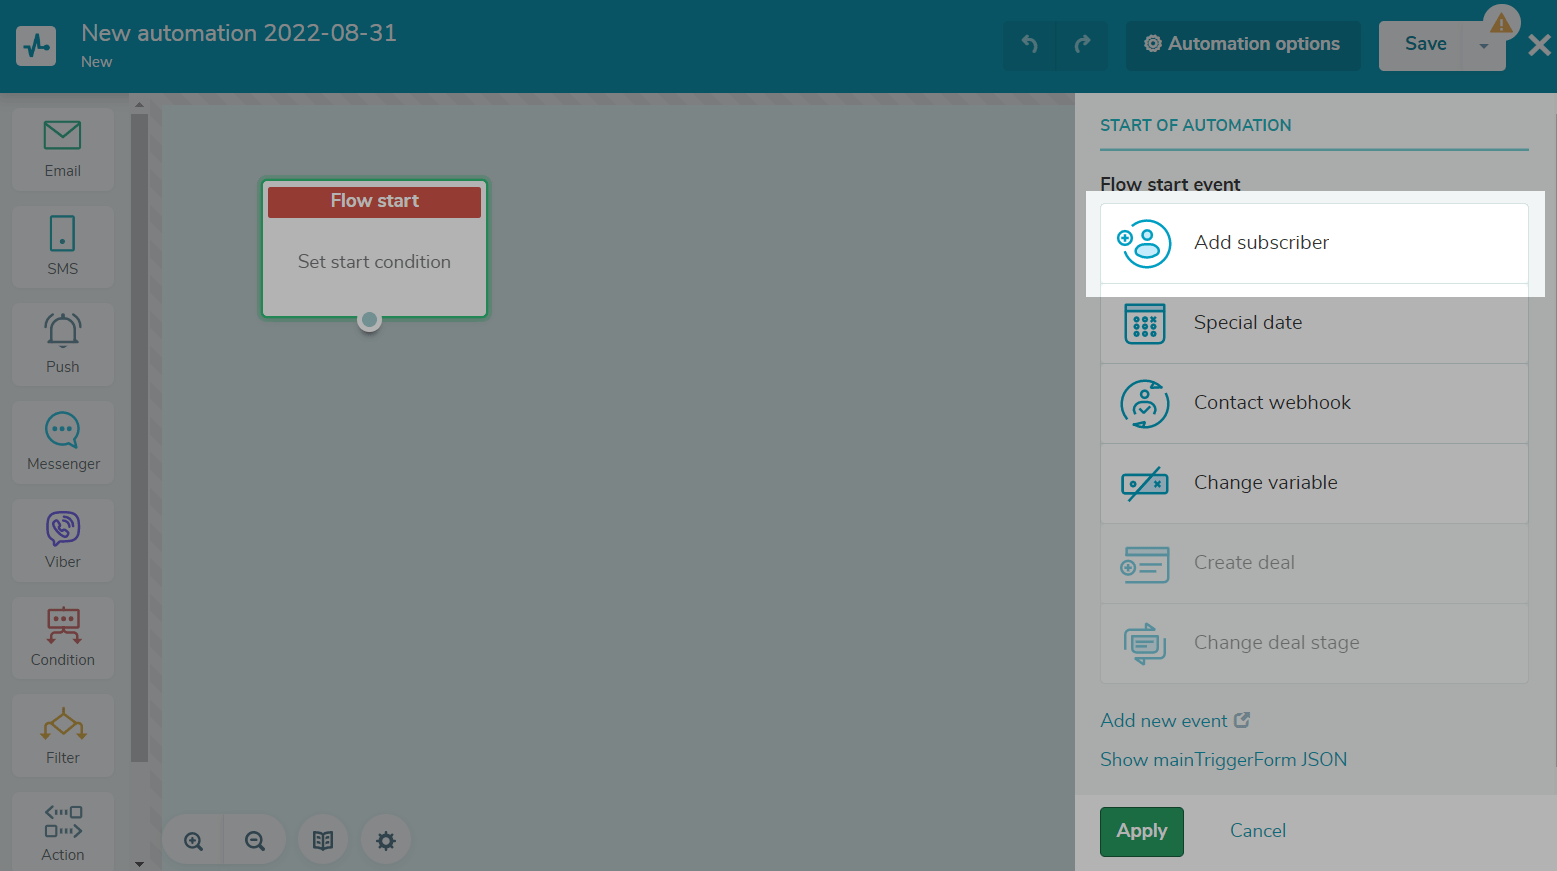
Select the Add subscriber trigger as the starting condition of your flow.
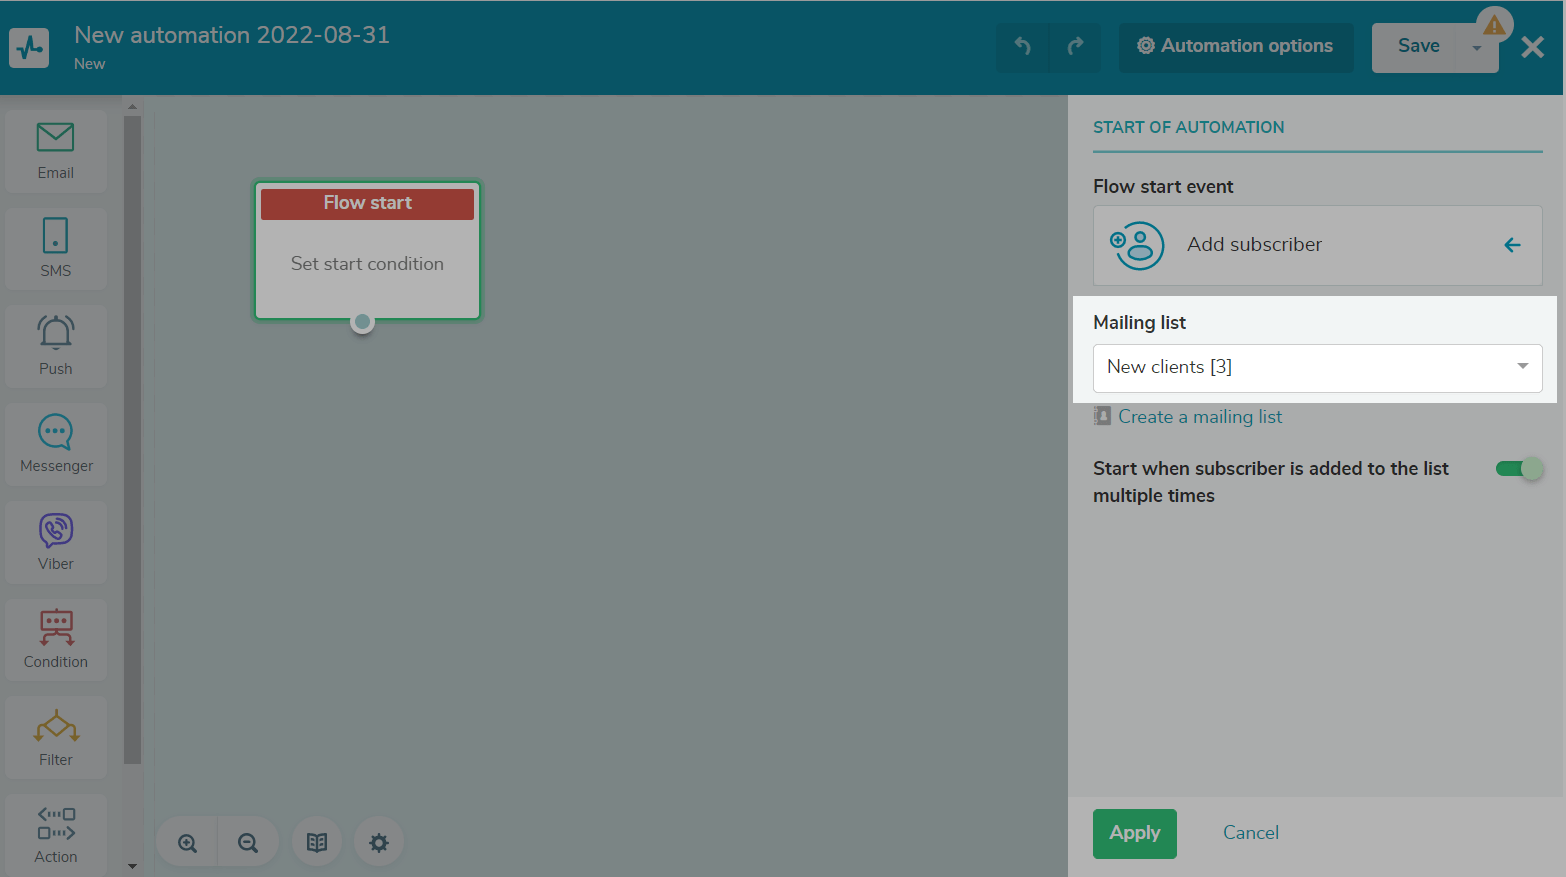
Select a mailing list. The automation will be launched for subscribers who are added to this list.
Please note that the automated flow will not be launched for subscribers who were on your mailing list before you created and started it. To send the flow to these contacts, use the Launch for mailing list option. Read more: How to run Automation flow to the mailing list.
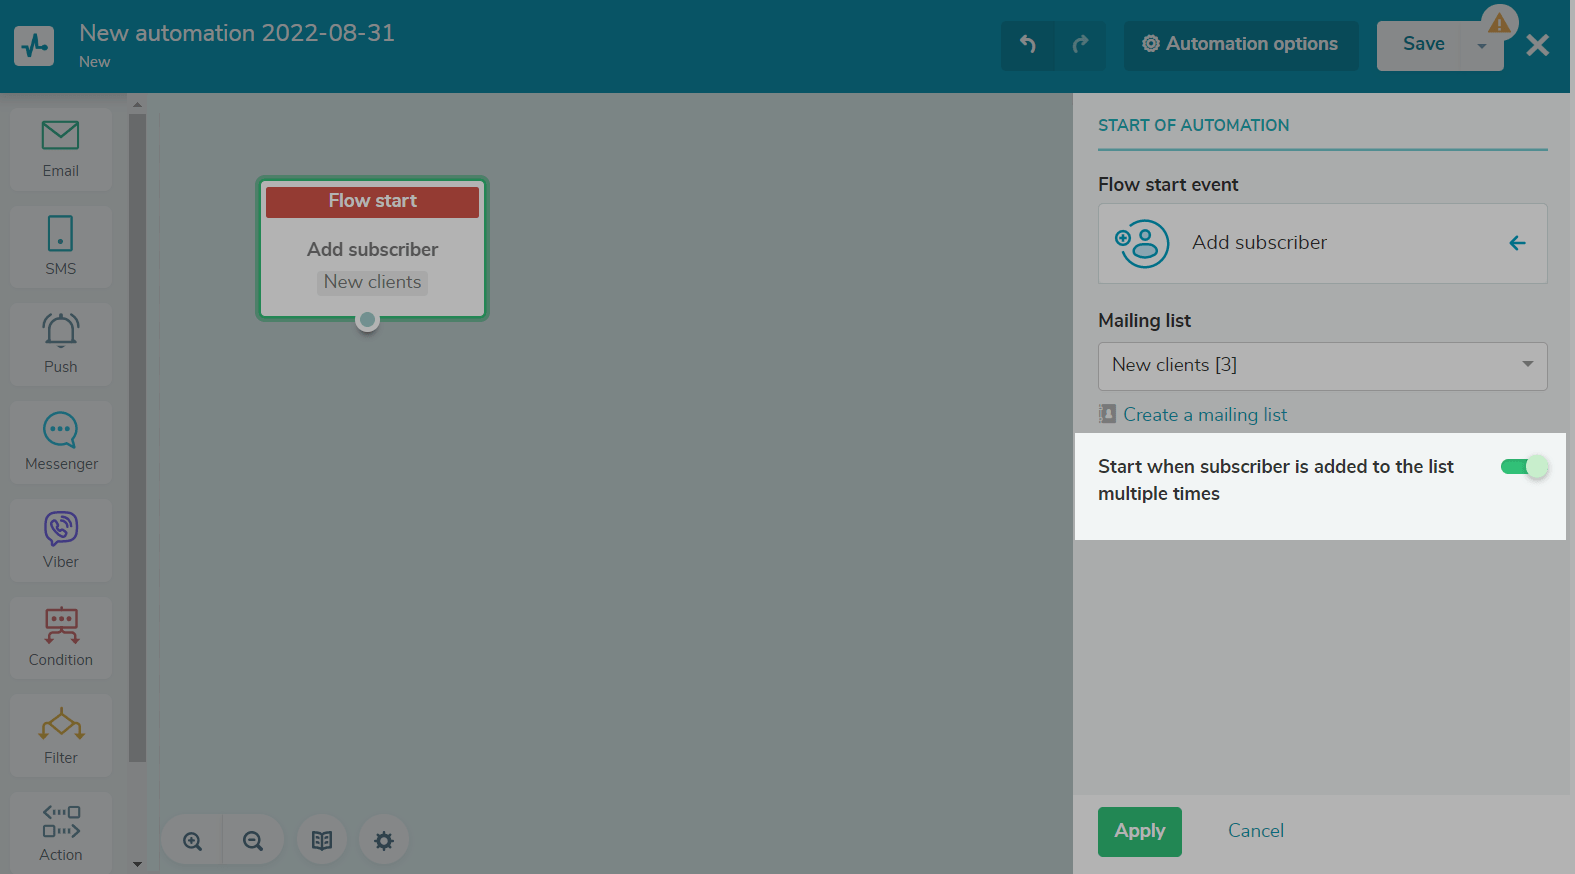
To start your automated flow every time a subscriber is added to your mailing list, enable the Start when subscriber is added to the list multiple times option.
Add flow elements
With Automation360, you can contact a user via email, SMS, Viber, web push notifications, and chatbots.
You can add the Filter element before your sending element to filter the contacts that get into your mailing list by certain criteria and send messages only to them.
Drag the Email element to the workspace, and specify your sending element execution time after completing the previous list. For example, if this element is placed right after the Start element, it will be sent at the specified time after a subscriber is added to your mailing list.
Select the sender's email address.
Add a subject, for example, "Thank you for subscribing," preheader, and email template. If a contact has variables in the mailing list for which you have configured the flow start, you can personalize your email. You can also attach files to it if you’d like.
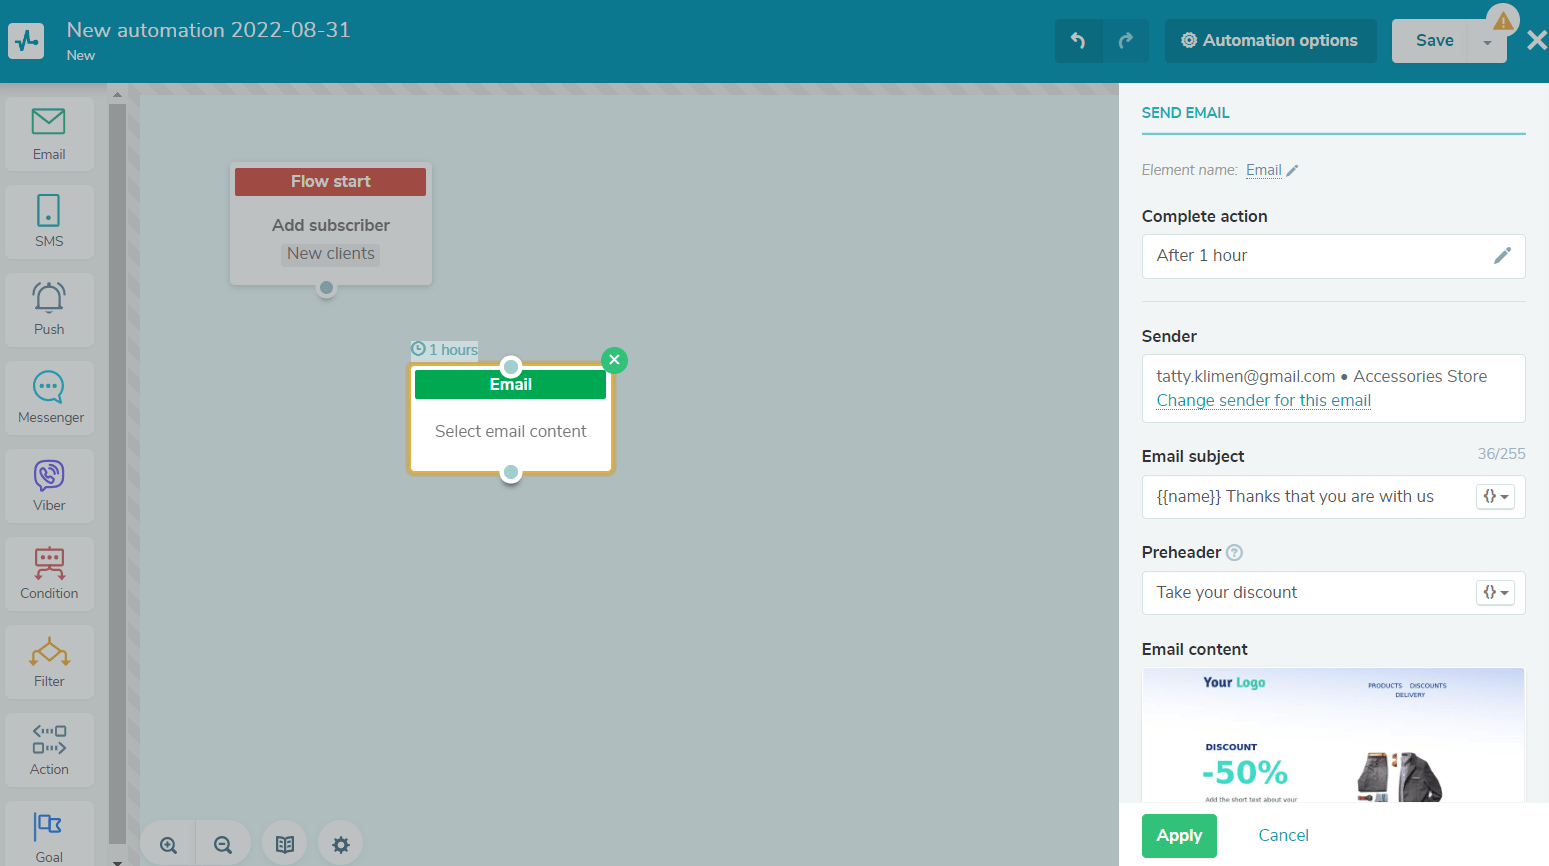
If you are sending a transactional email, you can disable your unsubscribe link.
SMS
Drag the SMS element to the workspace, and specify the time of sending.
If you want to send a message to a contact that is added to your mailing list, please note that their phone number must be entered in the international format. Contacts that only have an email address will not receive your message.
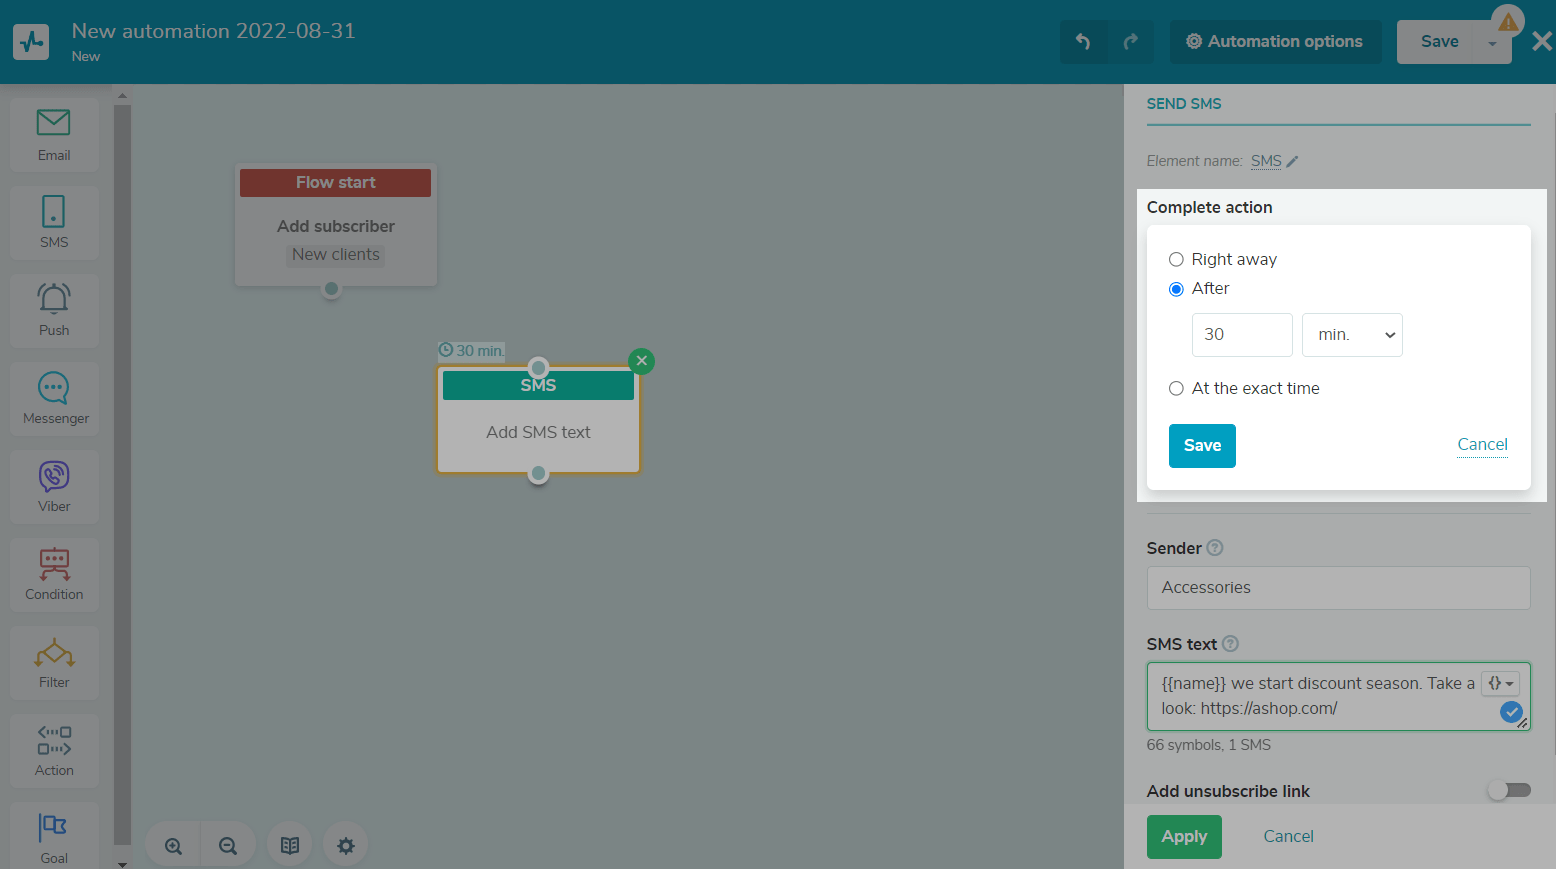
Enter your sender name and the text of your message. You can personalize your message text and insert variables.
You can enter up to 11 Latin characters in combination with numbers, including spaces, as your sender name. You cannot enter numbers without letters as your sender name.
You can also add an unsubscribe link, which will add from 23 to 25 characters to the current length of your message text.
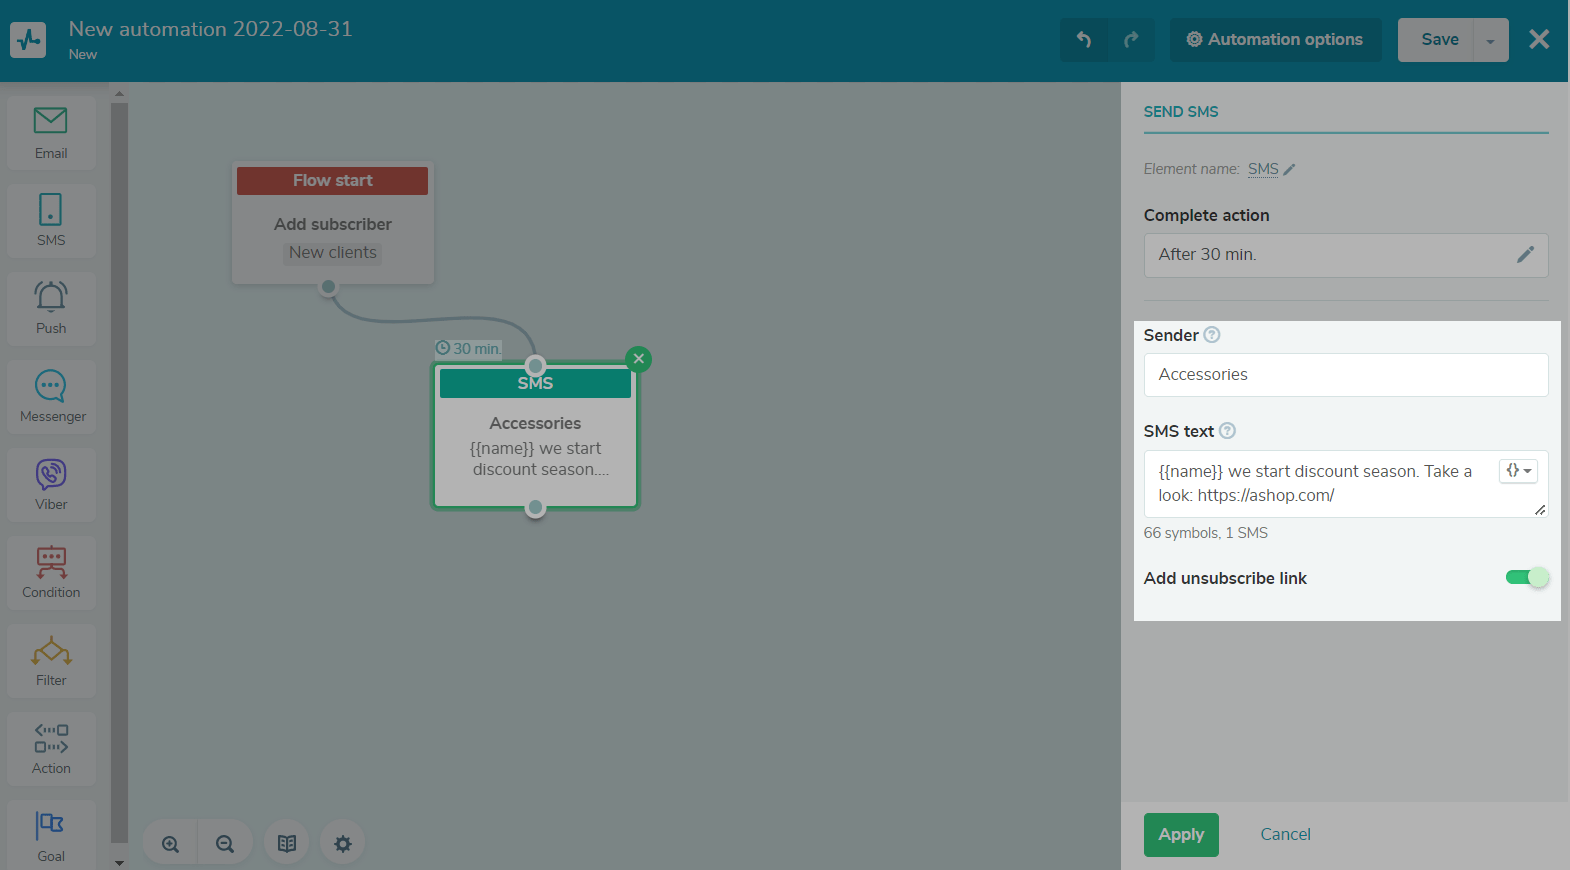
Click Apply.
Viber
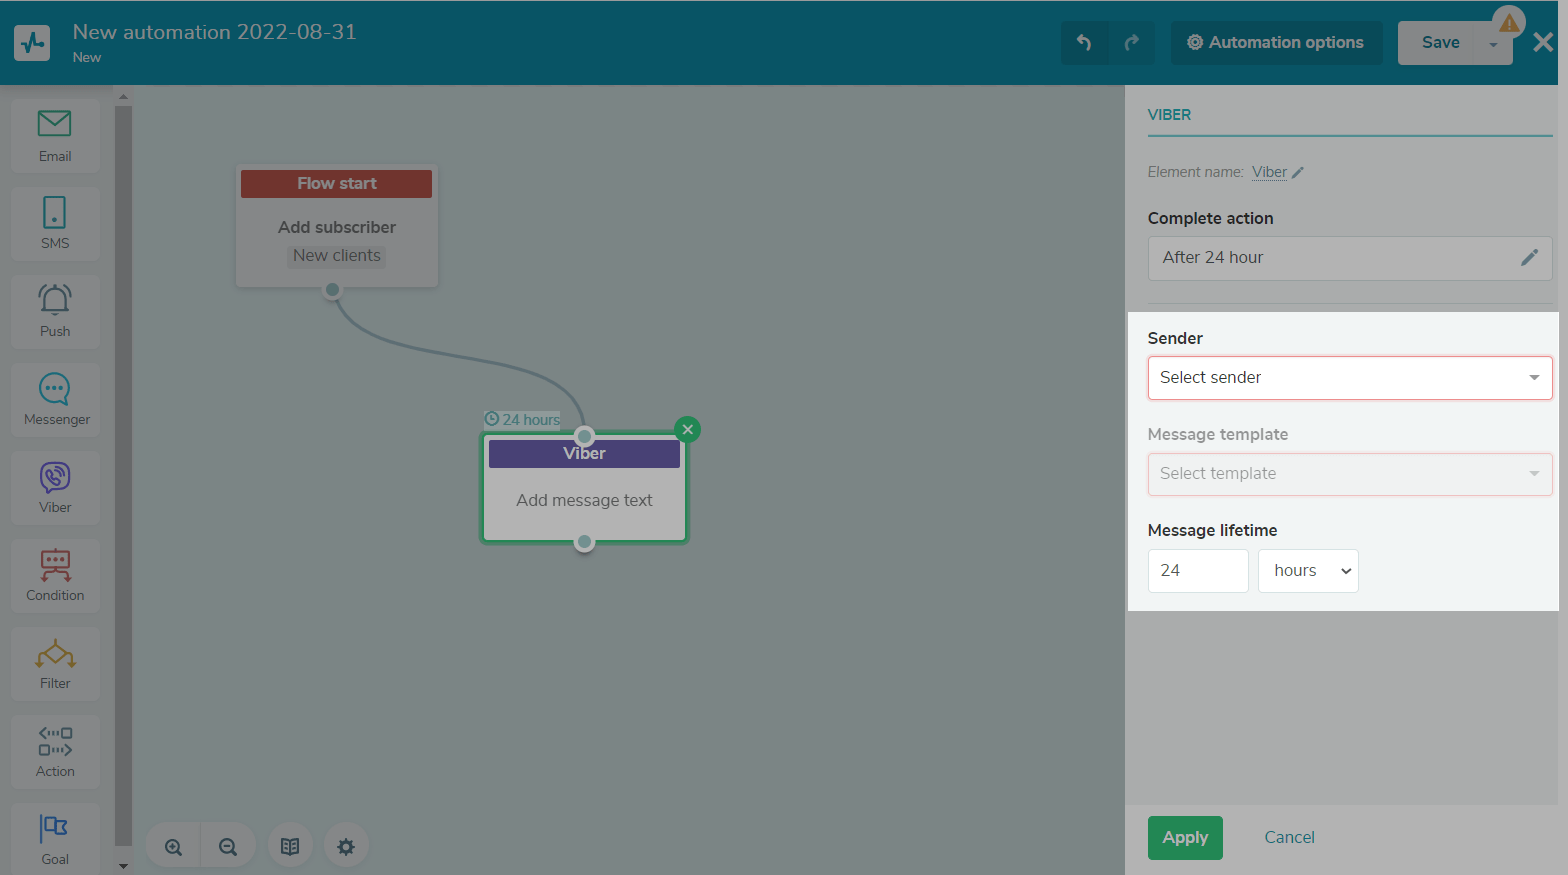
Drag the Viber element to the workspace, and specify the time to send the start message.
If you want to send a message to a contact that is added to your mailing list, please note that their phone number must be entered in the international format. Contacts that only have an email address will not receive your message.
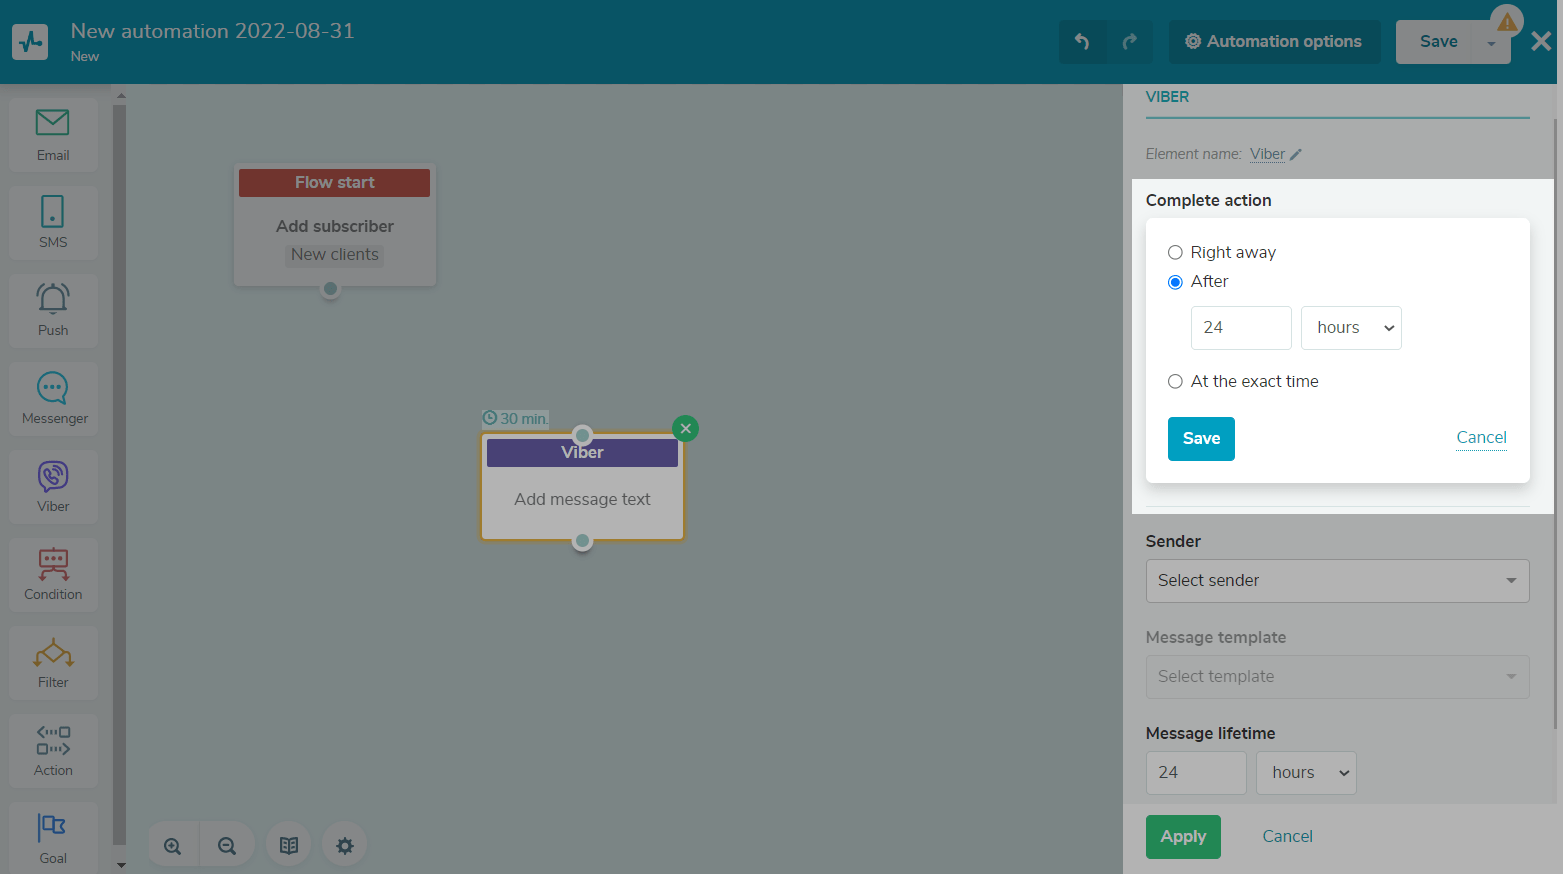
Select the sender and message template. You can personalize your message by adding variables. Set your message lifetime. Click Apply.
Push
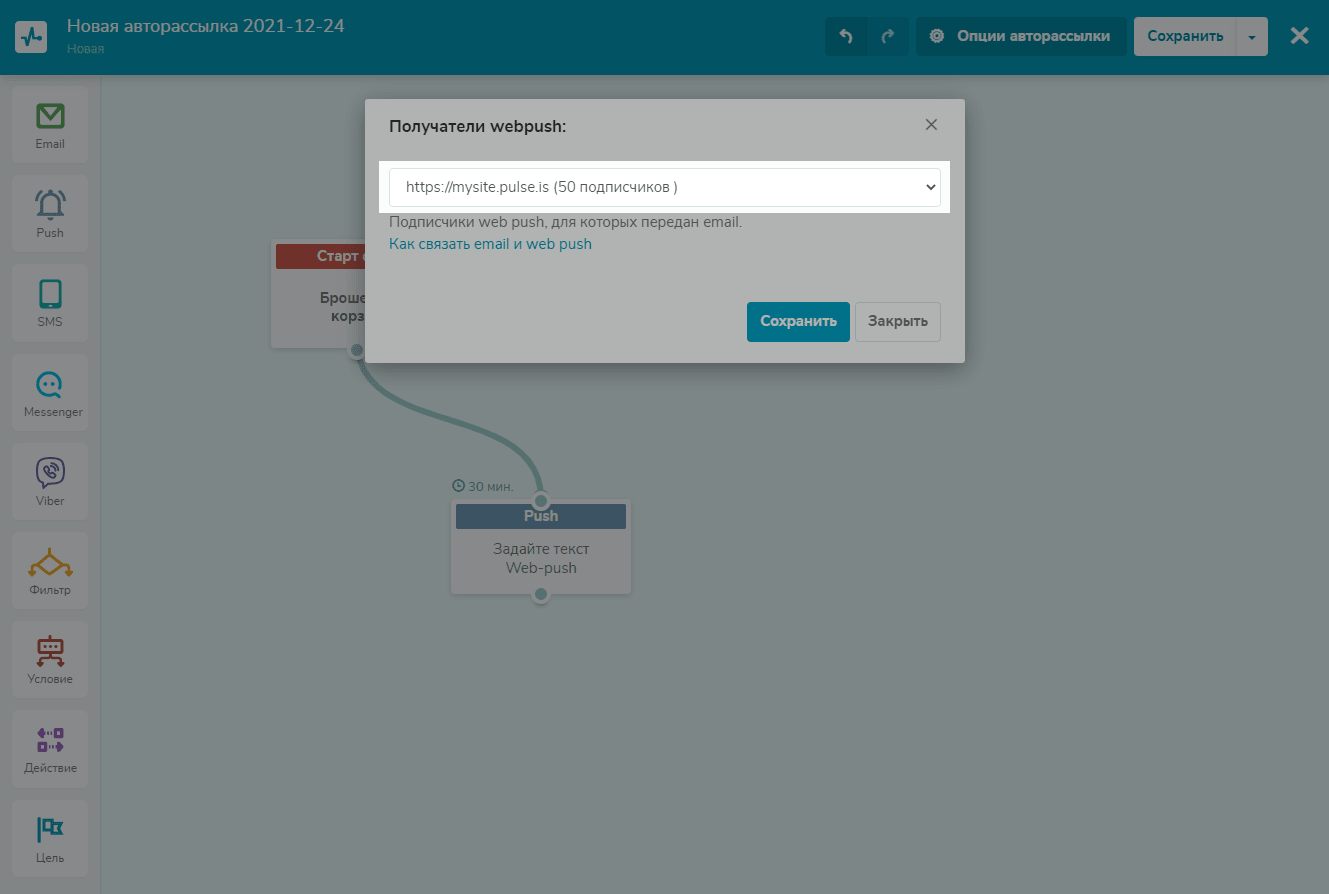
Drag the Push element to the workspace, and select the recipients of your push notification.
To send a push notification, your recipient’s email address must be the same as in the email variable of the received event. Read more: How to send push notifications in automations.
Specify your element execution time. Enter your notification title and text and add a link to it. Specify your web push notification lifetime.
Additionally, you can replace the standard push notification image.
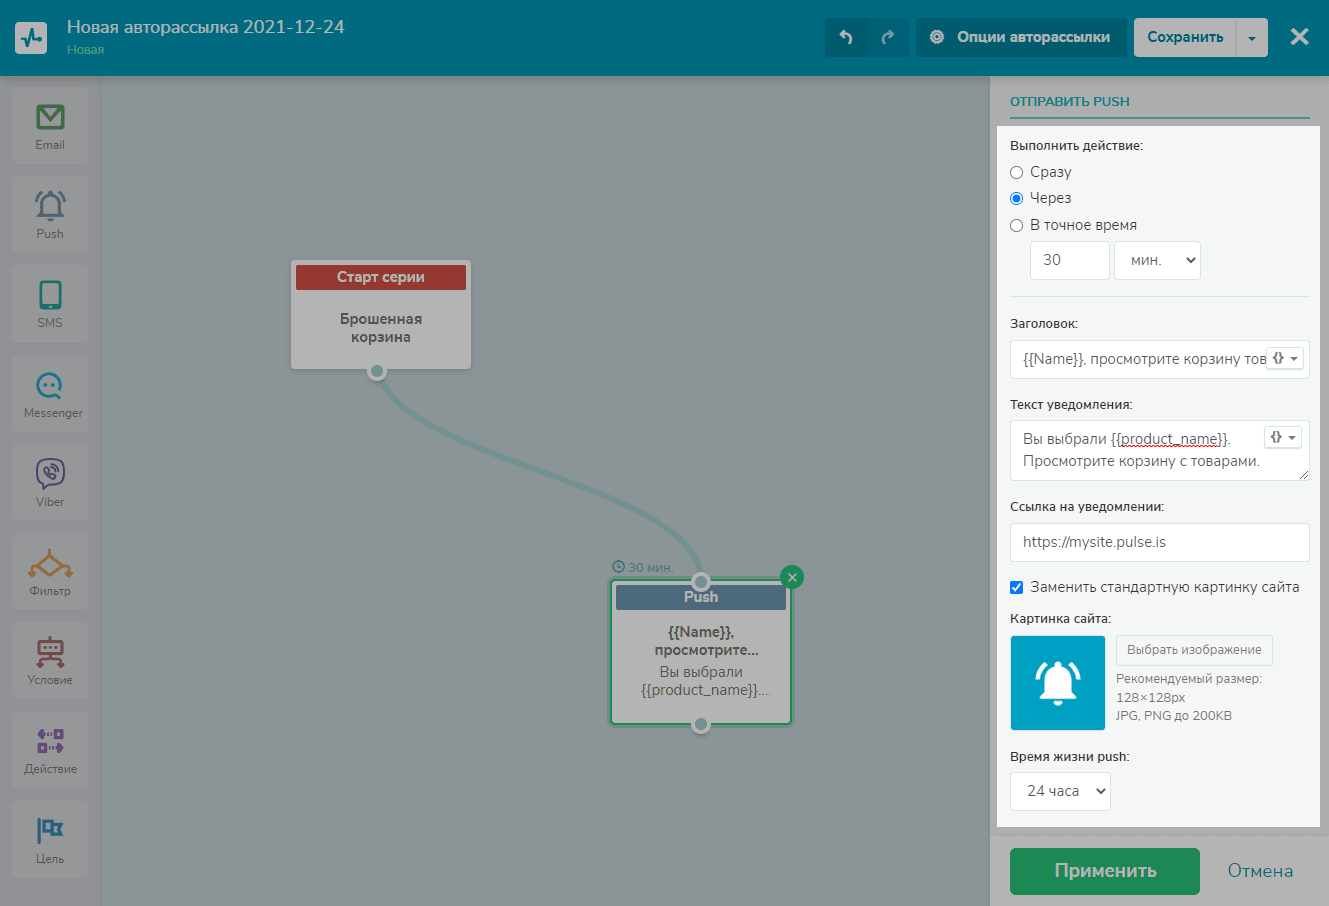
Click Apply.
Messenger
Drag the Messenger element to the workspace, and specify the time to send the start message.
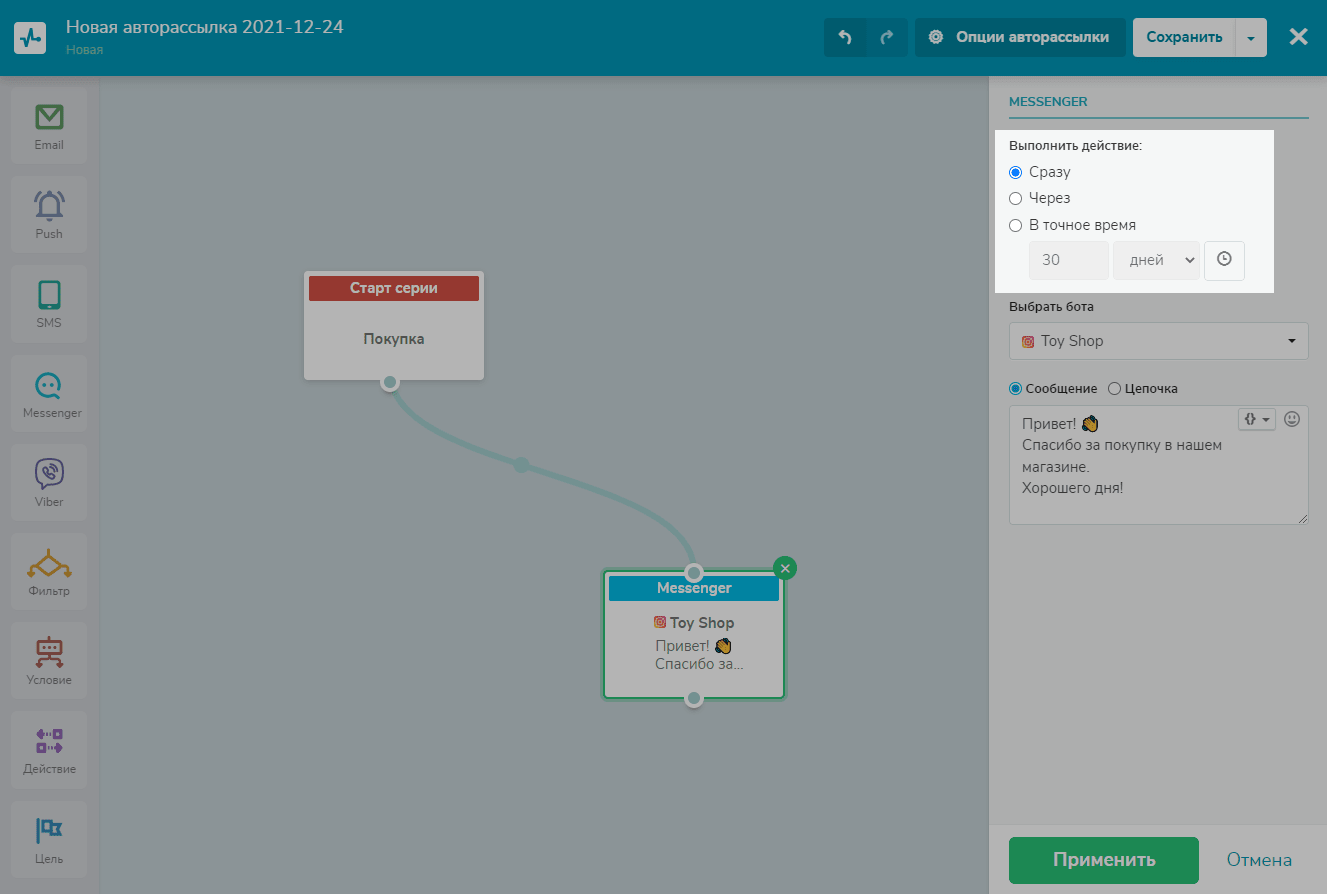
Select a chatbot whose subscriber you want to send a message to.
The recipient must be subscribed to a chatbot from which you will send a message and have an email address or phone number in the Audience section of your chatbot. Learn more: Messenger element in Automation 360, How to manage chatbot subscribers and their data.
Choose an action: send a message or start a flow.
In the Messenger section, enter the text of your message. Variables and emoji can also be added here.
In the Flow section, select a flow.
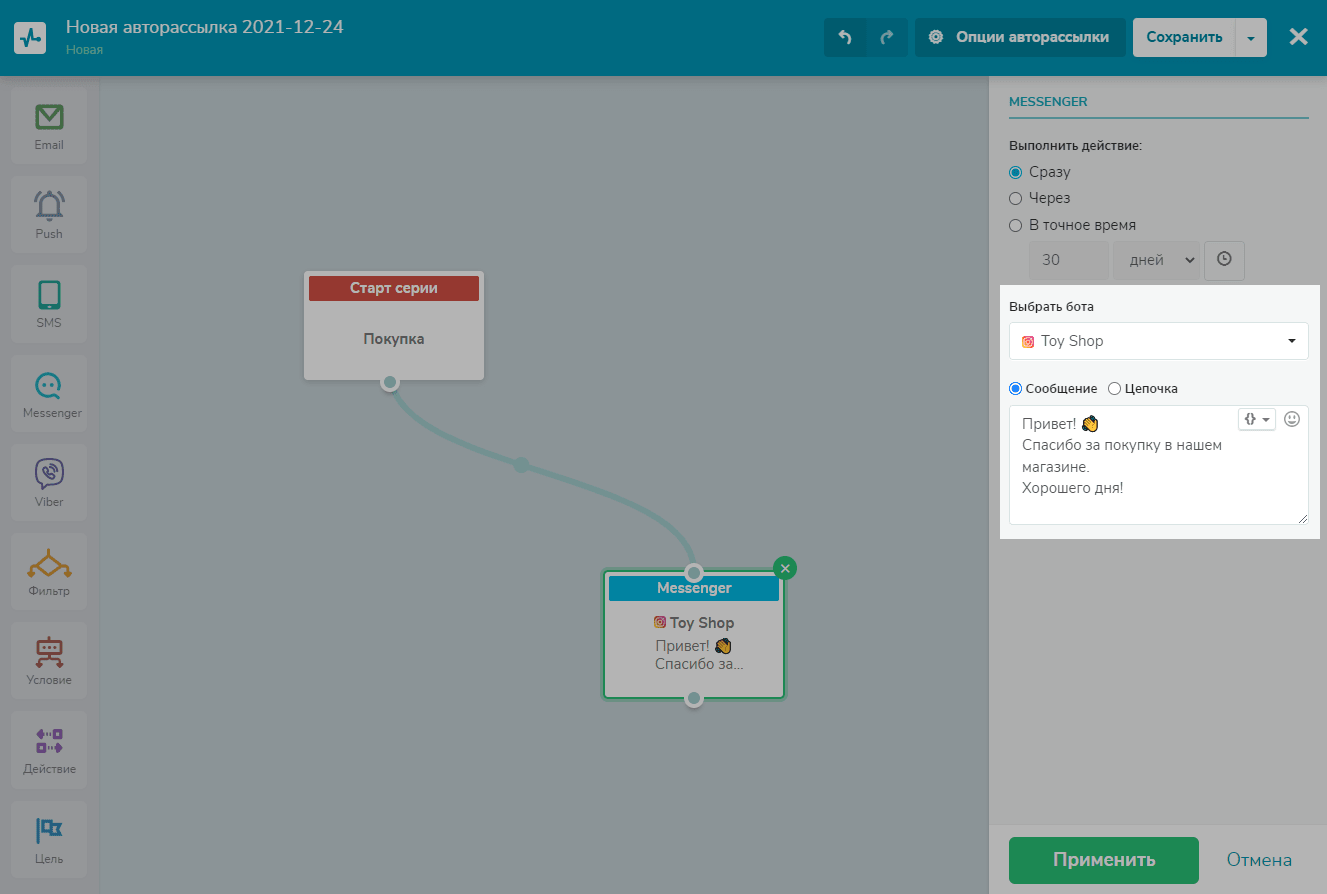
Click Apply.
You can also create a flow script that will be triggered by an A360 event.
Read more: How to launch a robot based on an A360 event.
Add additional elements
Additionally, you can add other elements and diversify the functionality of your flow. For example, you can add the Condition element to track your email opens and deliverability, include the Filter element to branch the flow based on variable values, or choose the Action element to create a new deal in CRM, move a subscriber to another mailing list, or receive a message in your system.
You can also add the Goal element to track your conversions and see which of your recipients went through a certain flow and fulfilled your goal. The automated flow is stopped for contacts who have reached the Goal element.
For example, you can add three Goal elements to the workspace: "Opened all emails," "Opened some emails," "Did not open any emails." Enable the "Stop series for contacts when the goal is triggered" option. Connect each Goal element with the corresponding branch of your automated flow.
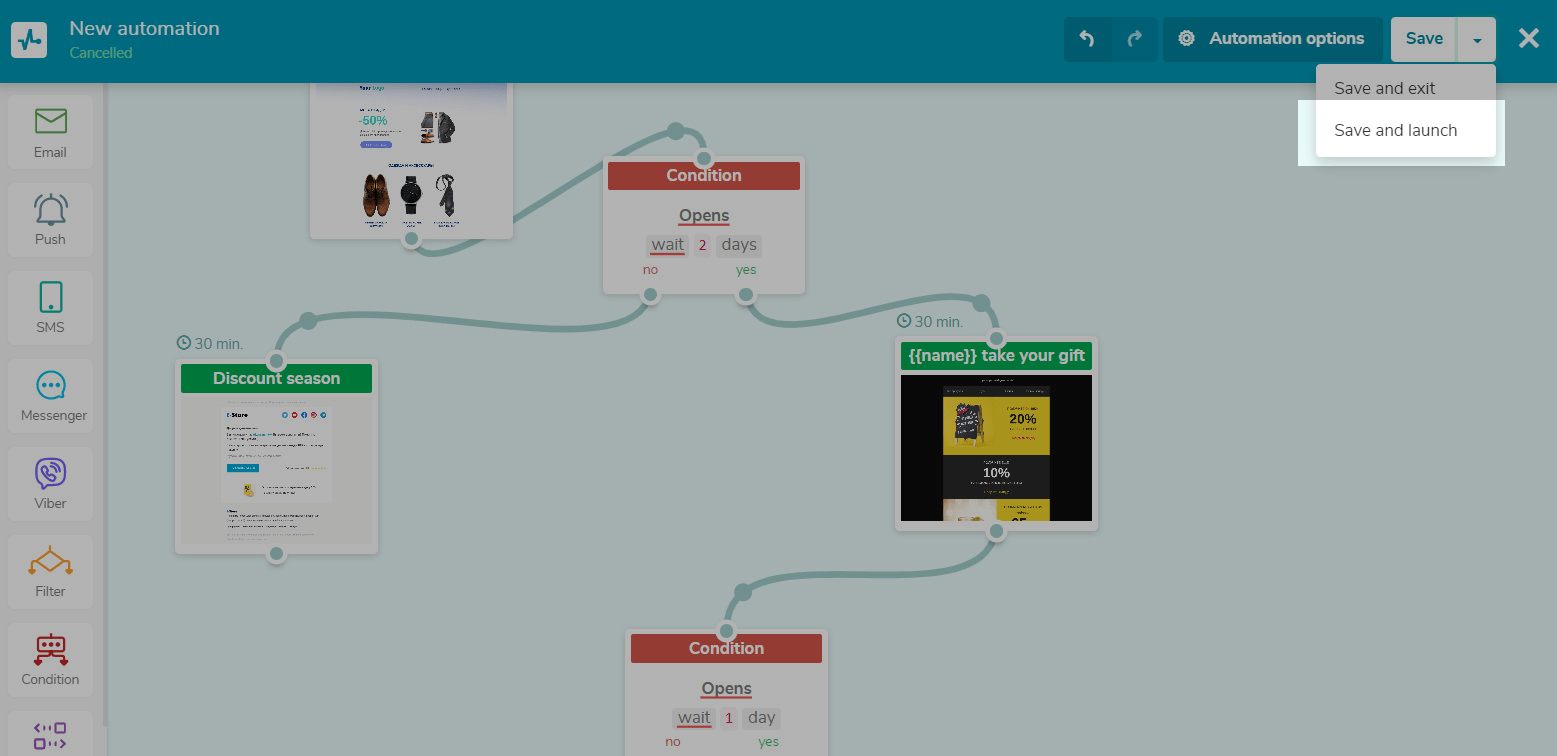
Run the automated flow
Once you have finished configuring the flow, save and run it.
As soon as a contact is added to your mailing list, the automation will be launched, and the subscriber will receive a message.
Once you launch your automated flow, you will be able to track your statistics by recipient and element of the flow.
Read more: Automation flow statistics.
Last Updated: 26.12.2023
or